Easy Colorful Vellum Background

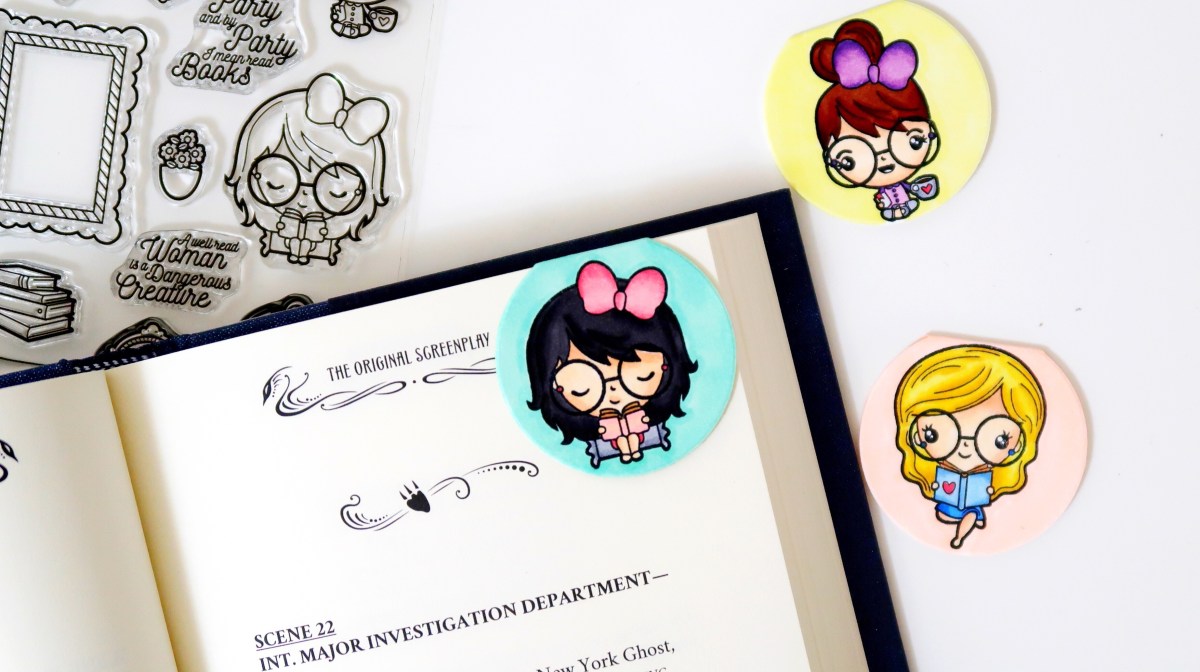
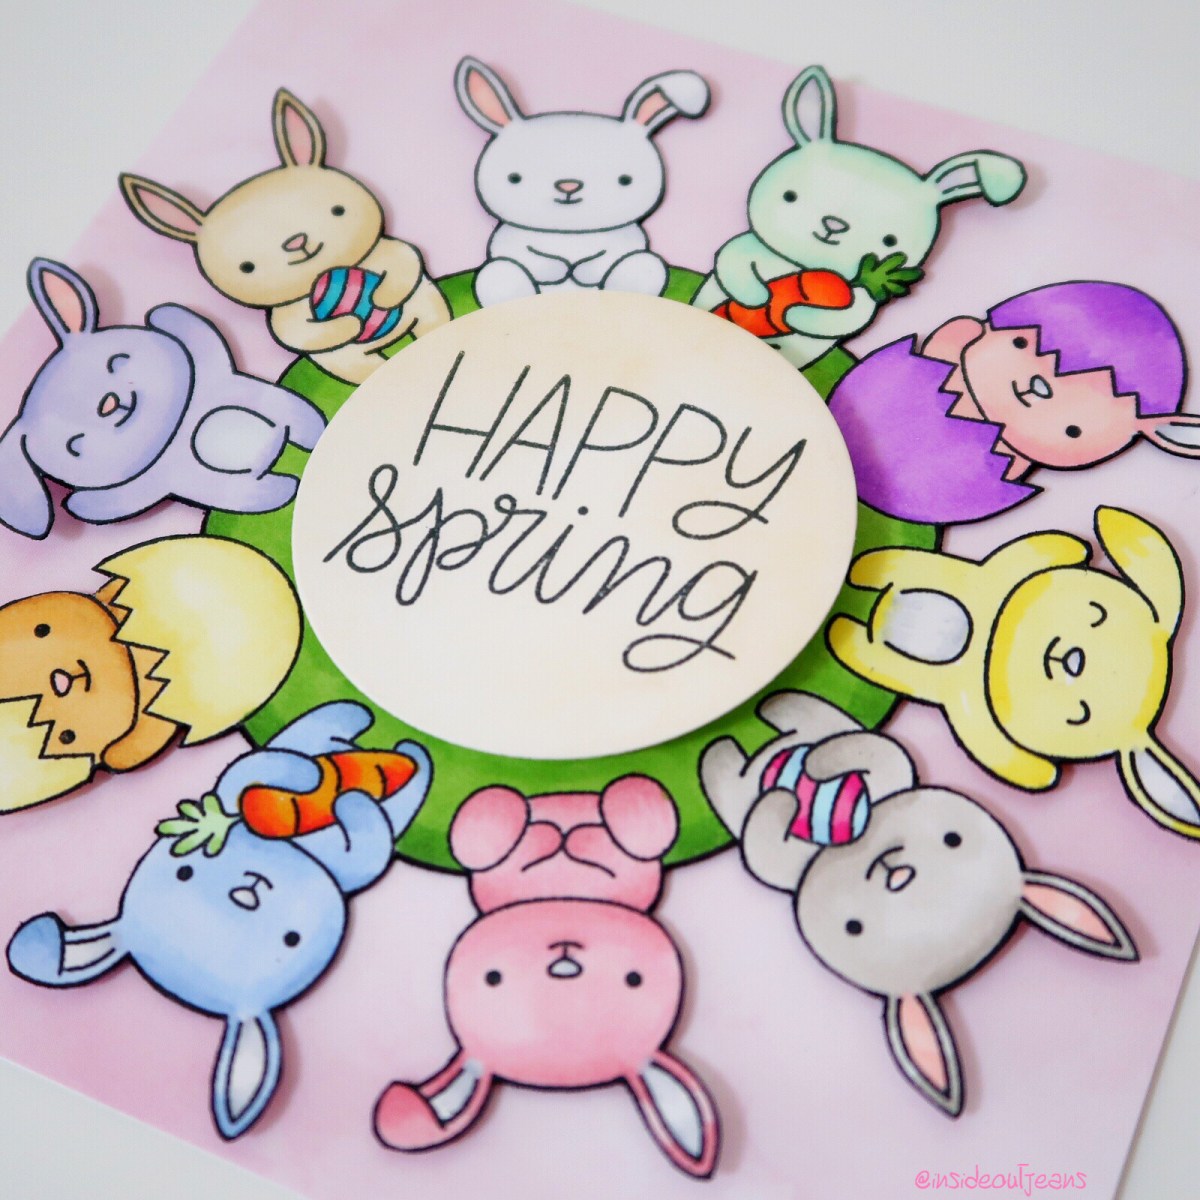
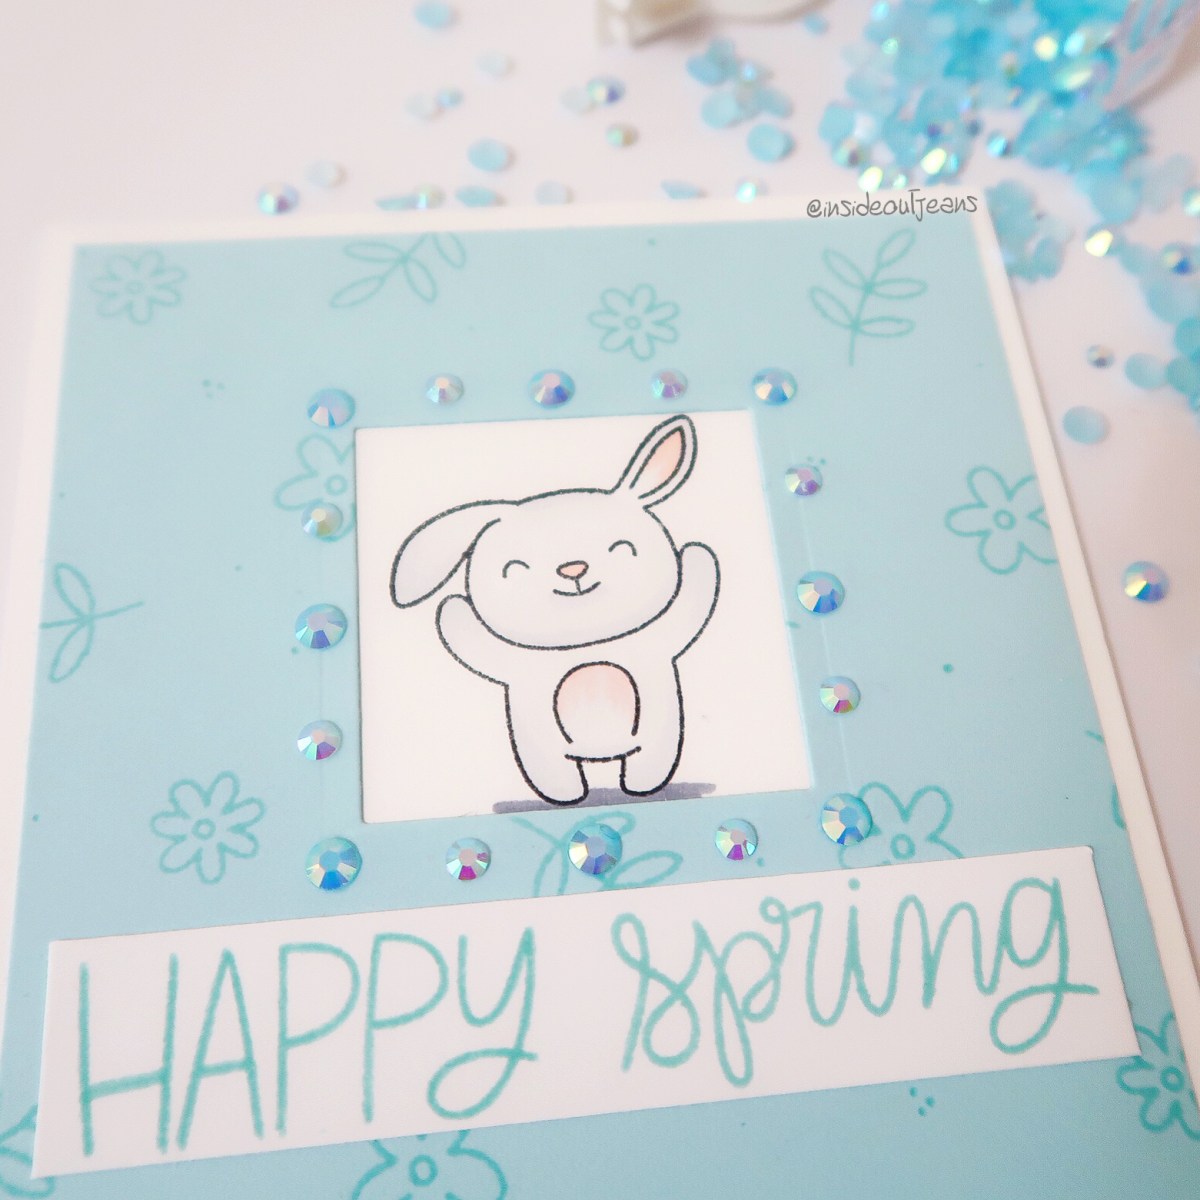
Hi there! Today I’m sharing one of my favorite techniques for using the small images in stamp sets because they are often neglected but it’s so easy to use up to create a fun, colorful background.

You probably have the supplies sitting around as well. All you really need is vellum, heat embossing supplies and some alcohol markers.

ACS_0340.JPG

I also created a video to go with it so you can check out all the steps in creating this card.

SUPPLIES
Items marked with an asterisk (*) were provided by a store or the manufacturer. All other items were personally purchased.

DISCLAIMER
Some products are provided by manufacturers for review and use. Affiliate links may be used at no cost to you.


No Bulk Interactive card | Lawn Fawn

Hello! Today I’m sharing a card where there’s movement on the card, but there’s not much added bulk. It’s a card I created so that the Narwhal and the Pink Mermaid move (or swim) in this fun underwater scene.

027_Lawn Fawn Mermaid for You_Stamped.JPG

To create this card, I used zig markers to blend out a fun watercolored background. I then used a ton of vellum to create “waves” for the scene, where I could let the images be in the water.

It’s such a fun card that I created a video so you can see how I created it. Check it out!

As always, all the supplies are listed down below and I’d love to hear what you think!

SUPPLIES
Items marked with an asterisk (*) were provided by a store or the manufacturer. All other items were personally purchased.

DISCLAIMER
Some products are provided by manufacturers for review and use. Affiliate links may be used at no cost to you.

Vellum Flowers | Altenew

Hello! I had this idea in my head for awhile and finally got a chance to create it, just in time for Mother’s Day. I decided since I had the materials out, I’d go ahead and create two cards.

The idea was pretty simple. Using the Altenew Bold Alphabet die as a center focal point and then heat embossed flower images on vellum. The only trouble I had was deciding on which color to use for the heat embossed images. Originally, I wanted to use gold, but white really popped against the two distress inked backgrounds.

To finish off these cards, I really liked how my embellishments really added to the look of the cards.

I have a video tutorial of how the cards were created. As always, everything I used is listed down below. IMG_2065IMG_2066IMG_2067

Hope you like these cards!

SUPPLIES
Items marked with an asterisk (*) were provided by a store or the manufacturer. All other items were personally purchased.

DISCLAIMER
Some products are provided by manufacturers for review and use. Affiliate links may be used at no cost to you.

Generational Stamping | GSD

Happy Friday! Today I’m sharing a card using the Vrooming By clear stamp set (Coming soon!), which has a similar digital stamp image. Personally, I prefer having an actual stamp because I don’t have easy access to a printer so I was delighted to play with this cute image.

I wanted to depict how fast the dog was going on his scooter and decided to do this using the second and third generation stamping. A stamp positioner is really helpful in creating cards where you need precision and I think it’s one of my most used tools. In this instance, I’m using it to help stamp the same image multiple times but shifted over just a little bit.

IMG_1413.JPG

Using some light grey Copic markers, I colored them lightly to help portray that he’s zipping by. It turns out pretty cool, doesn’t it? It’s a very simple card but I think the additional stamped images gives it enough to catch your interest.

This card is a bit out of my comfort zone, but I decided to share it and the video tutorial anyway:

I hope you enjoy the card and try it out. As always, the supplies I used are also listed below. Have a great day!

SUPPLIES
Items marked with an asterisk (*) were provided by a store or the manufacturer. All other items were personally purchased.

DISCLAIMER
Some products are provided by manufacturers for review and use. Affiliate links may be used at no cost to you.

Floating Floor Pop Up | GSD

Hey there! I’m sharing this Floating Floor Pop Up card today using Gerda Steiner Designs Go Wild stamp set. Going on a safari is on my bucket list, but I haven’t gone yet so I like the idea of creating a card to pretend I’ve been.

IMG_1332

I have a video to describe my process and it does seem a bit overwhelming at first. I think once you have all the moving parts ready to go, it is pretty easy to put together.

As always, my supplies are listed below.

SUPPLIES
Items marked with an asterisk (*) were provided by a store or the manufacturer. All other items were personally purchased.

DISCLAIMER
Some products are provided by manufacturers for review and use. Affiliate links may be used at no cost to you.

1 Card Design, 2 Backgrounds | Honey Bee Stamps

Happy Friday everyone! Today I’m swinging by to share these two cards I created using a bunch of Honey Bee Stamps items.

I started off using black cardstock alongside Nuvo Glimmer Paste. I thought it would be cool to create my own colored glimmer paste and use it against black cardstock. Who knew I that I would hate it and then love it again? I really didn’t like how it looked so I switched over to white, fully intending just to make one card.

When I finished creating the background using the hexagon stencil and the glimmer paste, I figured I might as well make a background out of it. What did I have to lose?

Here are how the two cards turned out. What do you think? Which one do you like more?


If you want to see how I put these together, here’s my video for it. Also, all my supplies are listed below as well. Hope you have a great day!

SUPPLIES
Items marked with an asterisk (*) were provided by a store or the manufacturer. All other items were personally purchased.

DISCLAIMER
Some products are provided by manufacturers for review and use. Affiliate links may be used at no cost to you.

Have a Ball! | Gerda Steiner Designs

Hello everyone! It’s been awhile since I’ve shared one of my cards and I really am loving this one. If you’re a fan of animals, especially doggies, this Dachshunds stamp set is for you! You’ll see that I used the Hoppiness stamp set as well to add a few extra elements to the card as well.

I used a grassy hills die to create a stencil. Using distress inks, I colored two layers of the grass. I definitely wanted to use two of the dogs in the set. I like how the first dog is looking back. I can’t really tell if he’s looking at that butterfly on his tail or the other dog chasing the tennis ball.

Since the second dog looked to be moving, I wanted to put him in action. And what dog doesn’t love chasing balls? I just had to have him chase the tennis ball included in this set. I create a pull tab channel so he could run towards the ball.

I used two sentiments in this card: It’s Your Birthday and Have A Ball. The first one is prominent on the front of the card, but the second one is hidden until the dog fetches the ball. It’s a small surprise for the card recipient.

I used the hearts and the butterfly from the Hoppiness set so I could add pop of color to the card. It looked a little too plain with just the doggies. I think it helps add that special something to the card.

I hope you enjoyed this card and picked up the set. It’s so fun! Thanks for stopping by!

Honey Bee Stamps | Swimming By

Happy Wednesday everyone! I’m so glad that I was invited back to the Drive By Crafts design team. For the past few months, I’ve really enjoyed sharing all my projects I created.

Today, over on their blog, I’m sharing this really fun circle spinner card featuring Honey Bee Stamps’s Swimming By. I really like how every part of this turned out and I can’t wait to send it off for a birthday.

IMG_0993 Please head over to the blog to check out the details for this card. Also, if you’re interested in shopping with them and saving a bit, use “SHOPJEANNIE” for 10% off an order of $25. Free shipping starts at $45.

DIY Magnetic Bookmarks | The Sassy Club

Hello everyone! I’m doing something a bit different today. Instead of a card, I’m sharing how I created a few magnetic bookmarks. It’s really easy to put together and I had a lot of fun using The Sassy Club’s Darla Reads stamp set for it. It’s absolutely perfect for bookmarks.

These little bookmarks make for perfect stocking stuffers, little favors, or for your own personal use. Can you guess which book this is?

IMG_0949

I have a video that accompanies this DIY to share how I created them.

SUPPLIES
Items marked with an asterisk (*) were provided by a store or the manufacturer. All other items were personally purchased.

DISCLAIMER
Some products are provided by manufacturers for review and use. Affiliate links may be used at no cost to you.

Beam Me Up | Lawn Fawn

Happy Wednesday everyone! I hope the week has been treating everyone well so far (halfway to the weekend!). Today, I’m sharing a card from one of my favorite sets from the newest Lawn Fawn collection, Beam Me Up. Of course, when I first saw this set, I wanted to do a pull up slider tab with the spaceship beaming up aliens. I’ve seen a lot of these wonderful cards, so I wanted to do something a little different.


Be sure to check out how I created it over at Drive By Craft’s blog.

And as an added bonus, I have a video as well.

SUPPLIES
Items marked with an asterisk (*) were provided by a store or the manufacturer. All other items were personally purchased. 

DISCLAIMER
Some products are provided by manufacturers for review and use. Affiliate links may be used at no cost to you.

Pretty Pink Posh Blog Hop

Hello there! I was super excited when I was asked to guest design for this month’s release and to join in on the Pretty Pink Posh‘s 2 day blog hop. There’s 4 $25 gift certificates up for grabs during this blog hop (see below for the details).

Today, I’m sharing a couple cards using two of the newly released sets: Best of Luck and Bunny Friends along with the Happy Easter die.  I also have a video for one of the cards I’m sharing as well. 

First up, I used the Best of Luck set to create this colorful and fun card. It’s a pretty simple card but it catches your attention. I used the coordinating dies to die cut the leprechaun, pot of gold and rainbow and colored them using Copic markers. Using distress inks on a piece of vellum, I blended rainbow colors. Against vellum, the colors are a bit softened and it looks so pretty. I added a heat embossed sentiment in white that pops against the different colors.

IMG_0082

IMG_0079

My second card uses the Bunny Friends set and the Happy Easter die set. I know that the main part of this set are the bunnies but I couldn’t help love the little flowers. I decided to create three lines of these flowers and used some masking tape to mark off space so I could blend two colors of distress inks for each row, darker on the edges and bright in the middle. I took the Happy Easter dies and layered three of them so the sentiment would have a dimensional look. While the colors might not scream pastel and spring, the colors pop against the white heat embossed flowers and I LOVE IT! We don’t always have to be traditional right?

IMG_0078

My third and final card for this blog hop is this fun spinning card. I had an idea of bunnies hanging out together in a circle but since I do love interactive cards, I just had to add an extra element to it. It’s a fun step and although it seems difficult, it’s really easy to put together. Check out the video below!

IMG_0081

IMG_0080

Remember to also check out the blogs listed below and leave a comment for a chance to win! Thanks for stopping by and I’ll see you back here again soon.

GIVEAWAY INFORMATION:

For each day, there will be two winners who will receive one of four $25 gift certificates. You will only need to leave a comment by March 12, 2018 (11:59 PM PST). The winners will be announced on the Pretty Pink Posh blog.

Now it’s time to hop along… here is the list for Day 1. Remember to leave a comment for a chance to win before March 12. Good luck!

BLOG HOP LIST:

Pretty Pink Posh blog
Yana Smakula
Gemma C.
Heather Meeson
Jeanne Jachna
Justine Hovey
Kathy Racoosin
Lexa Levana
Mindy Baxter
Rubeena Ianigro
Eloise Blue
Shannon McComb
Jeannie Lieu — You are here!
Amy Yang

PPP Jewels & Bunnies

Hello everyone! Today, I’m sharing two cards I put together using Pretty Pink Posh‘s newly released stamp set Bunny Friends and the jewels.

I picked out blue cardstock and used a matching ink to stamp the little flowers from the Bunny Friends to create a background. I added a few dots just to fill in the empty space but to keep it simple. I die cut a square in that background to showcase one of the bunnies from this set. I used two different sizes of the Sea Glass Jewels to create a border around the square. The “Happy Spring” sentiment comes together, but I masked off the sentiment so it would be on one line on a piece of white cardstock. It’s a pretty simple card but the jewels really make it pop.

IMG_0264

The next card is the same exact card except I chose pink cardstock and ink to match the Pink Blush Jewels. I decided to add a grassy field for the bunny to sit on and it really makes it pop. I chose to use the same pattern of the sizes for the jewels on the border.

IMG_0263

Although it’s a really simple card, the jewels really make it pop. I like how they are different from sequins and look extremely pretty. Can’t wait to use them for more projects.

IMG_0262

I’ll be back in a couple days to share three other projects using Pretty Pink Posh’s two new stamp sets.

Supplies Used:

Pretty Pink Posh – Bunny Friends
Pretty Pink Posh – Sea Glass Jewels
Pretty Pink Posh – Pink Blush Jewels