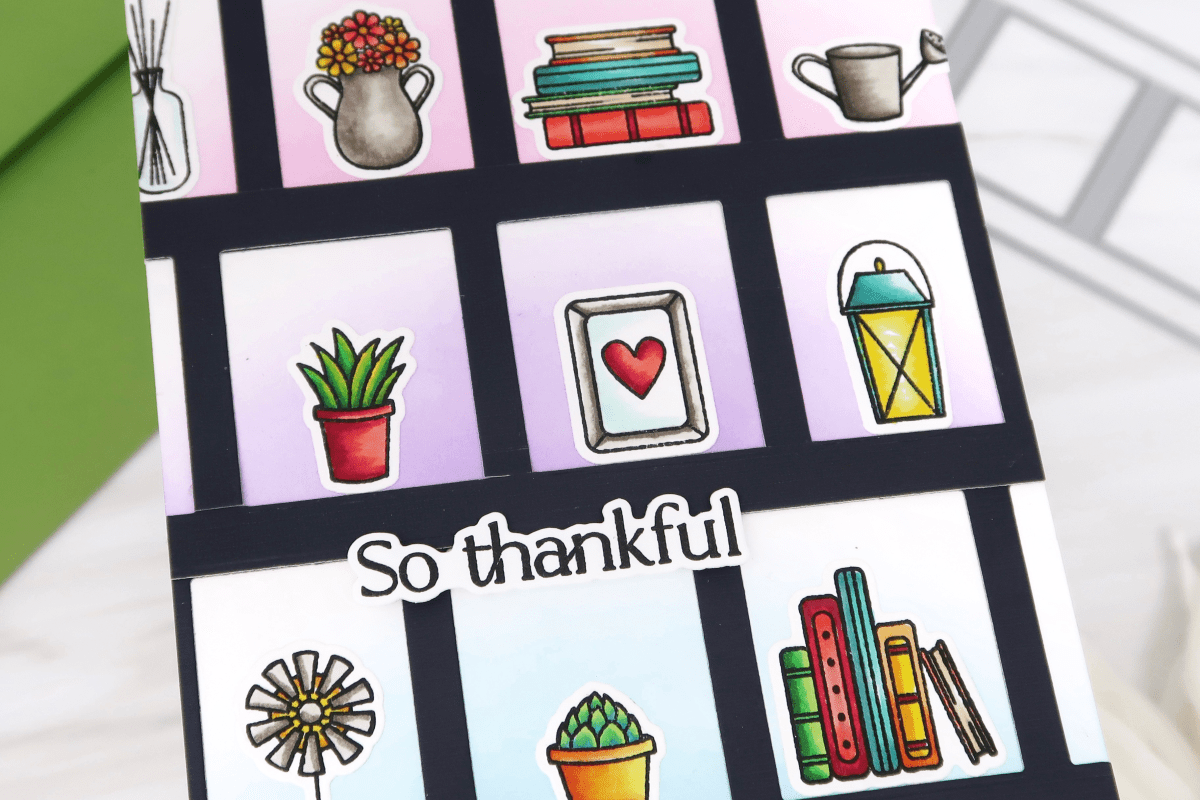
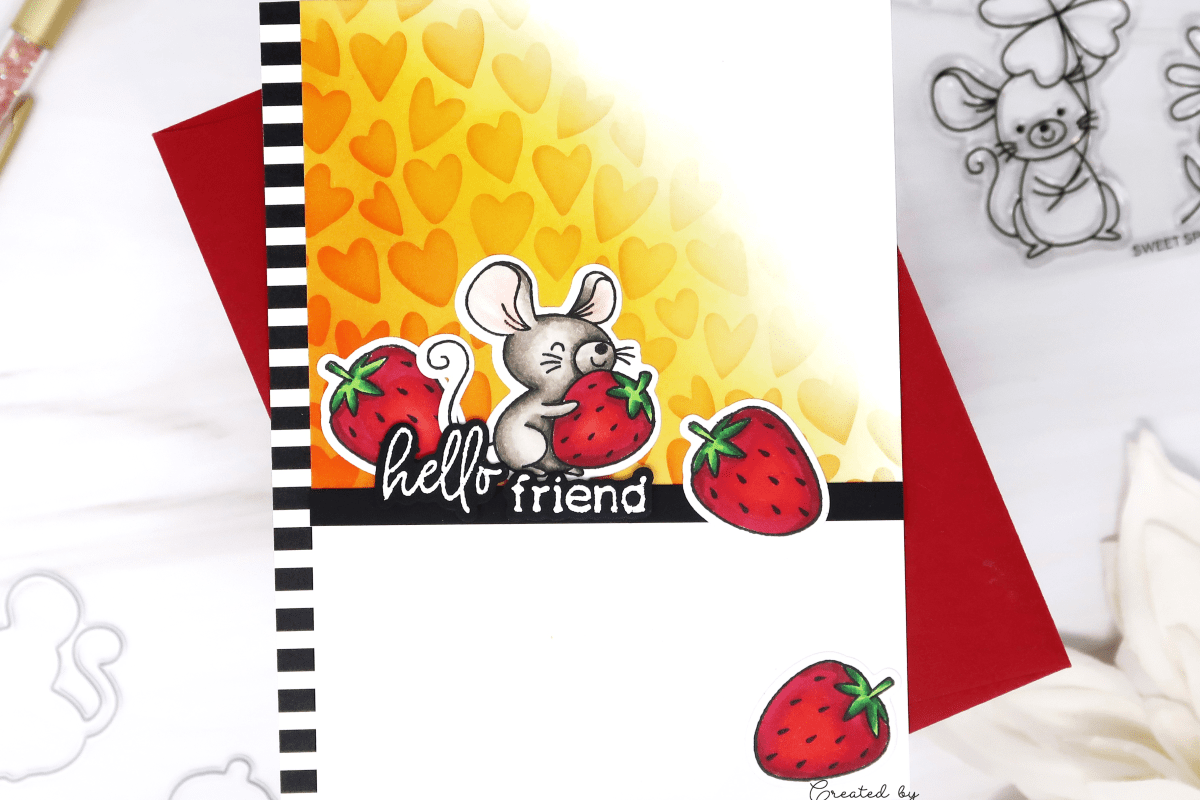
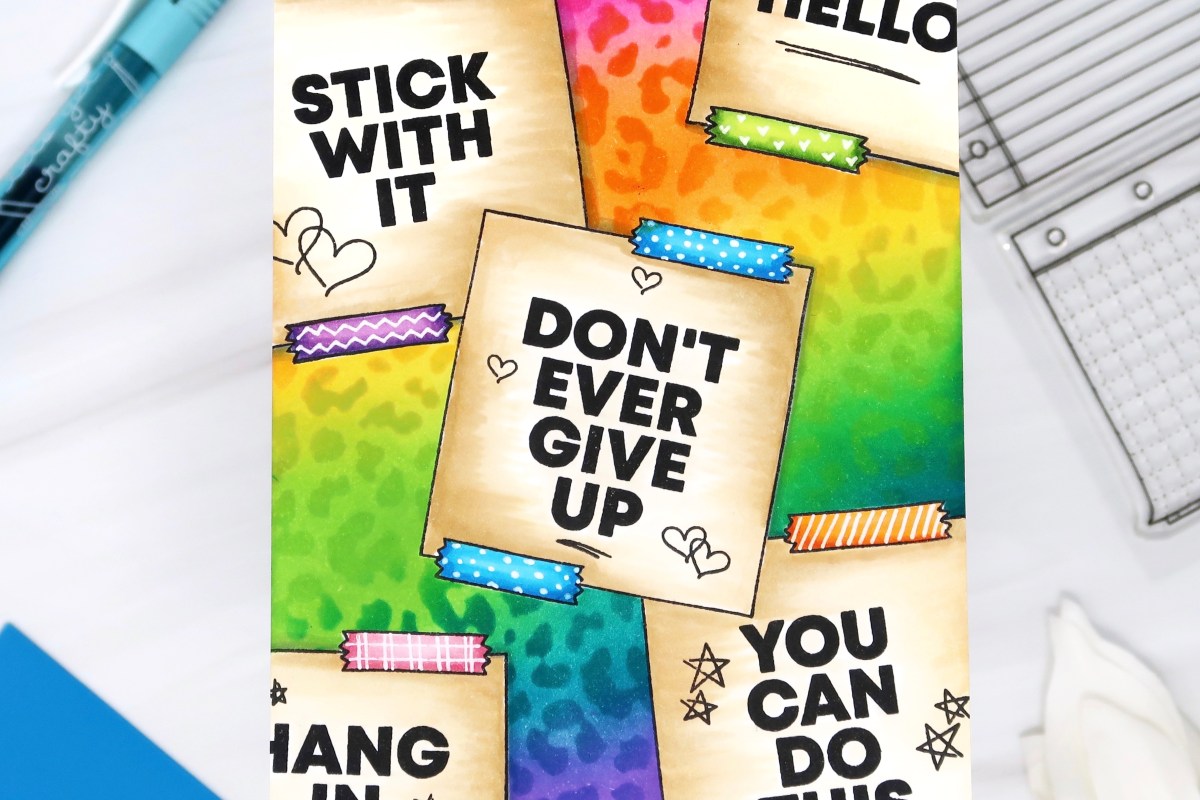
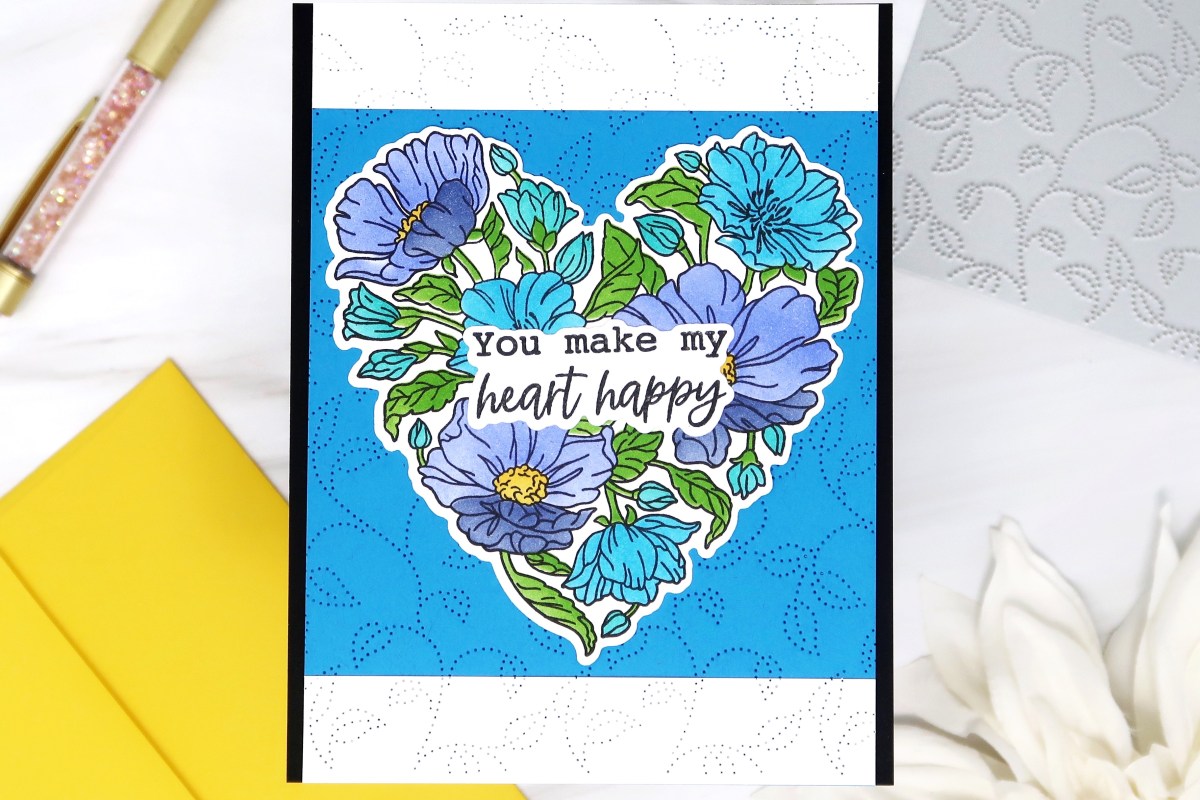
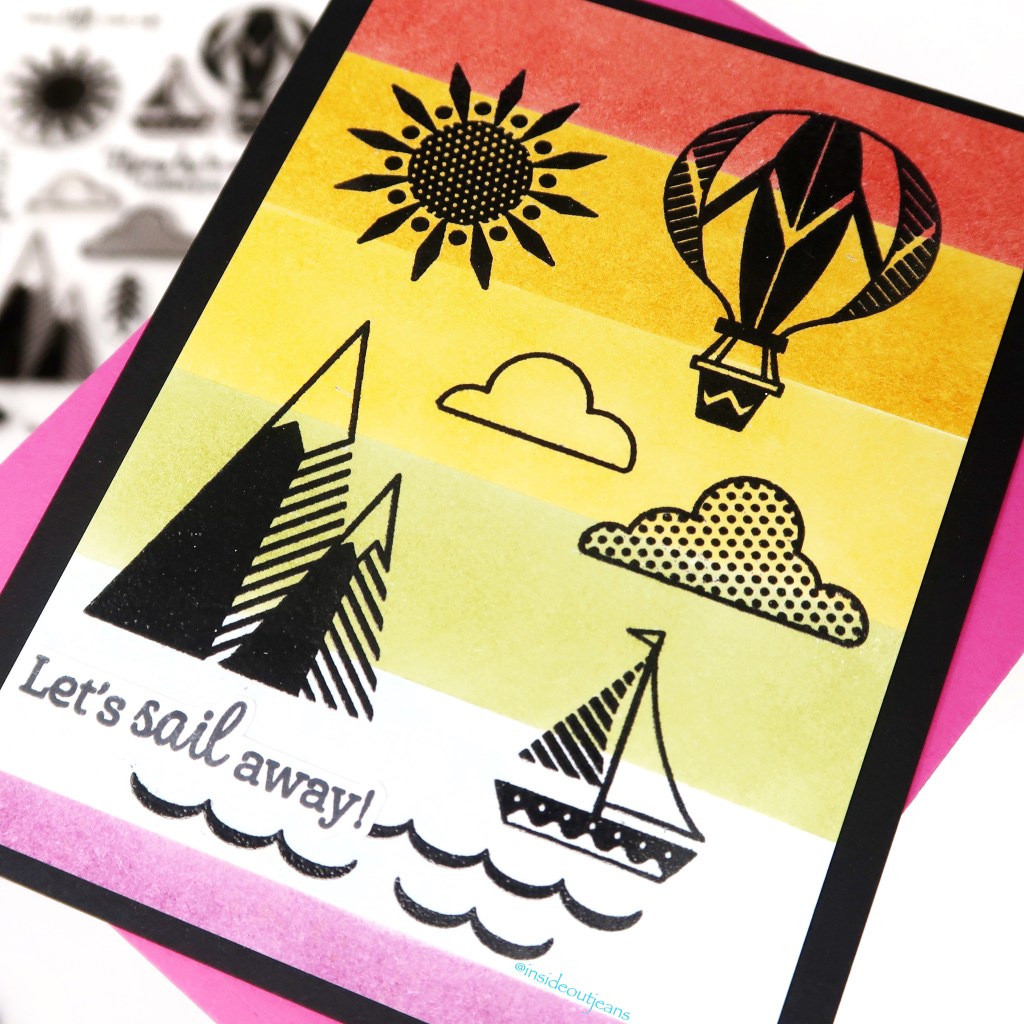
All my supplies for creating this card will be listed down below (with multiple sources when available) for your curiosity and convenience. Affiliate links used when possible.
Hello! Today is Ink Blot Shop‘s new release and there are some really fun goodies, including the items featured in my YouTube video below!
All my supplies for creating this card will be listed down below (with multiple sources when available) for your curiosity and convenience. Affiliate links used when possible.
Hi everyone! Just sharing this hack to get your stencils lined up perfectly each time. It’s super simple… I use my corner in my Misti for any layering stencil. It’s the easiest way to have everything lined up — without having to line it up on paper by the stencil etchings.
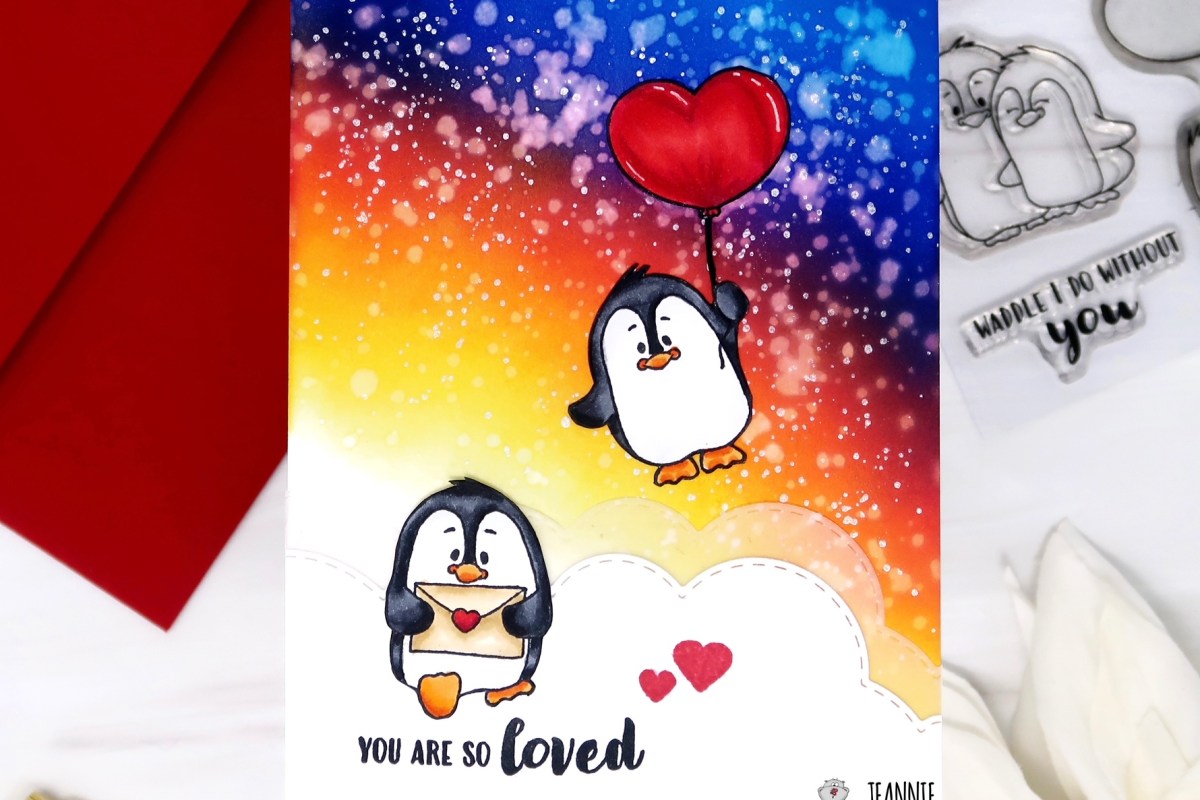
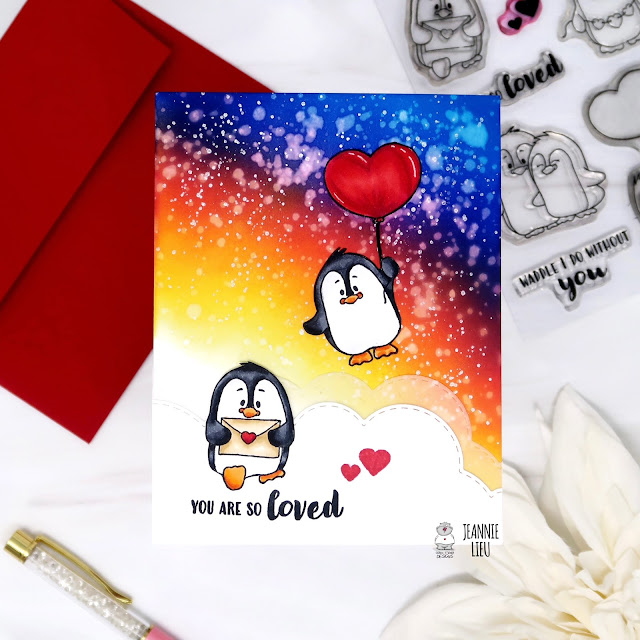
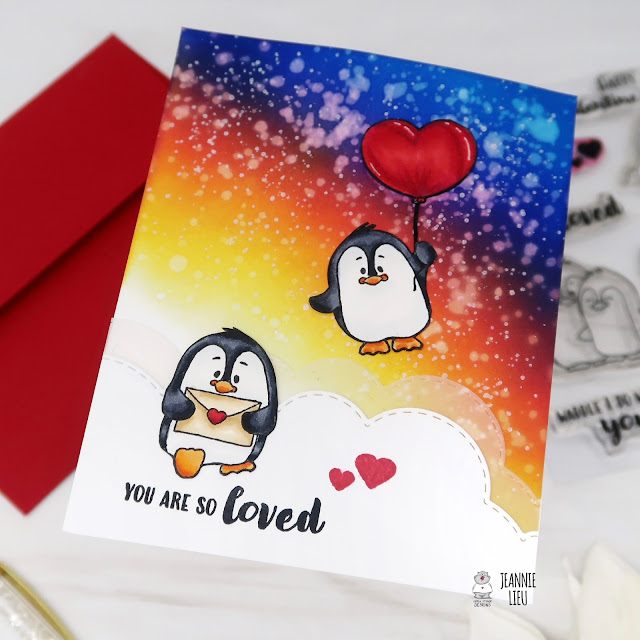
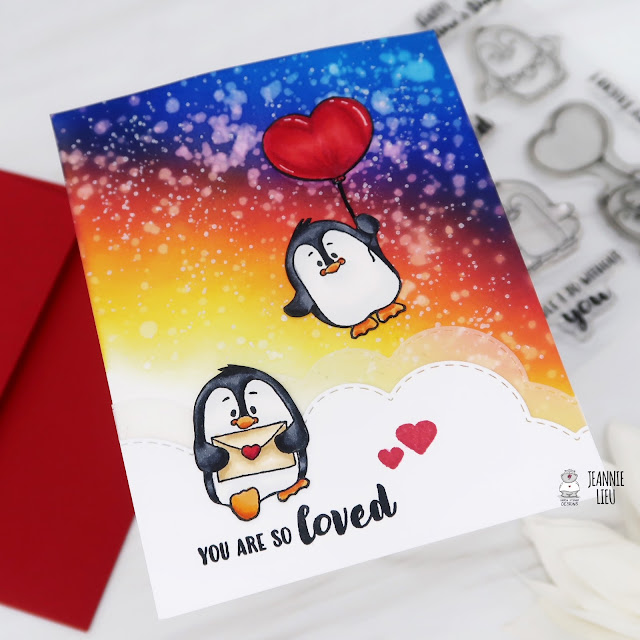
Hi everyone! It’s Jeannie (InsideoutJeans) on the blog today with Gerda Steiner Design’s stamp set named, Valentine Penguins. Yes, it’s January but I didn’t intend to make a valentine’s card at all. I actually don’t like the commercial aspect behind the holiday and firmly believe that you should always show people you care about them year round.
For this card, I’m using some atelier inks to do ink blending. They blend so smoothly and I wanted a non-traditional colored sky (mainly because one of my goals for the year is to go outside my comfort zone). I used Bee Sting Yellow, Sweet Petunia Pink and Peacock Blue with a splatter of water and Perfect Pearls all over. Also, I wanted to add an element of the sky, so I used the clouds border die, cutting pieces of white cardstock and vellum to give it a bit of interest.
I colored up the two penguins with copic markers and fussy cut them out. I tend to really like the no white outline look but you definitely can use the dies or cut with an outline too. They are pretty simple images to cut (one of the reasons why I love to mask and fussy cut with Gerda Steiner sets).
The card came together really nicely and I am so happy with how it turned out since, it’s not specifically a valentine’s day card but a card to tell someone they are loved.
Thanks for stopping by today and I hope you get inspired to create. Come back again soon for more inspiration and ideas! Happy Crafting!
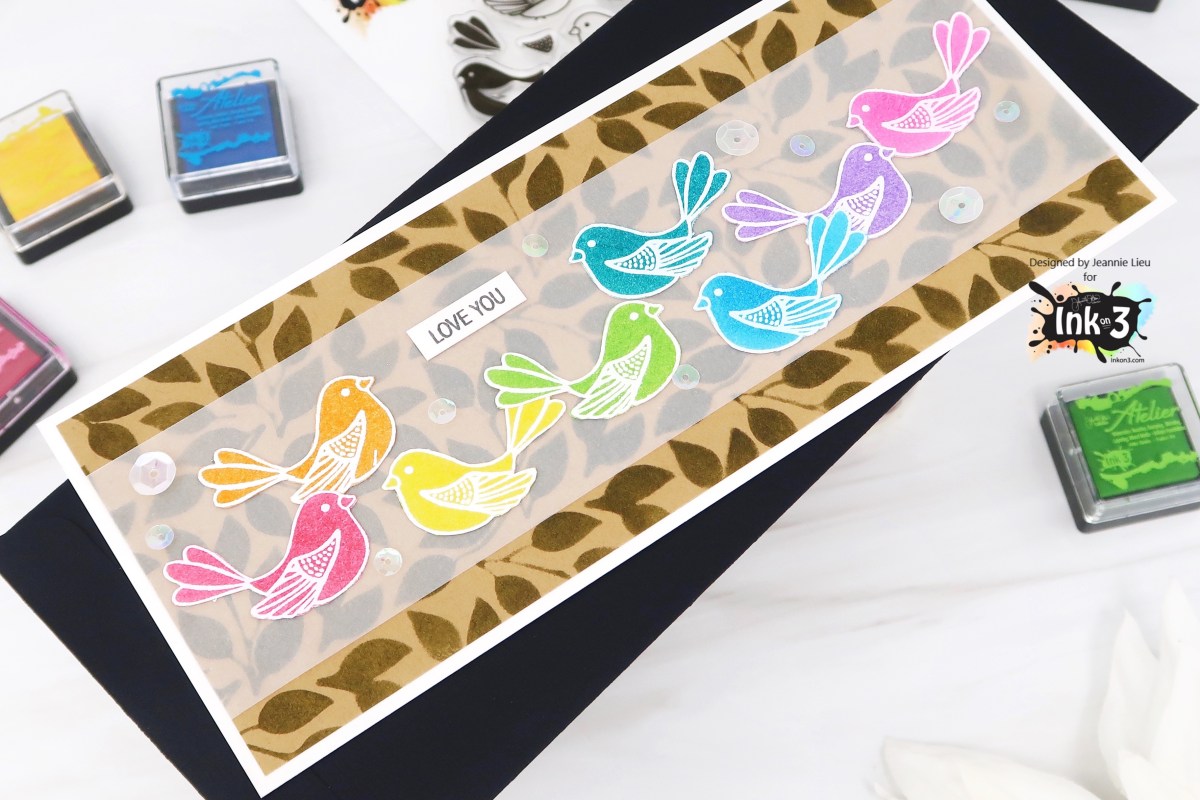
Hey everyone! Today, I’m creating a really simple card, mainly because I didn’t feel like coloring but wanted to use some images. The technique I fall back on is just heat embossing and then inking up the entire image in one color. Check it out in the video below!
All my supplies for creating this card will be listed down below (with multiple sources when available) for your curiosity and convenience. Affiliate links used when possible.
Happy New Year! One of my crafty goals this year is to use a bunch of different craft companies throughout the year, either just their products or a mix and match. This is craft company #1 that I’m featuring… Pinkfresh Studio!
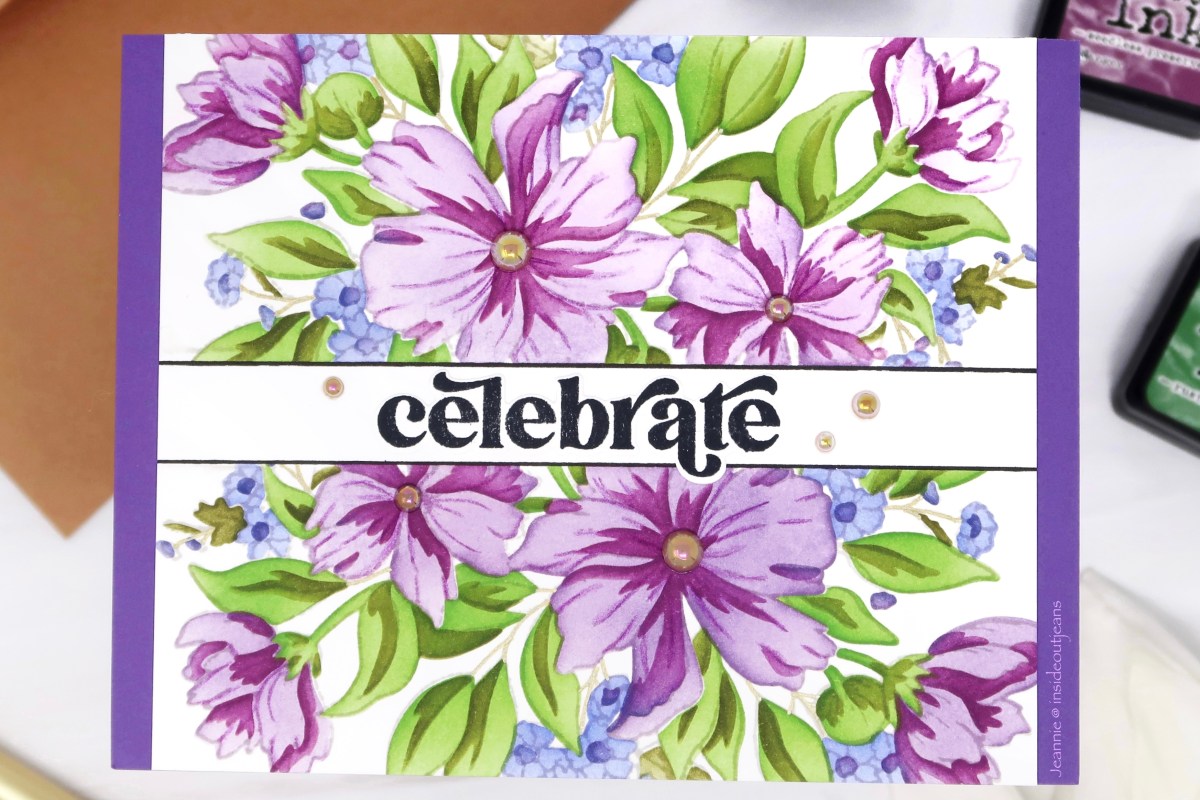
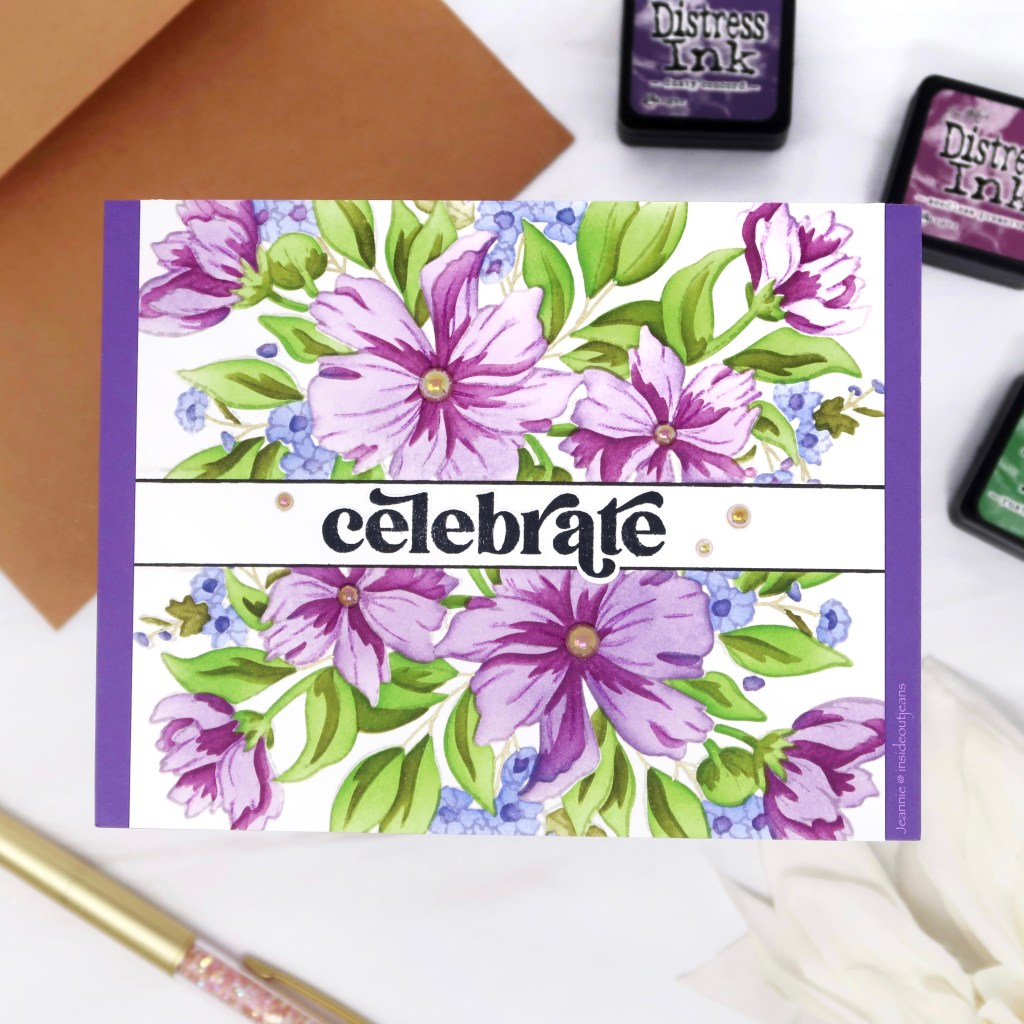
It was a super easy card to put together using the stencils and stamps. I just stamped the Cosmos Bunch on one half of the card and then the other side, masking the middle to leave room for a sentiment from the Perfect Sentiments stamp set. Here’s a YT short to show how I put it together!
I loved this set so much that I decided to kick off my bullet journal using it … and here’s my first planner video that features it!
All my supplies for creating this card will be listed down below (with multiple sources when available) for your curiosity and convenience. Affiliate links used when possible.
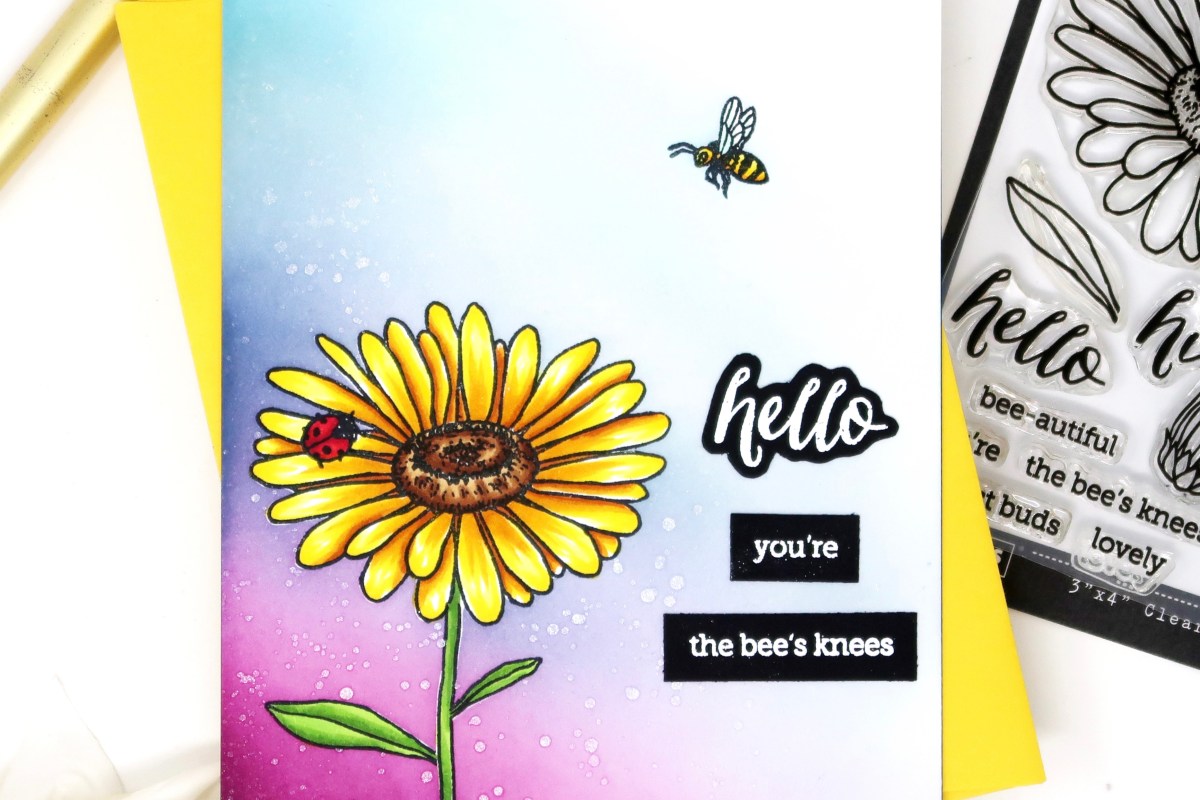
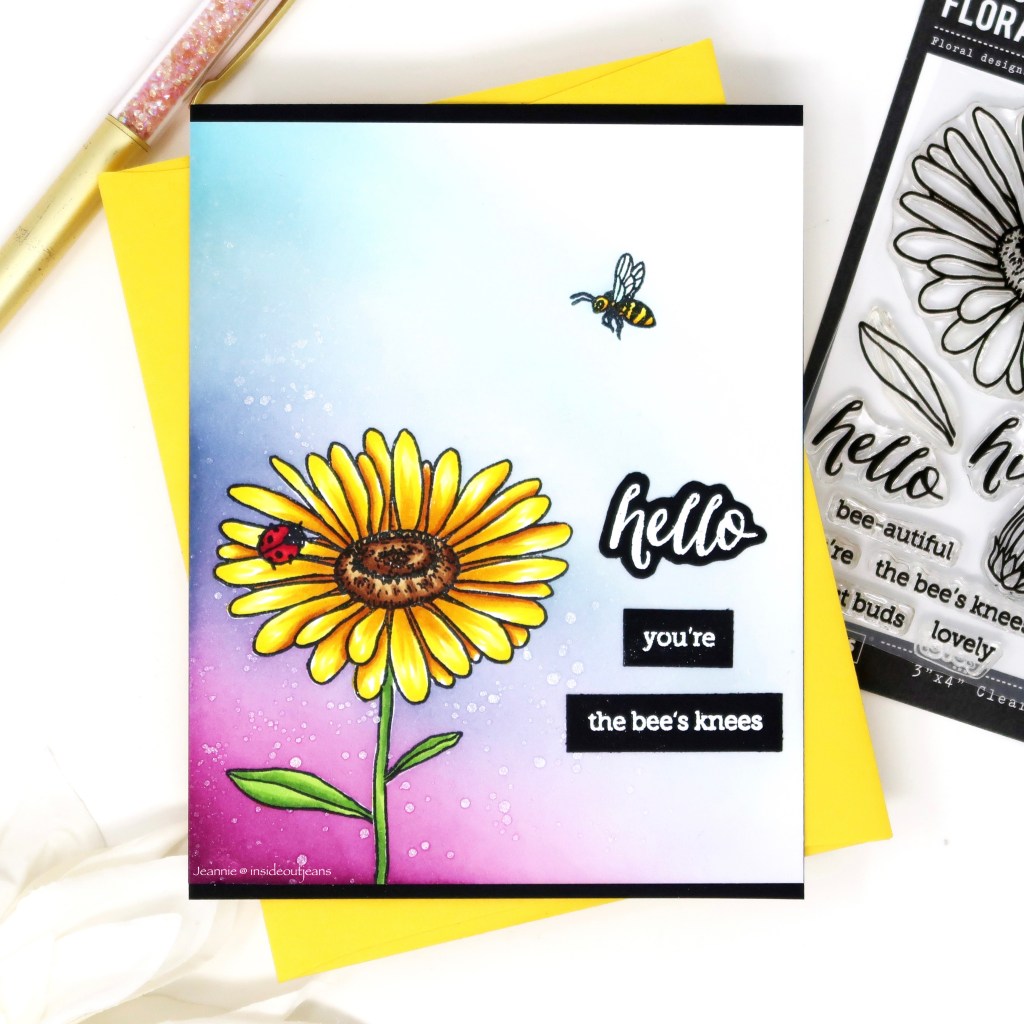
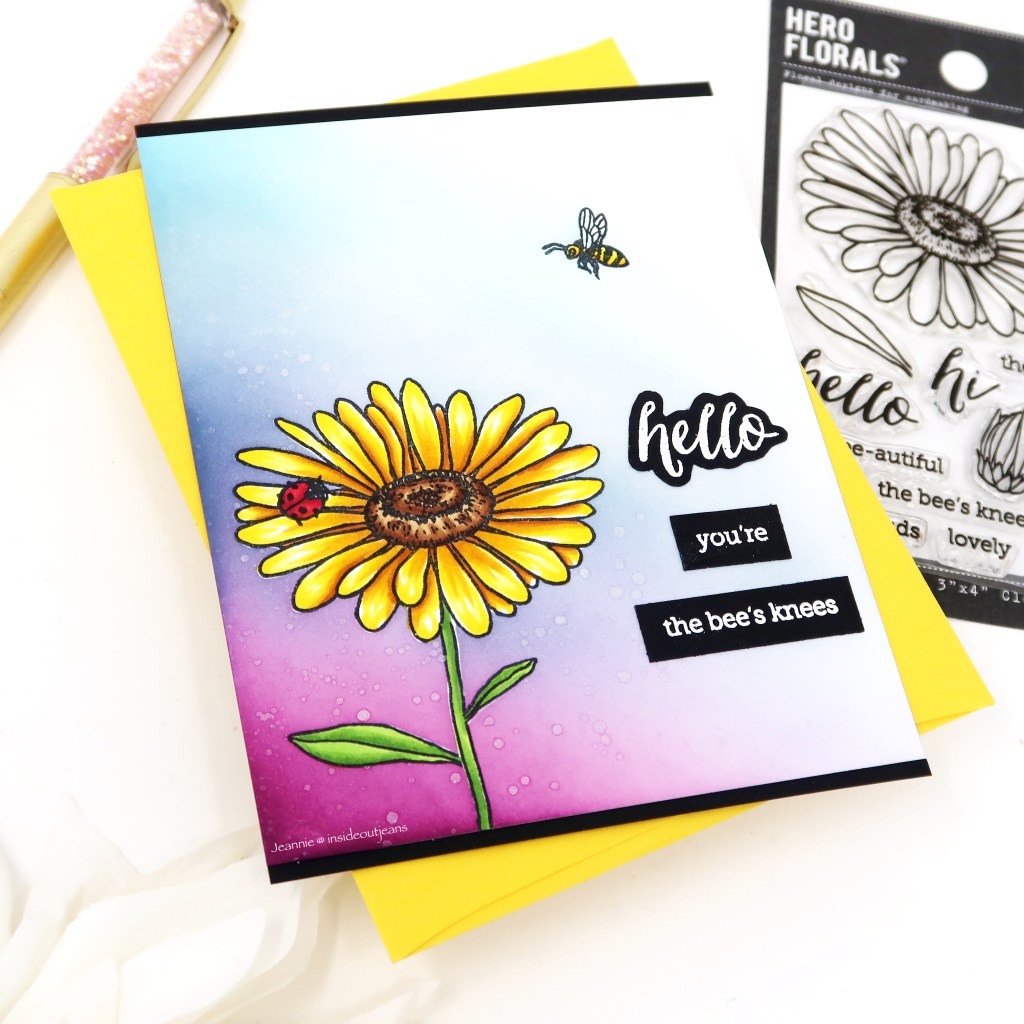
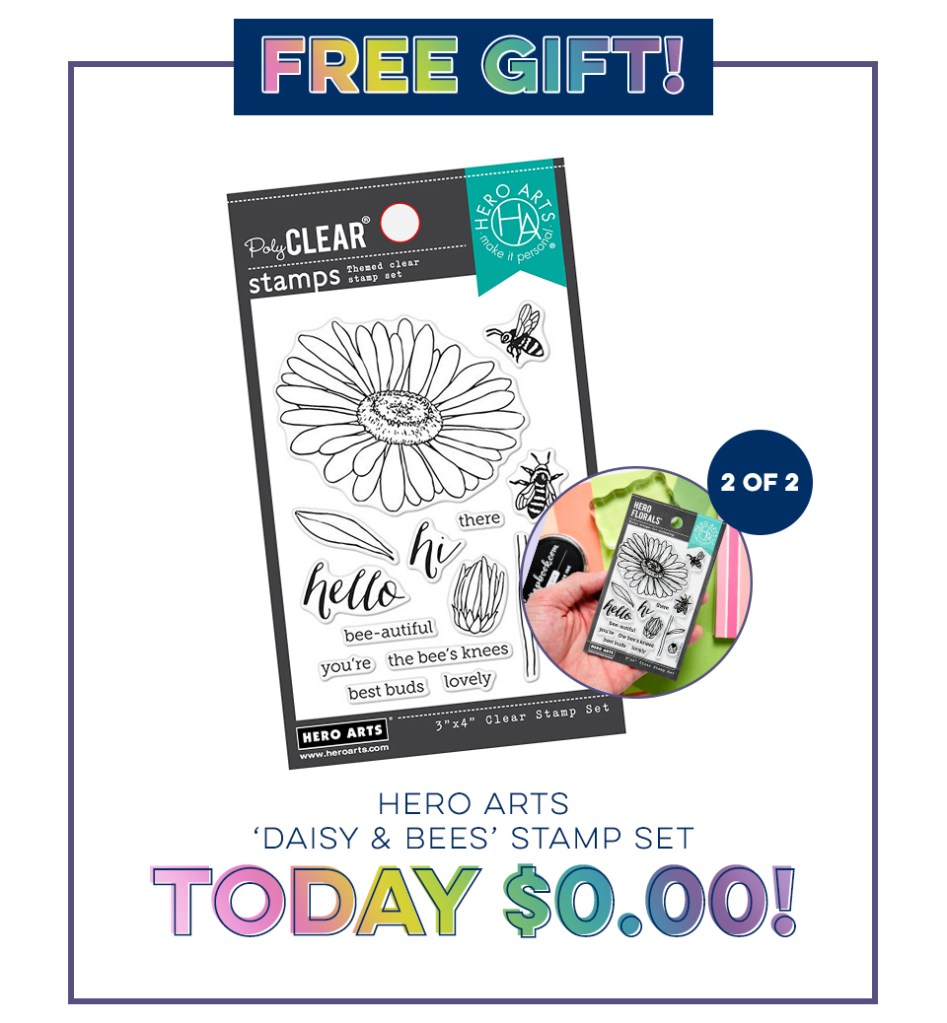
Welcome to the weekend crafty friends! Today, I’m sharing a card featuring a freebie that you can get today, Hero Art’s Daisy and Bees Stamp Set, , over at Scrapbook.com. I used it to create a super cute card.
I stamped out my images from the Hero Arts Daisy and Bees stamp set and did a bit of masking so the ladybug could sit on the daisy. I also cut out masks because I wanted to ink up the background with some distress inks. Once my stamping and masking was complete, I inked blended using the following colors: Seedless Preserves, Stormy Sky, Speckled Egg, and Tumbled Glass.
To finish off the card, I stamped the sentiments on black cardstock, using Versamark ink and Hero Arts White embossing powder. I trimmed it down and placed them on my card (it actually covered over a blending boo-boo I had.. shhhh!).
Remember to if you’re shopping over at Scrapbook.com, to add this freebies to your cart.
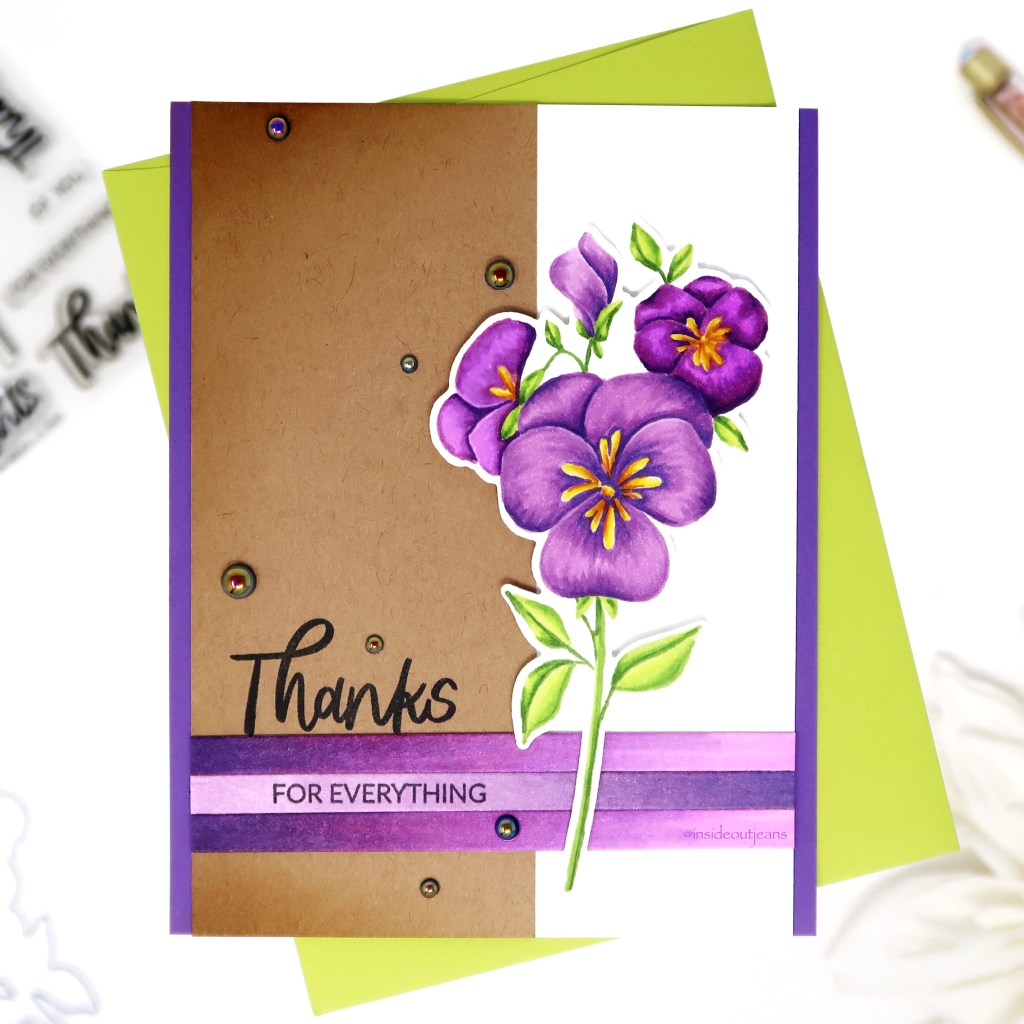
Welcome to the weekend crafty friends! Today, I’m sharing a card featuring the Ellen Hutson‘s new release stamp sets named, Pressing Thoughts. It’s a very simple floral set but perfect for lots of occasions. I shared a previous card that used the large floral as the main feature on the card (blog post for that card here).
All my supplies for creating this card will be listed down below (with multiple sources when available) for your curiosity and convenience. Affiliate links used when possible.
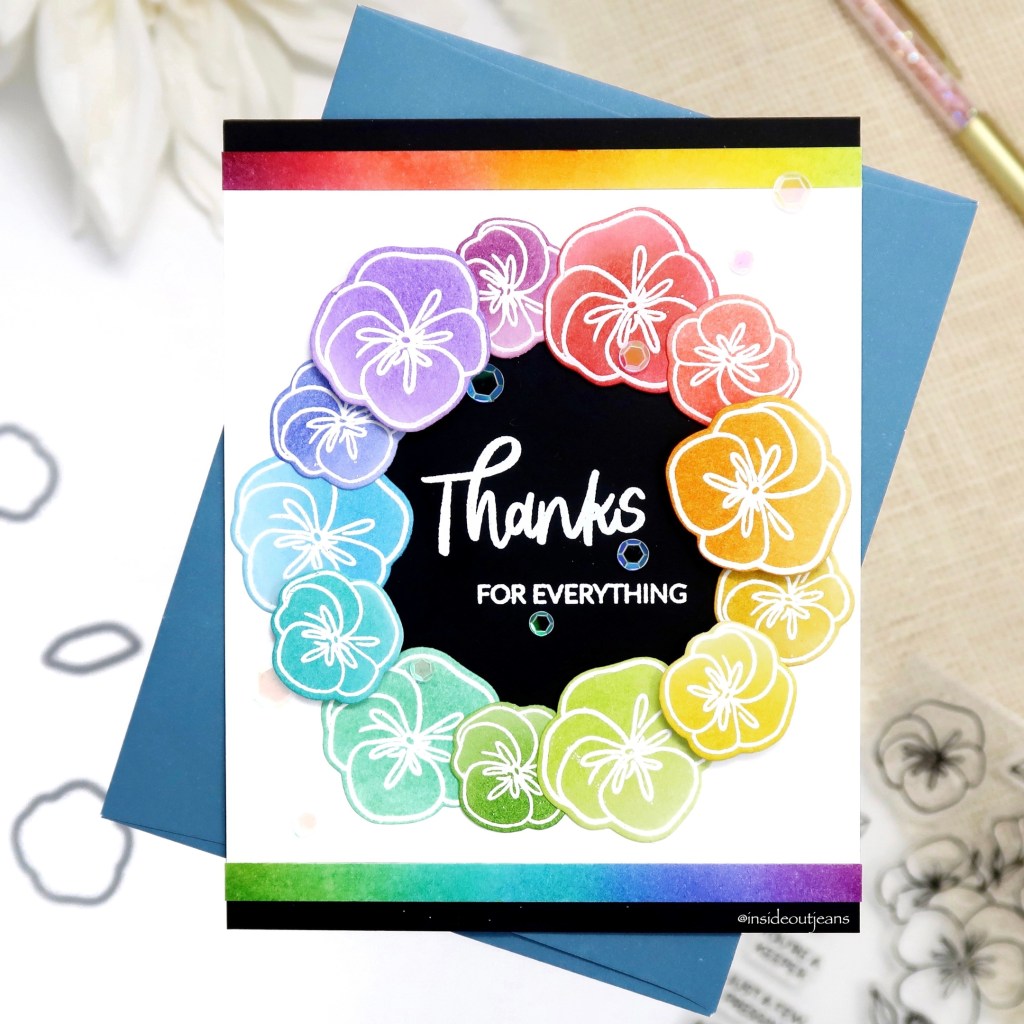
For the background, I chose to use a piece of white cardstock and cut out a circle using Hero Arts’ Infinity Circles. Using the circle cut out, I arranged the floral images to create a rainbow wreath. I used the same distress inks to ink up a strip of all the colors and trimmed it down to a quarter of an inch and placed in on the top and the bottom of the card.
I placed the rainbow wreath on top of black cardstock and stamped the sentiment in the middle of the circle. I also decided to add a few of the Trinity Stamps’ Soapy Bubbles embellishments.
Thanks for stopping by! Happy Crafting!
→ SUPPLIES USED ←
Some products are provided by manufacturers for review and use. Affiliate links may be used at no cost to you.
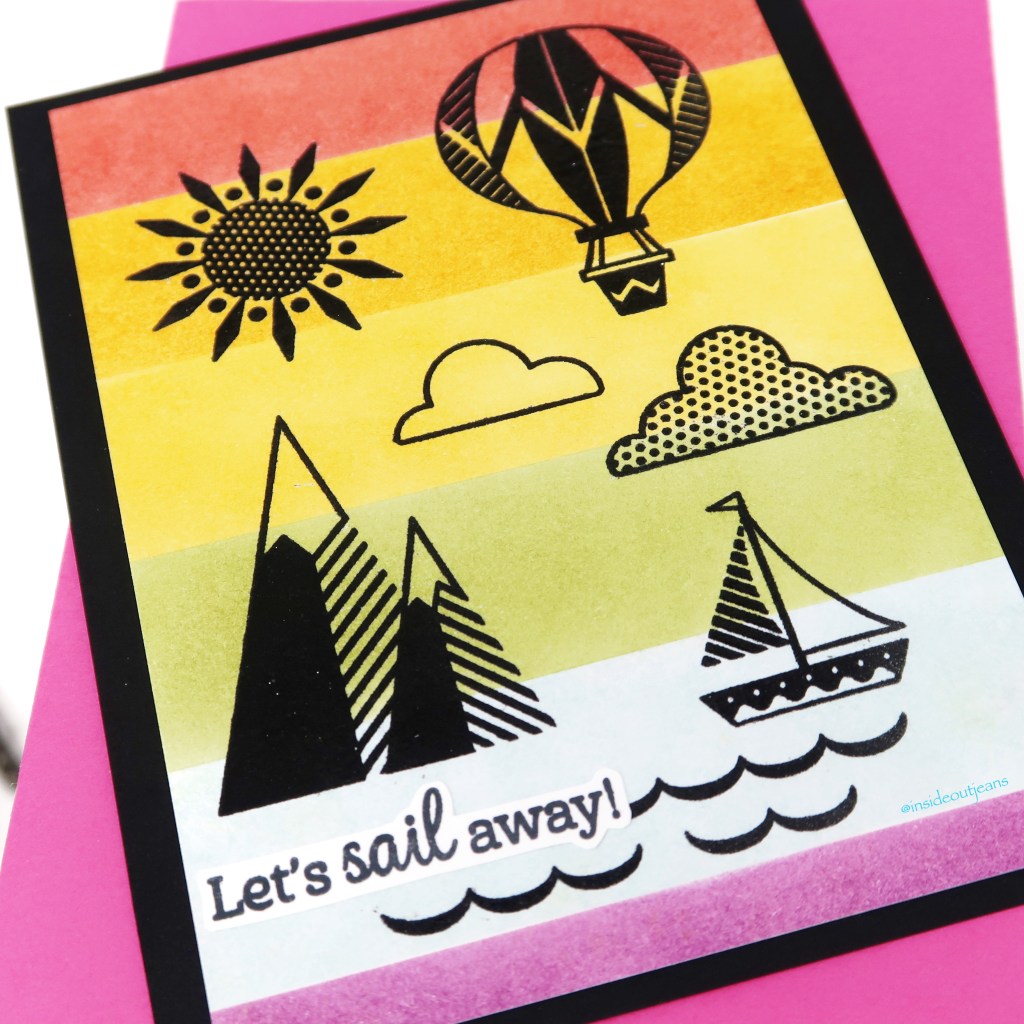
All my supplies for creating this card will be listed down below (with multiple sources when available) for your curiosity and convenience. Affiliate links used when possible.
To finish off the card, I stamped the sentiment on a piece of white cardstock and trimmed it down. I also matted my card panel on a piece of black cardstock.
→ SUPPLIES USED ←
Some products are provided by manufacturers for review and use. Affiliate links may be used at no cost to you.
Hi everyone! It’s Jeannie (InsideoutJeans) on the blog today with Trinity Stamps sharing a card I created in collaboration with my crafty friend, Shanna. We decided to pick similar Trinity products to create a card for today. Check out what she created over on her instagram. We used the Summer School stencil along with some alpha dies. I picked my favorite, Graham Cracker Alphabet.
Using the Summer School stencil A, I decided to ink it up the fish using a rainbow array of colors: Sweet Petunia Pink, Marigold Orange, Bee Sting Yellow, Goddess Green and Trinity Teal (all ink colors you can find in the Trinity shop). I wanted to create a full background with it so I shifted it and did it twice. I also trimmed this panel by a quarter of an inch, so it measures at 4 x 5.25.
There are some dolphins in Summer School stencil C so I decided to use Hickory Smoke Distress ink with a bit of Black Soot to add some shading. I decided to fussy cut them out so I can add them later to my card.
Using the same colors for my rainbow array of colors, I took another A2 card panel and inked up the sides of that panel in the same rainbow colors.
To finish off the card, I cut my own custom, punny sentiment using the Graham Cracker Alphabet dies to read “Sea You Soon”. I cut a piece of vellum just so the sentiment can stand out and added the dolphins right on top.
Thanks for stopping by today and I hope you get inspired to create. Come back again soon for more inspiration and ideas! Happy Crafting!