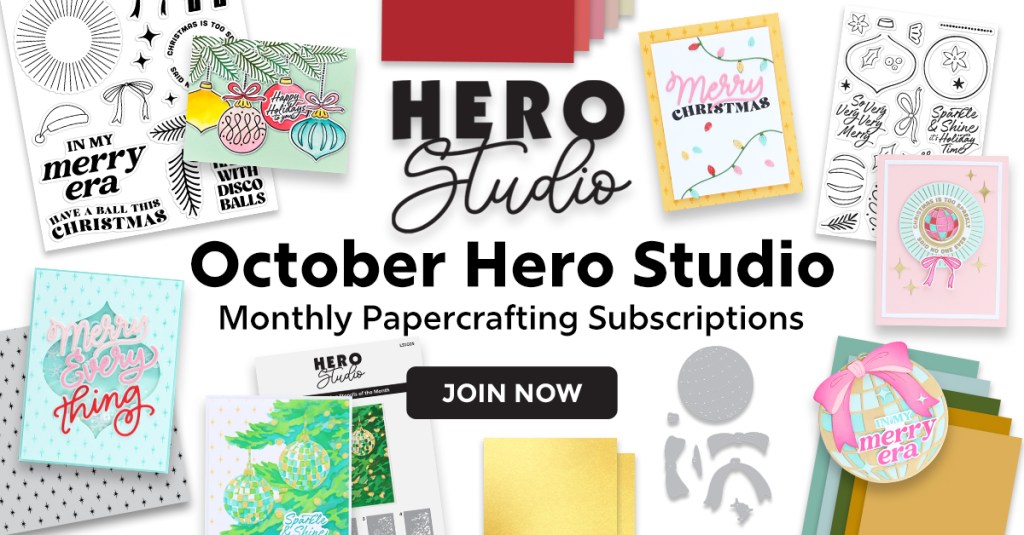
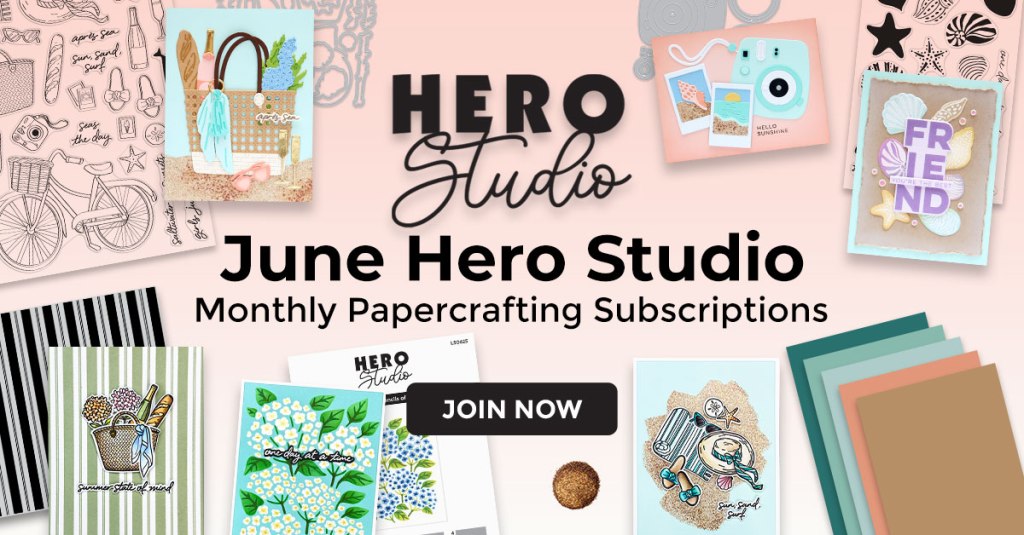
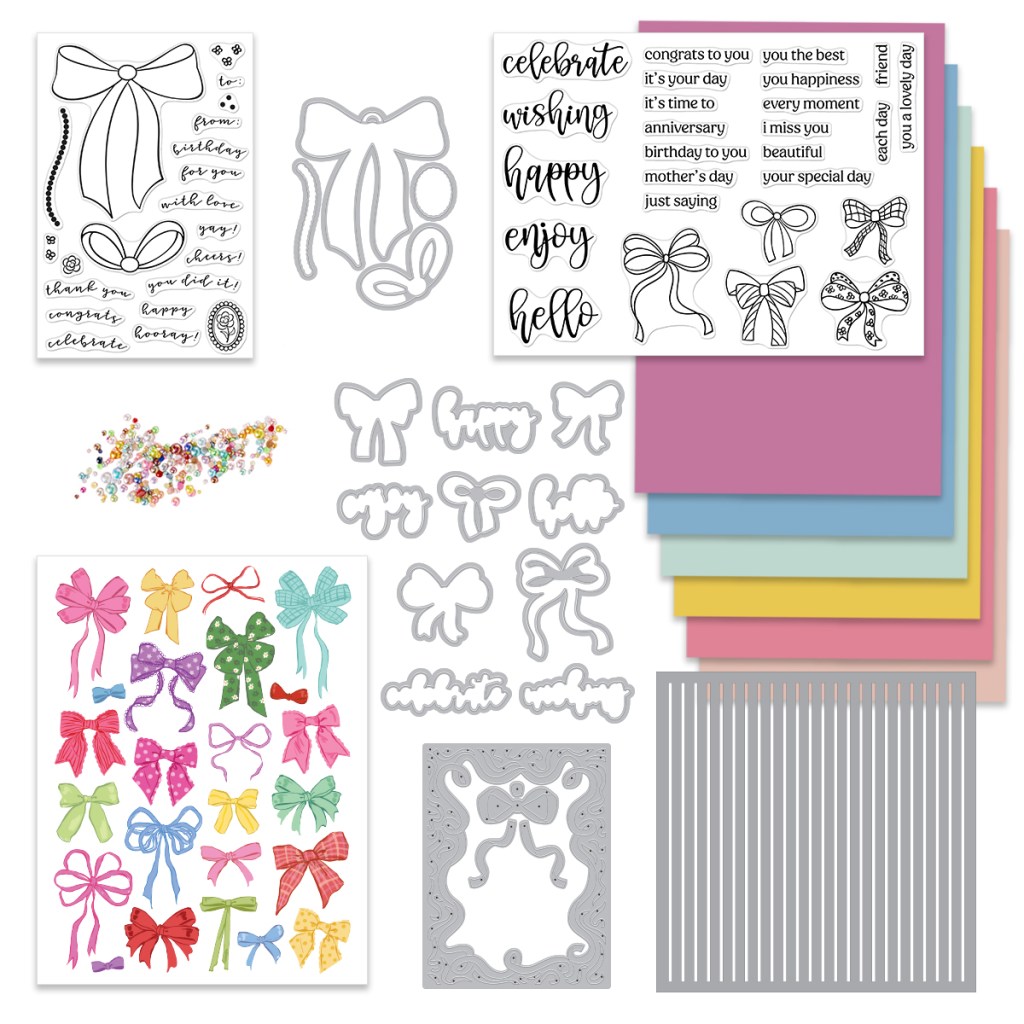
Hi crafty friends! Today, we are hopping along to introduce the November 2025 Hero Studio collection from Hero Arts and remember, there’s 6 subscription options: 1) Card Kit of the Month 2) Stamp & Cut of the Month 3) Die Set of the Month 4) Layering Stencil Set of the Month 5) Cling of the Month and 6) Whole Studio (all 5 in one!).
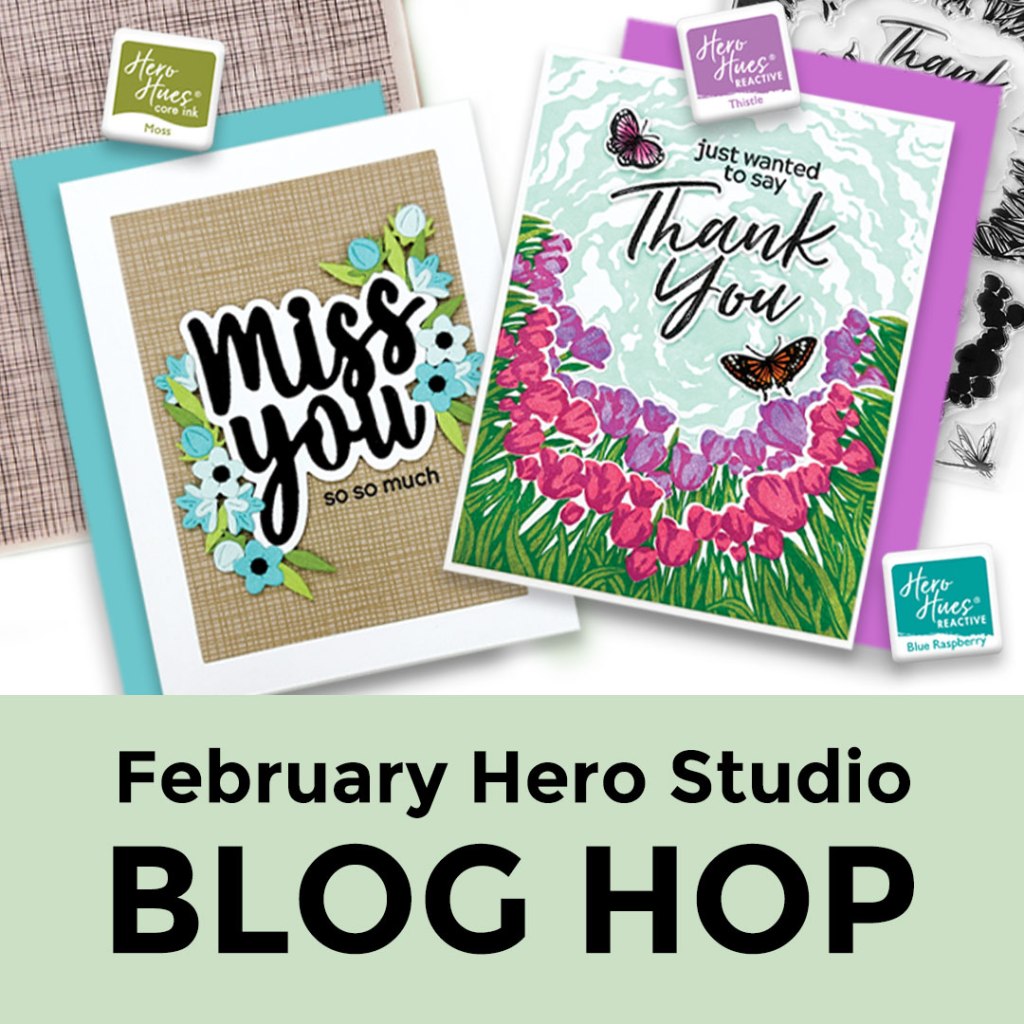
<BLOG HOP GRAPHIC>
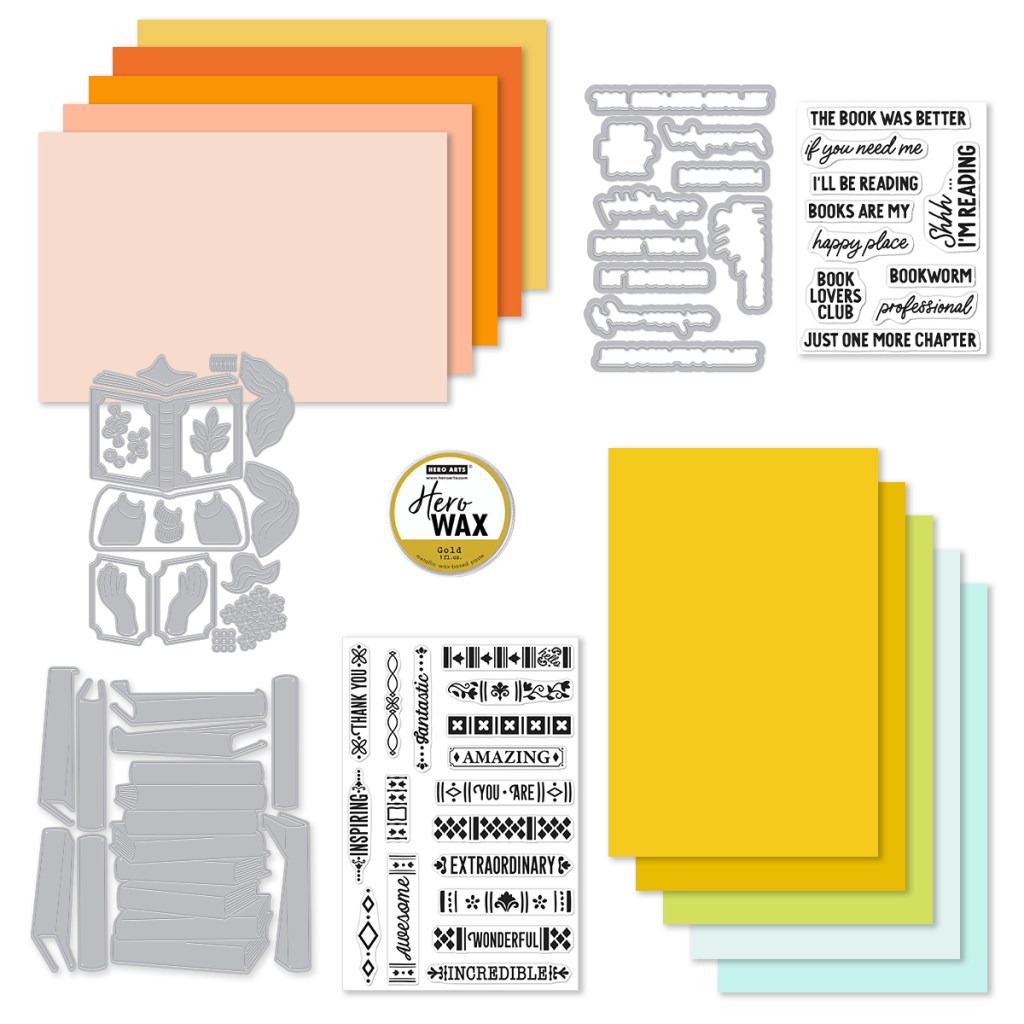
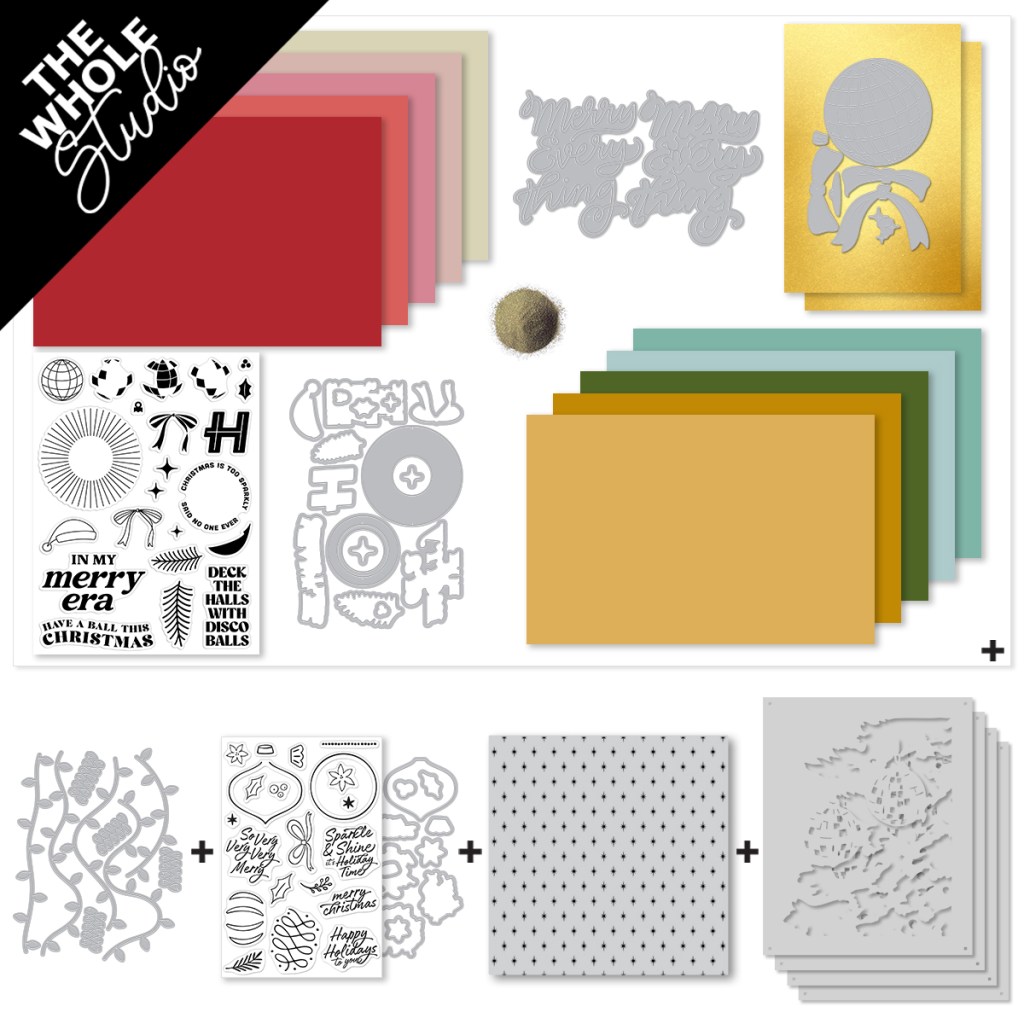
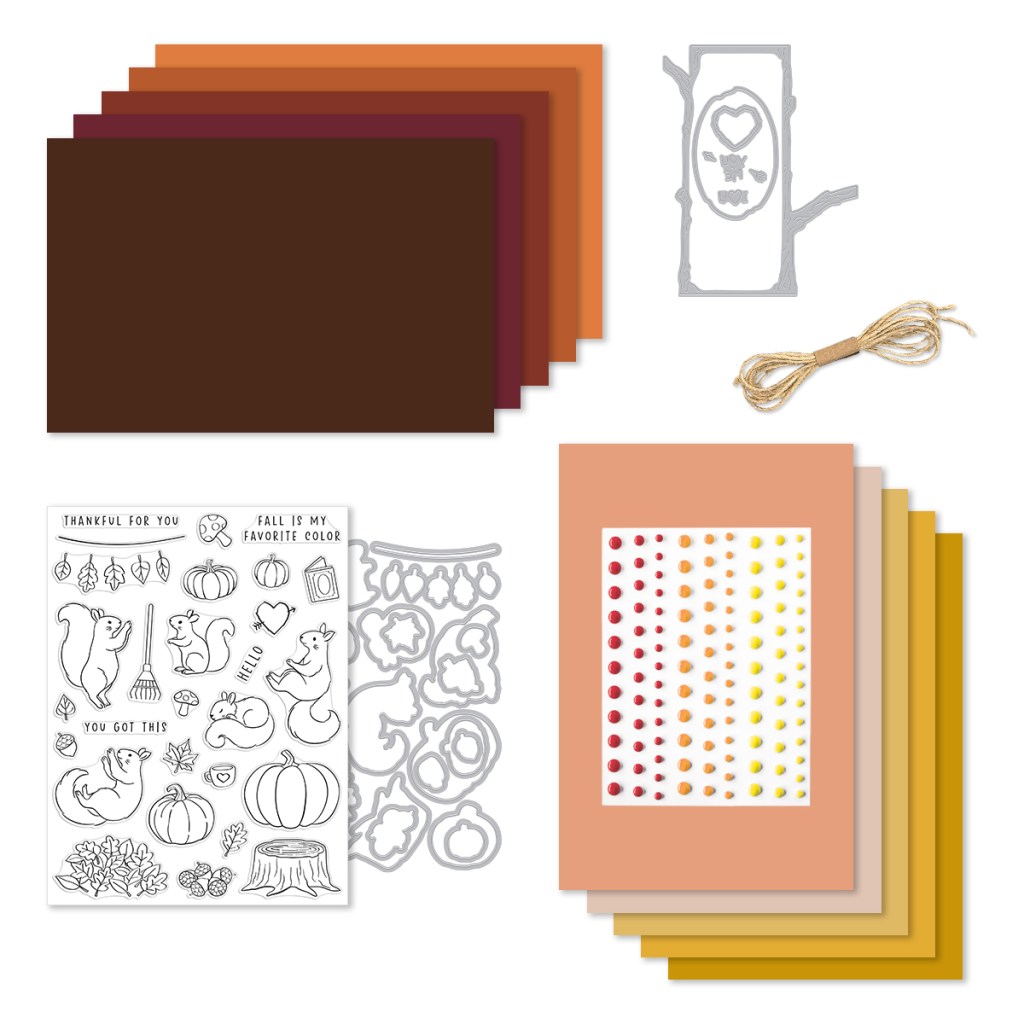
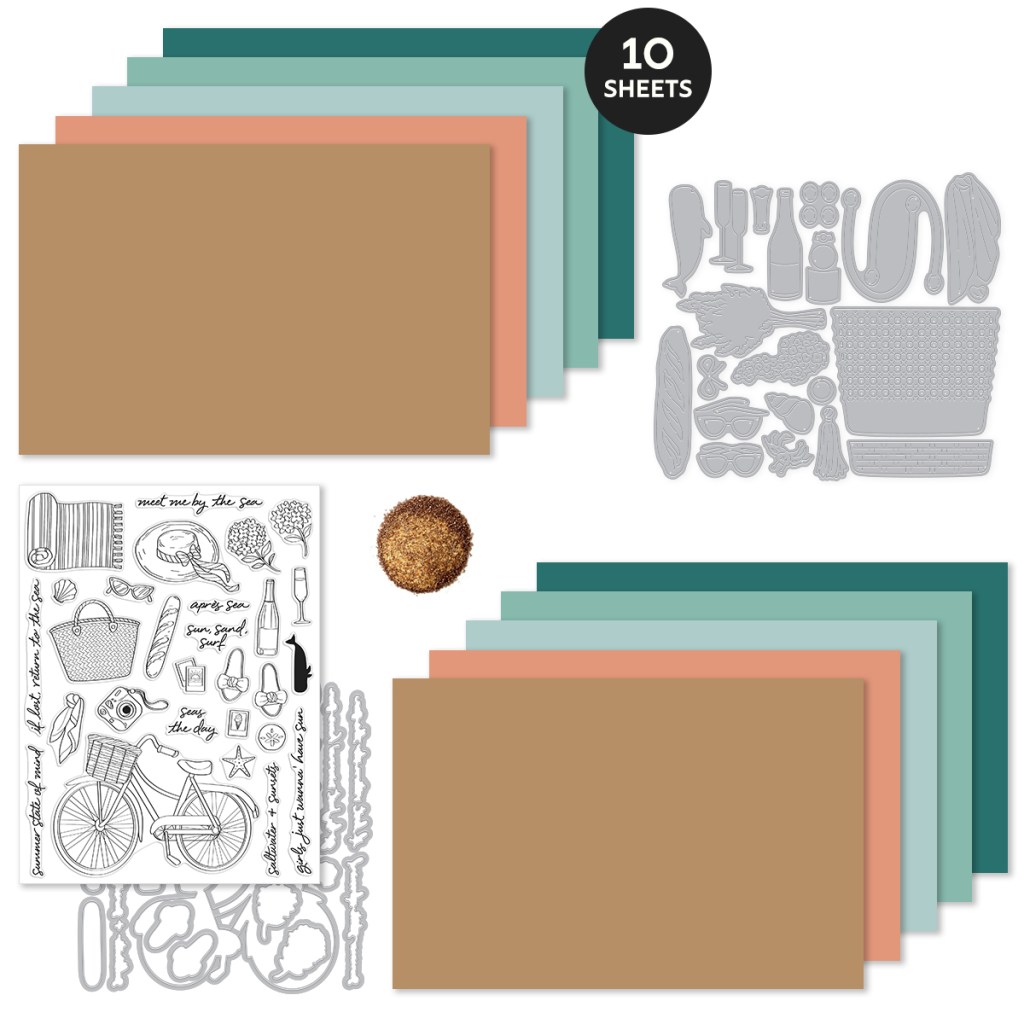
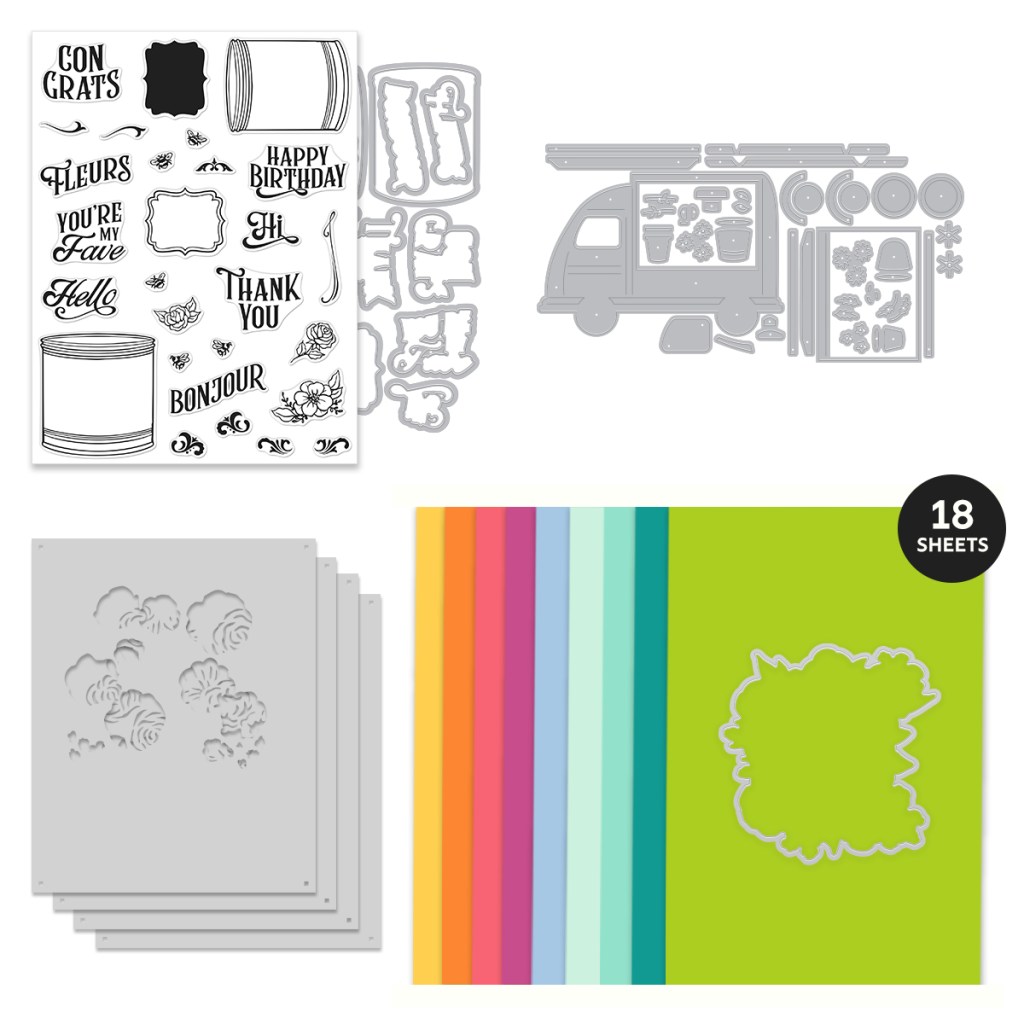
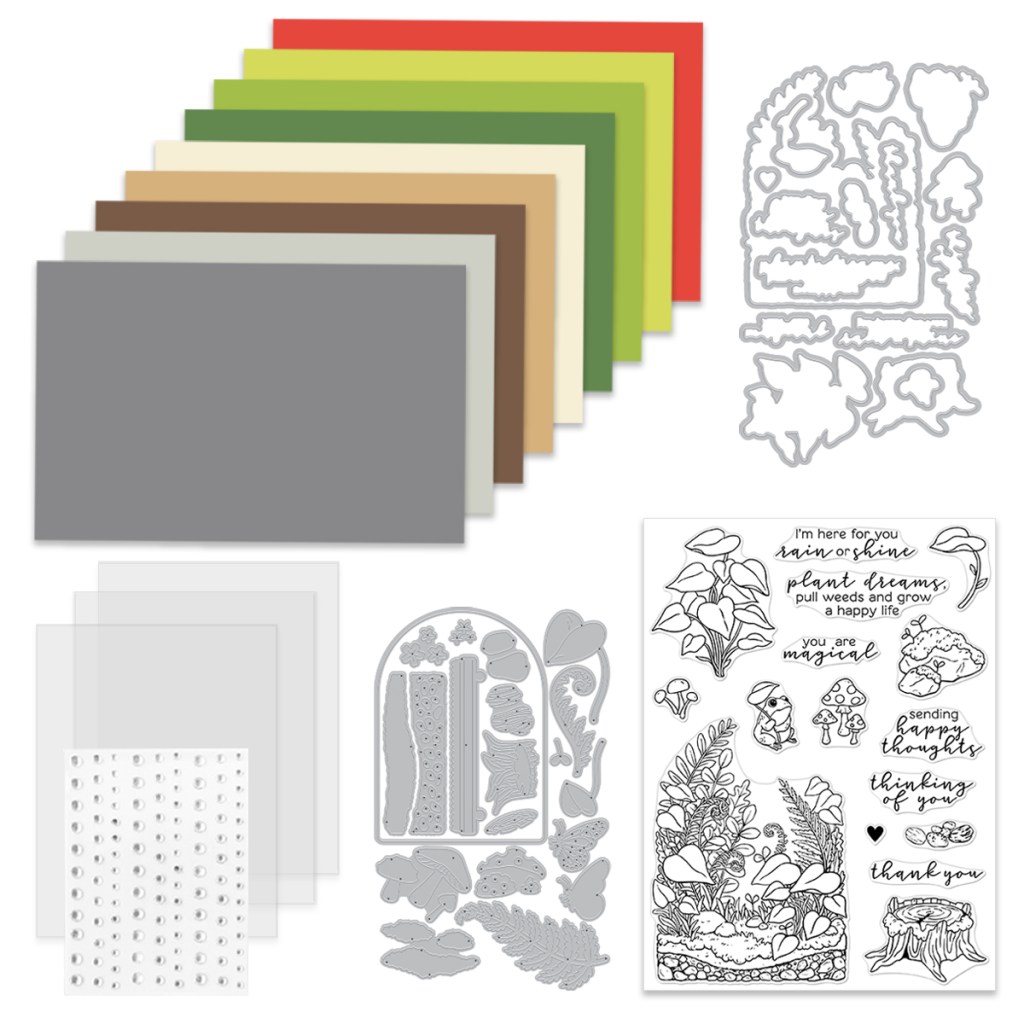
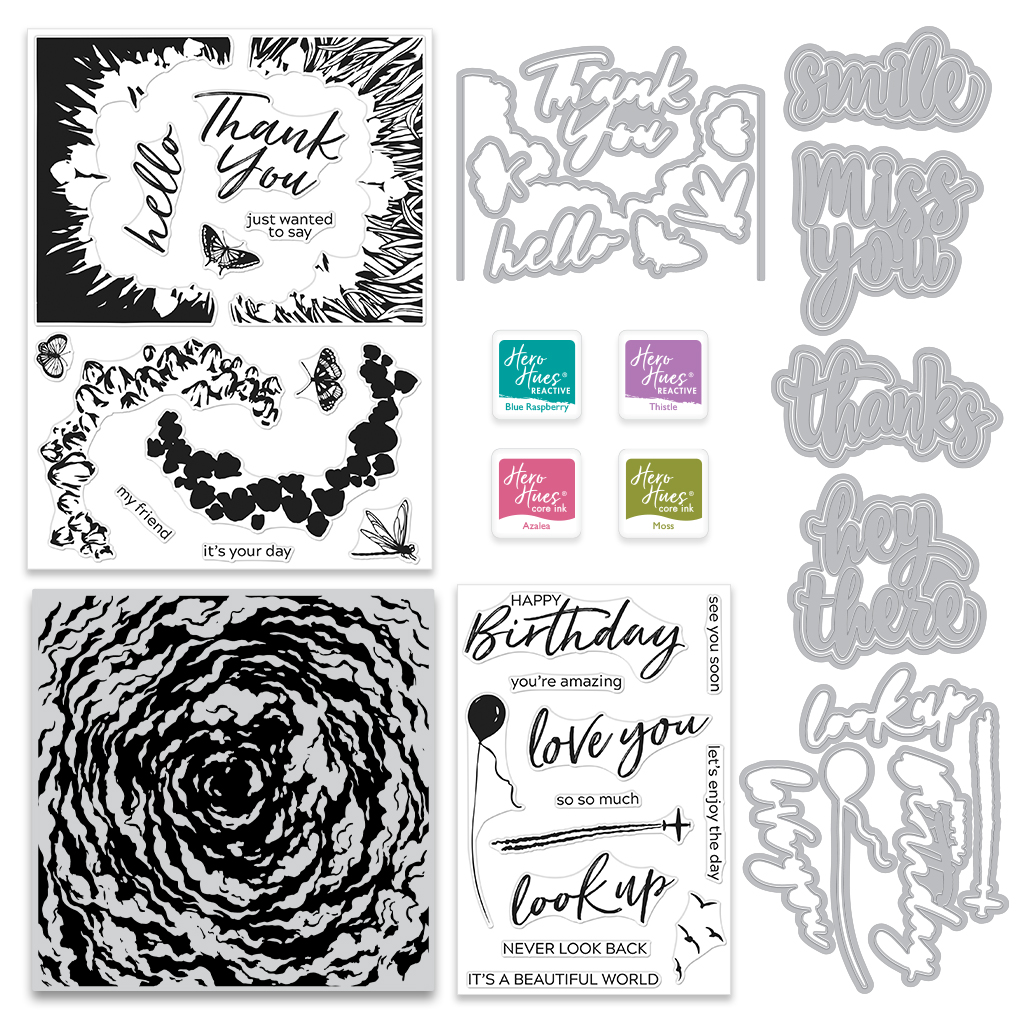
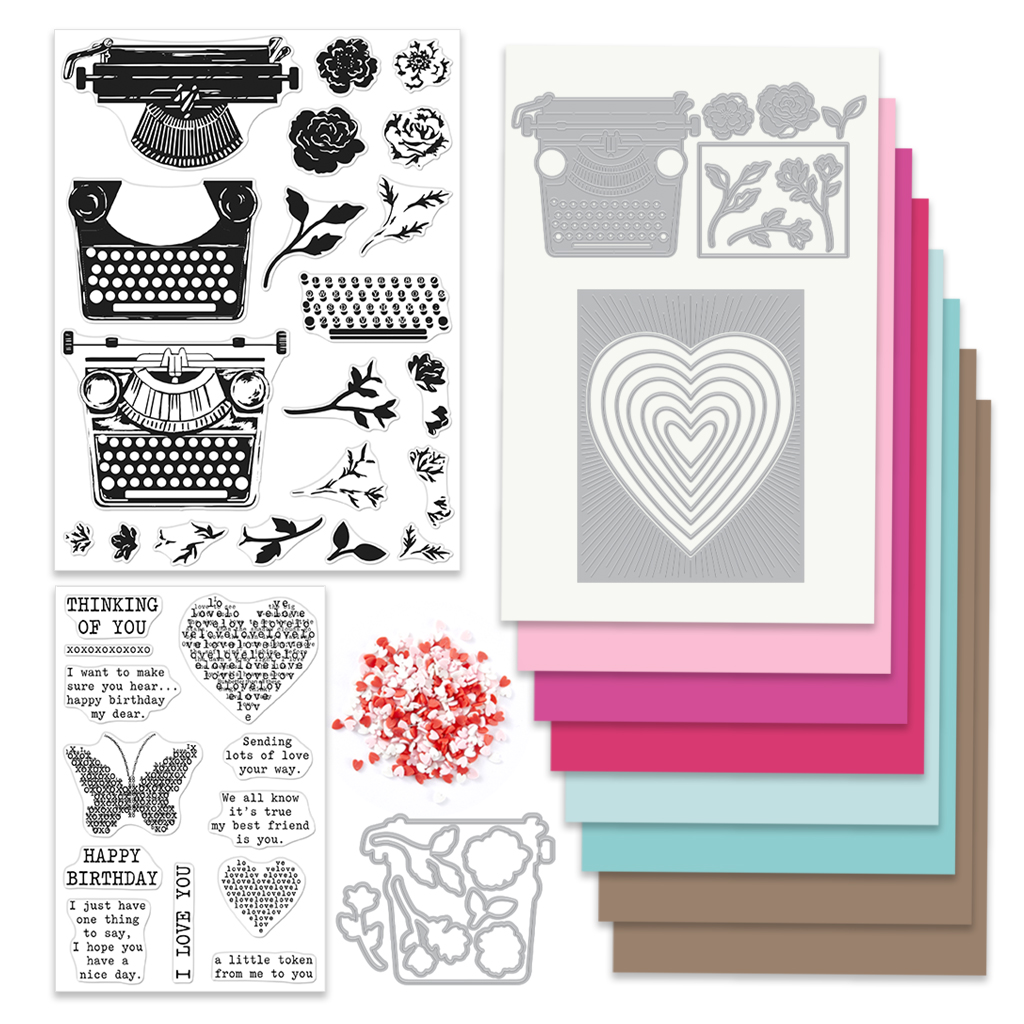
Let’s start by taking a closer look at the October Card Kit of the Month.
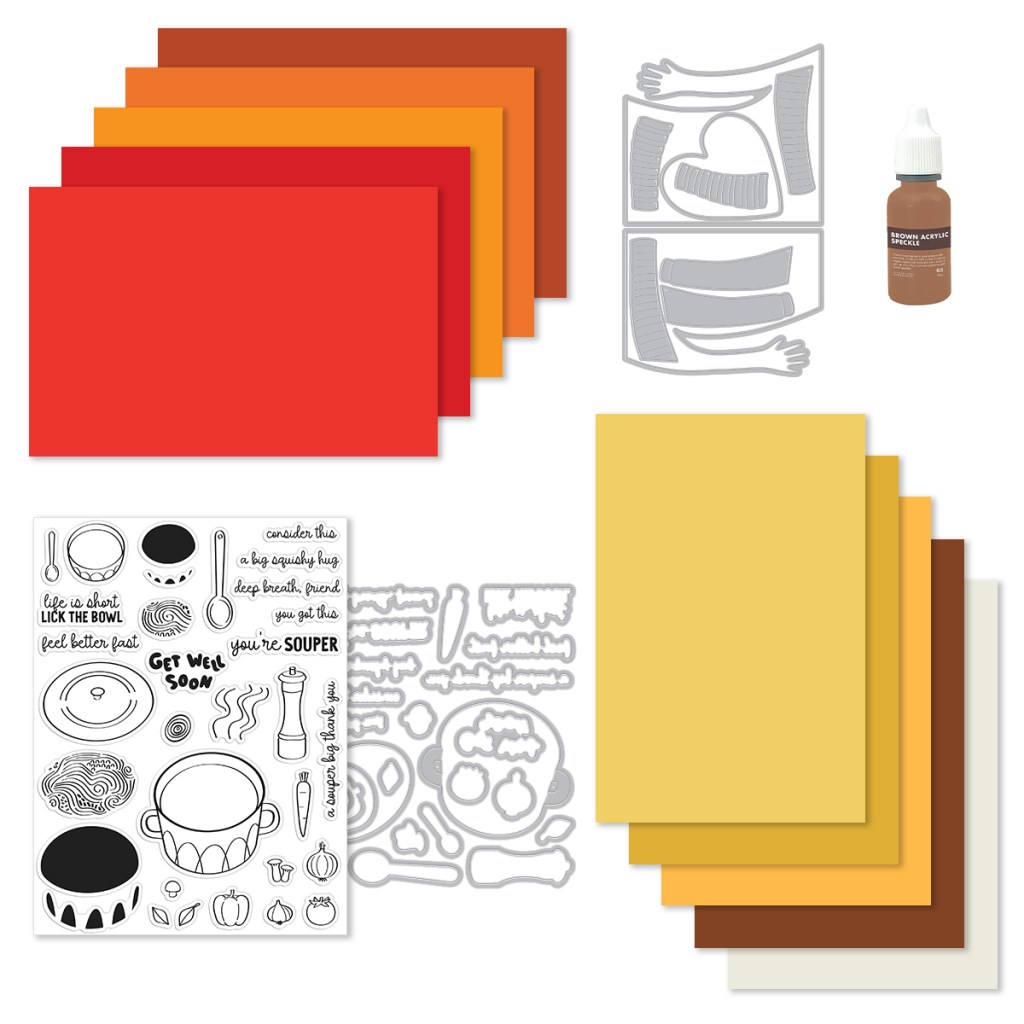
Includes:
- You’re Souper Clear Stamp Set
- You’re Souper Coordinating Dies
- Big Squishy Hugs Die Set
- Brown Acrylic Speckle, .5 oz.
- 10 Sheets of Cardstock- 1 of each color, 5.5″ x 8.5″ (Poppy, Pomegranate, Carrot, Terra Cotta, Cinnamon, Beeswax, Saffron, Tuscan, Truffle, Alabaster)
There’s a ton of inspiration and the full blog lineup can be found on the Hero Arts blog. You should be coming from Jennifer Kotas‘s blog and your next stop will be Charlene Madrid. The full blog list will also be updated below.
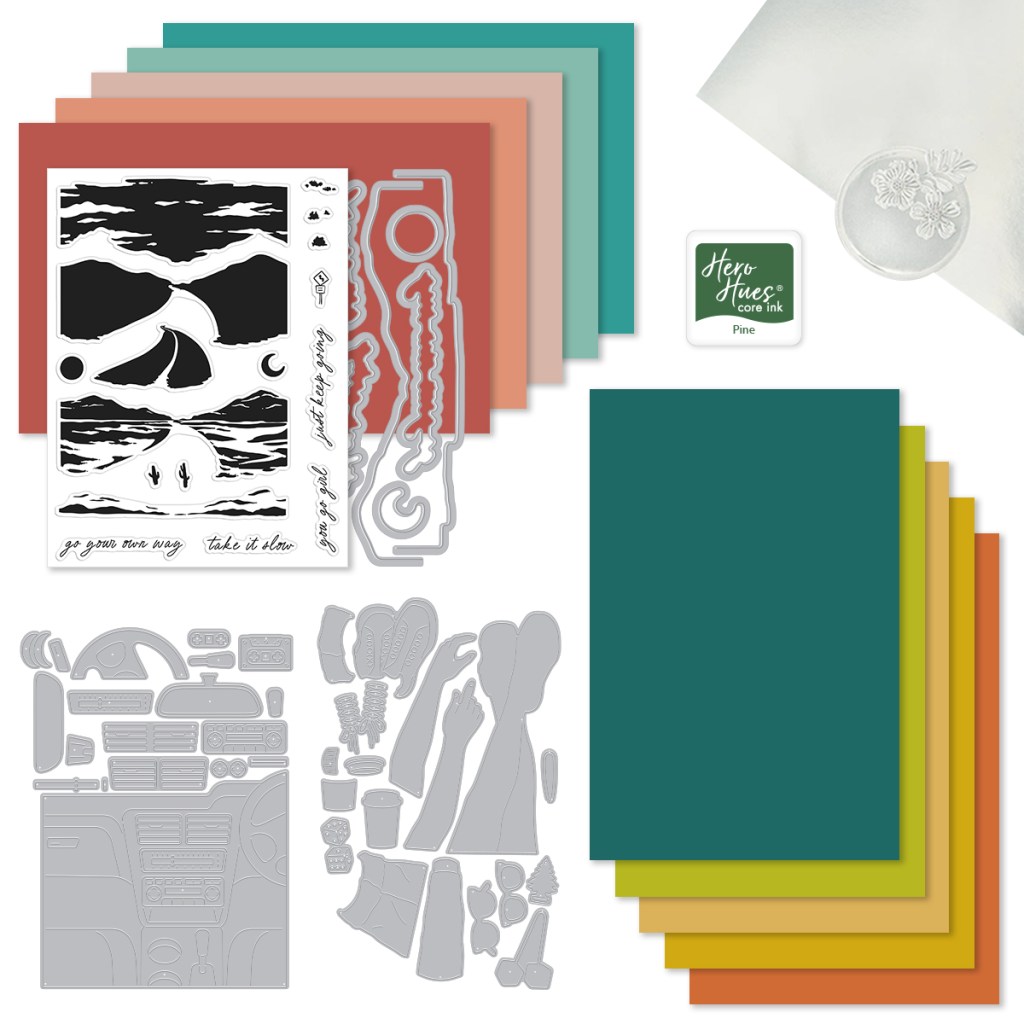
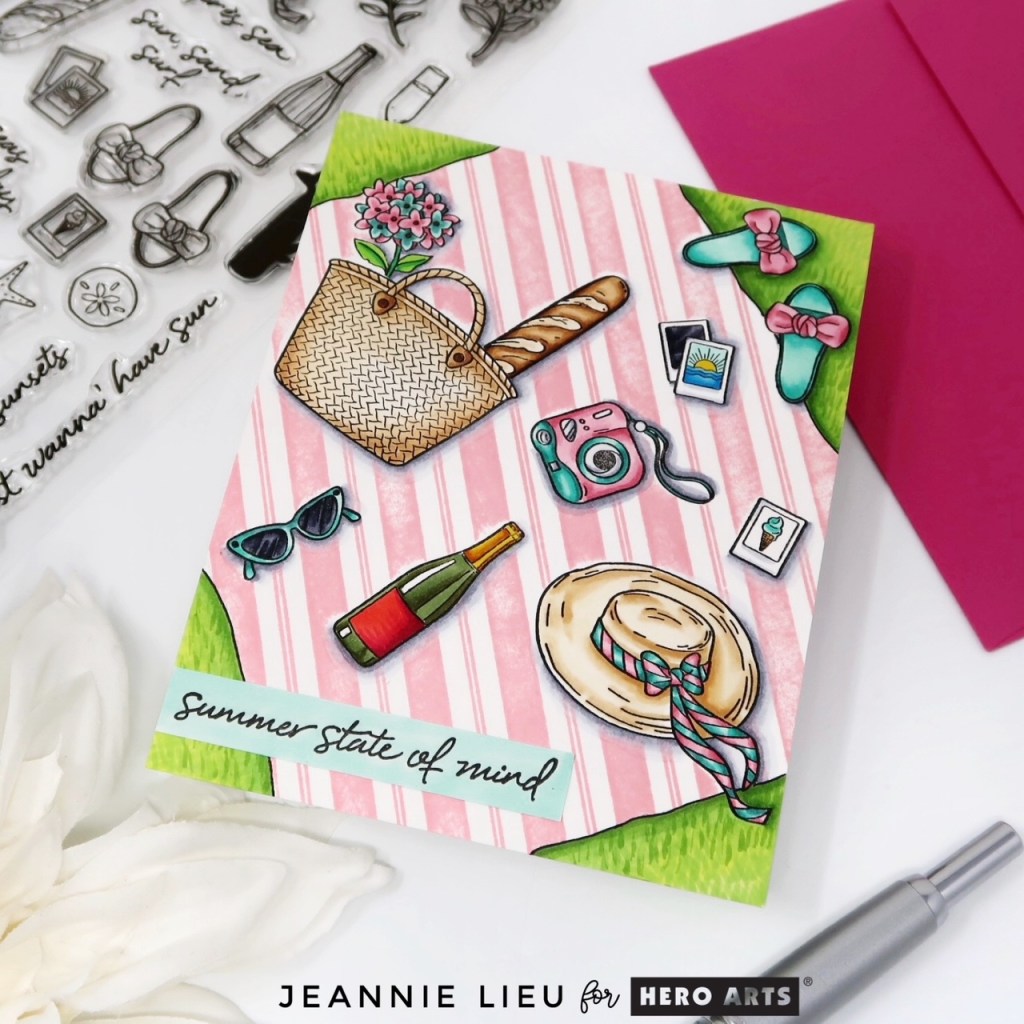
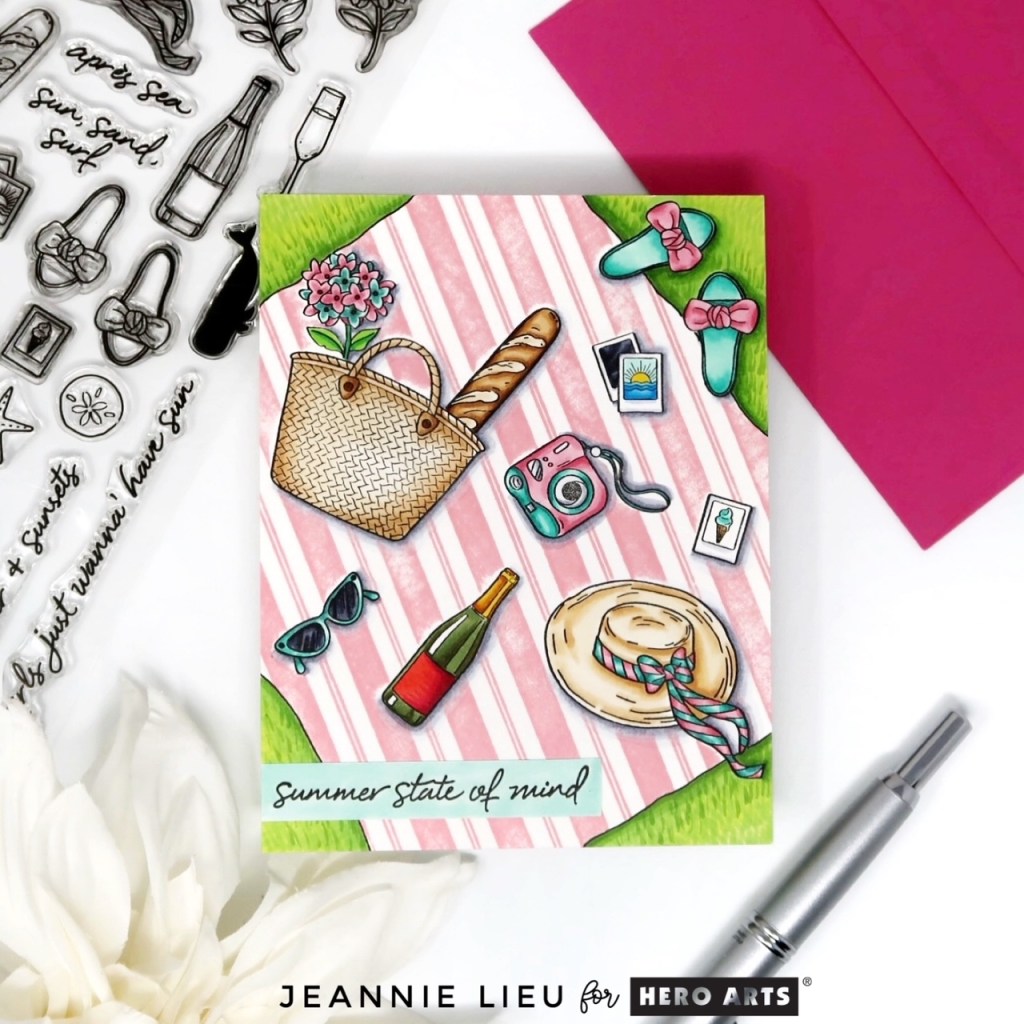
I have two cards to share with you today featuring the Die Set of the Month and the Layering Stencil Set of the Month.
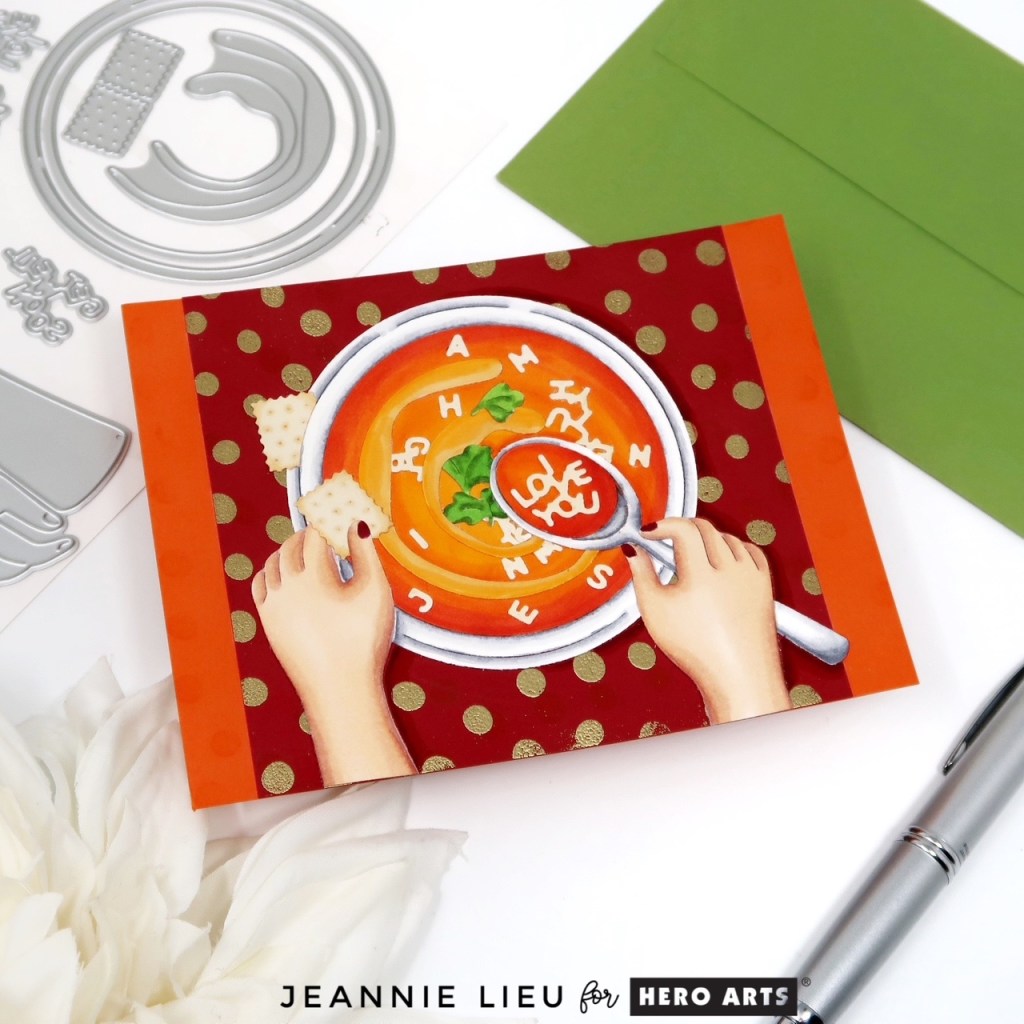
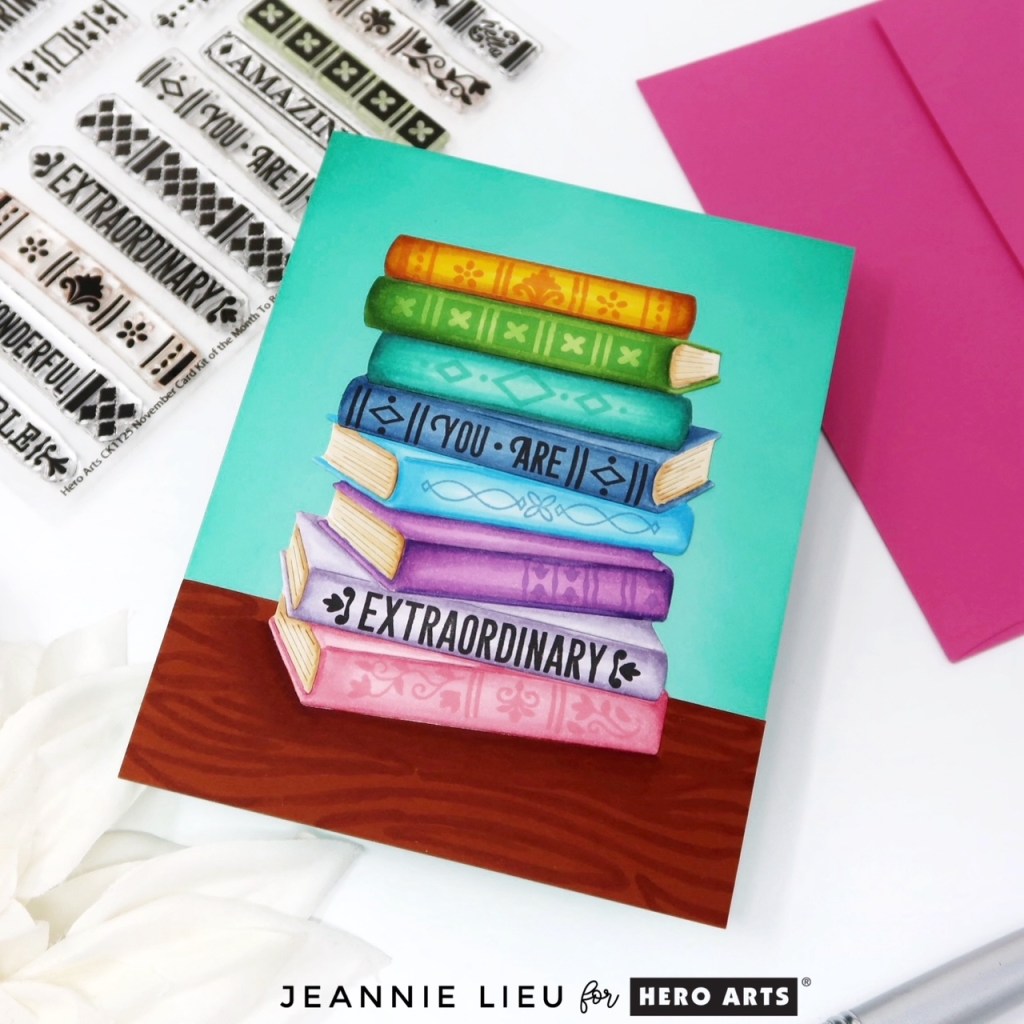
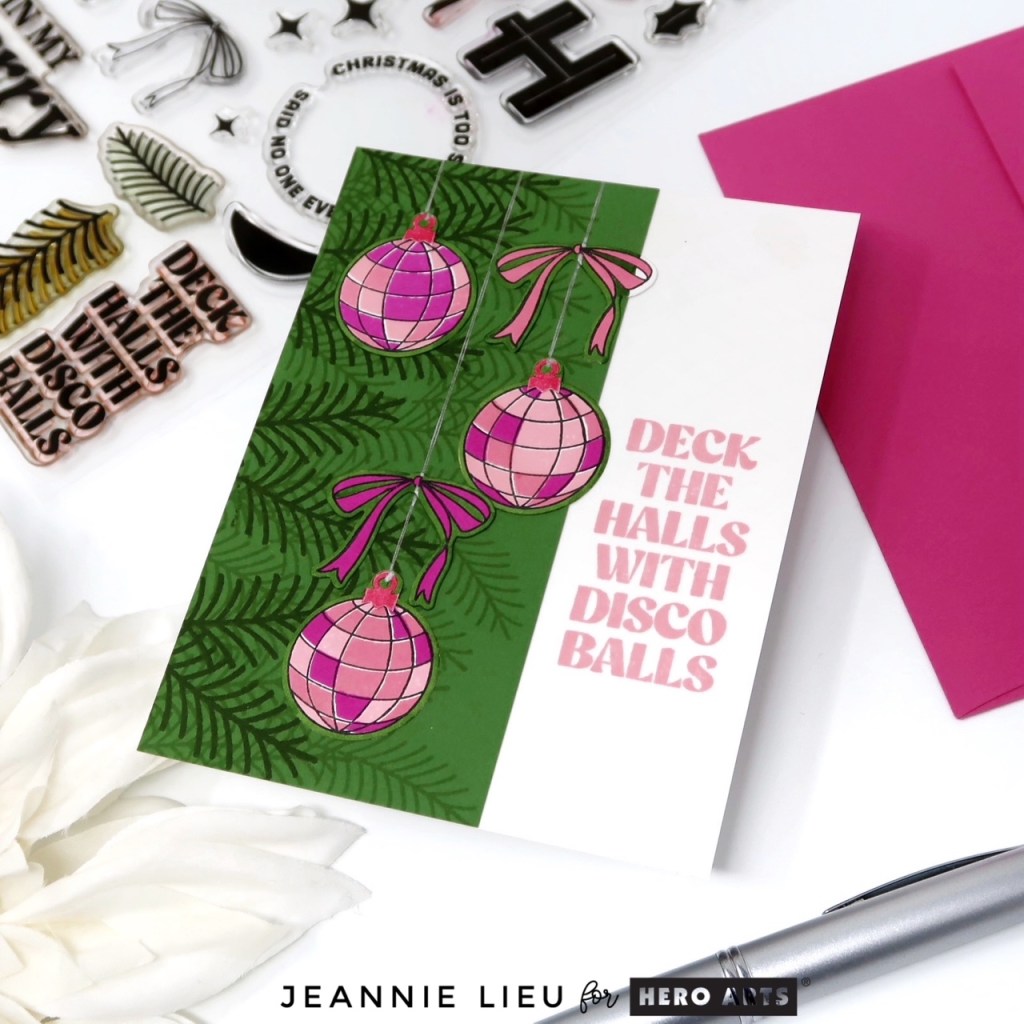
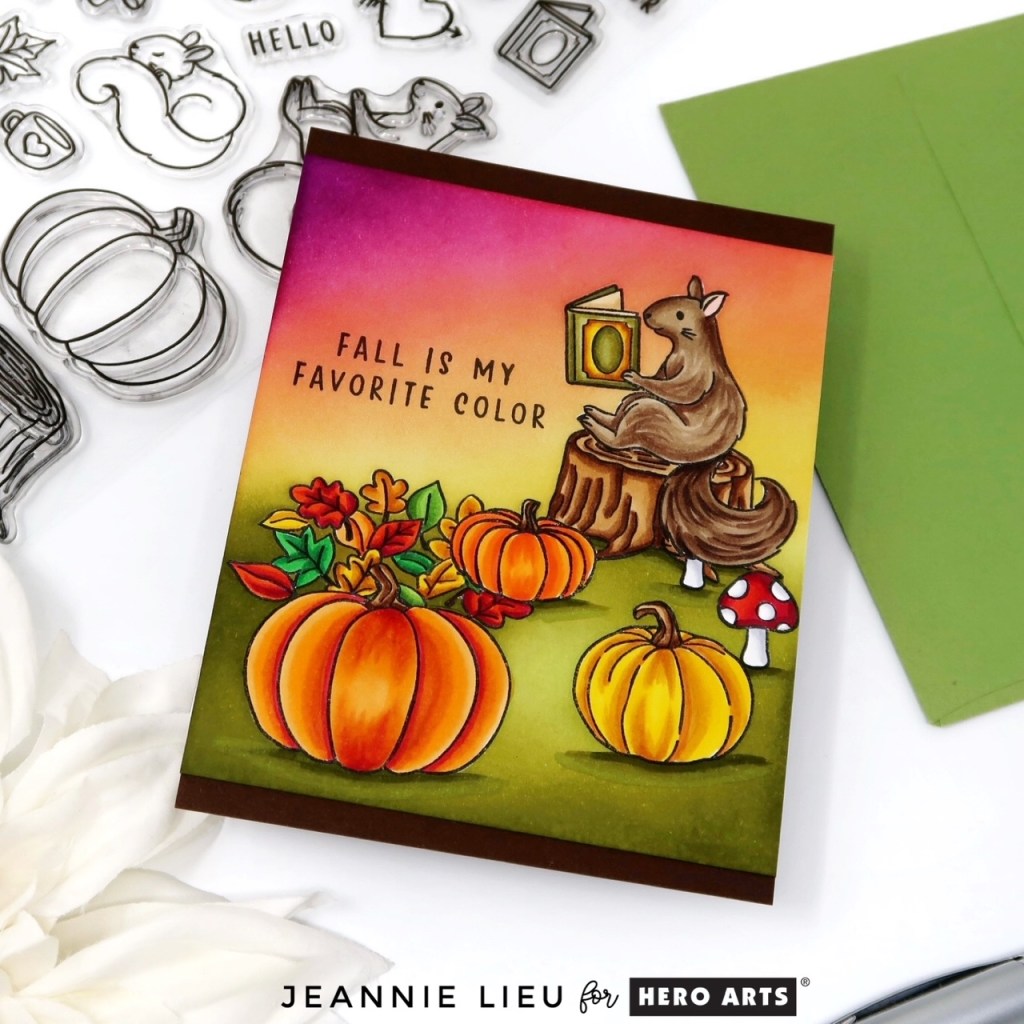
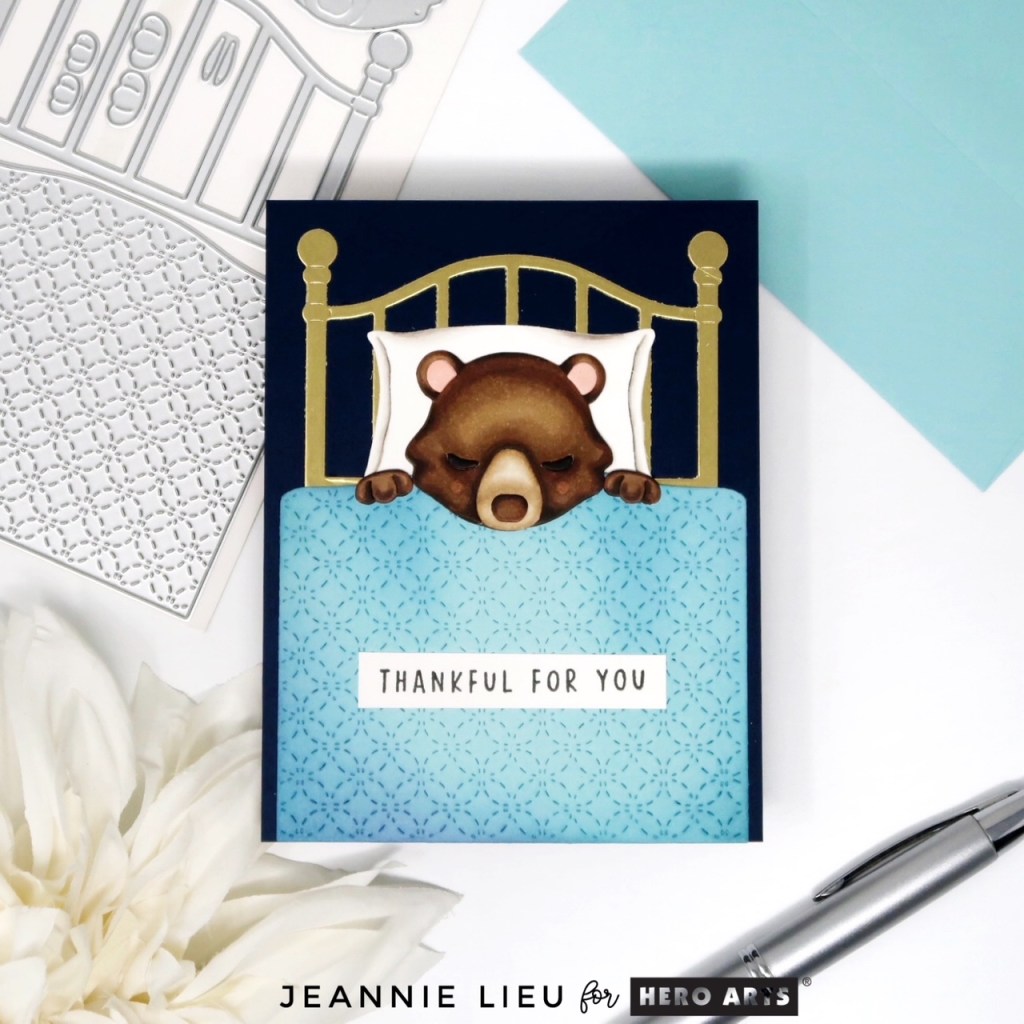
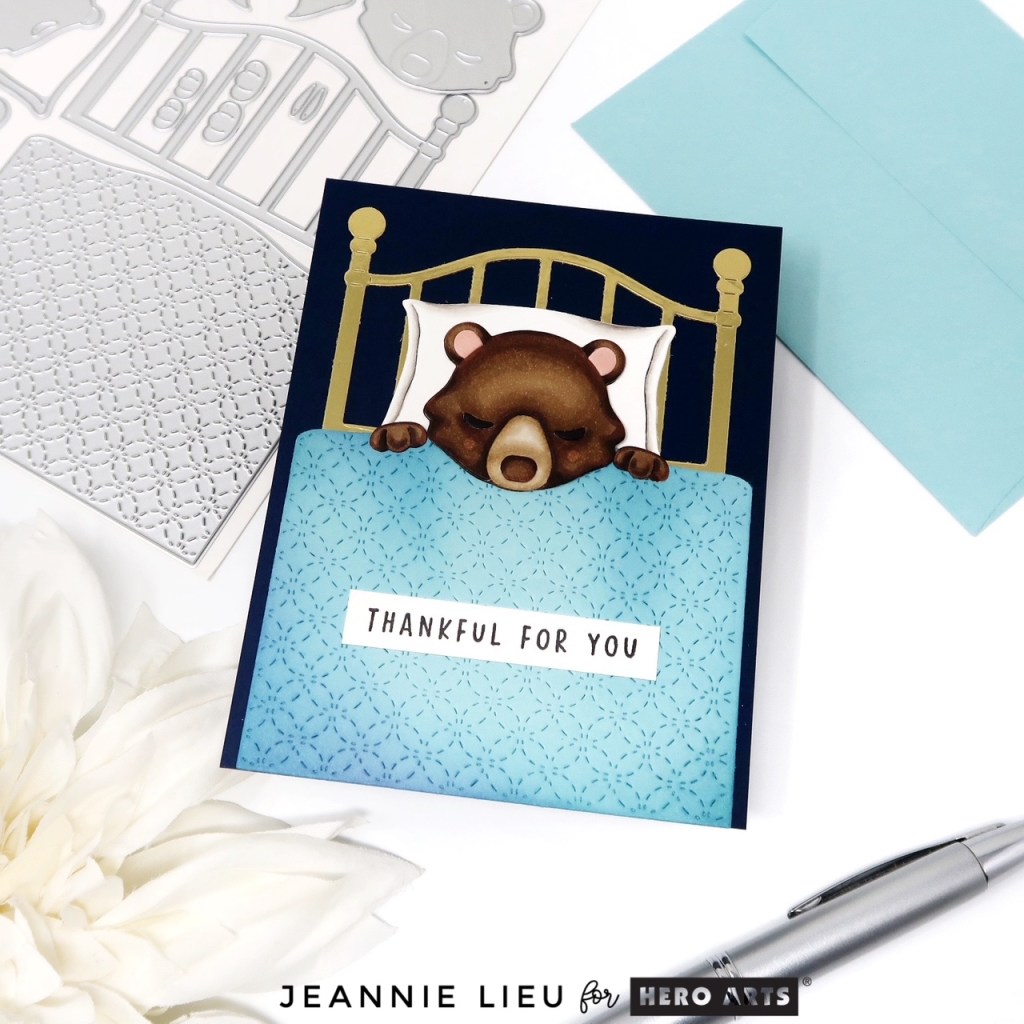
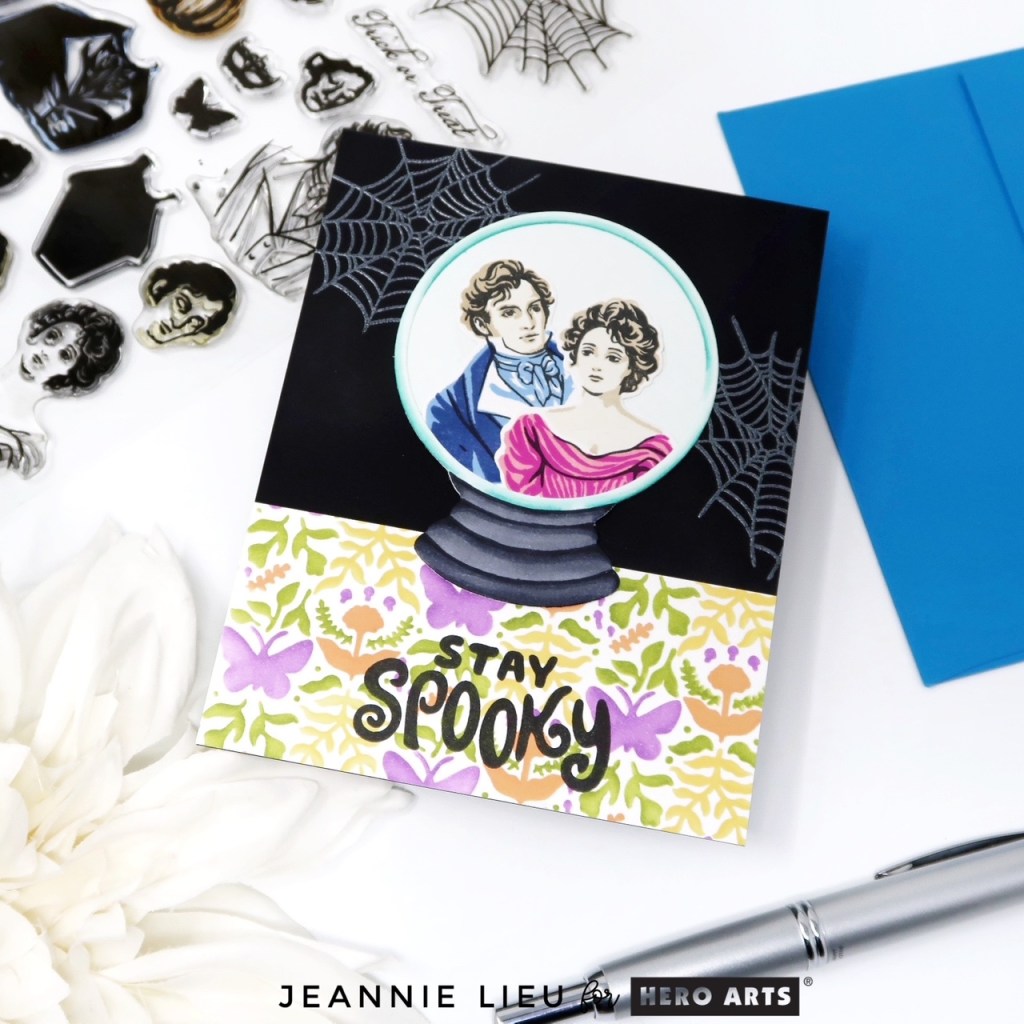
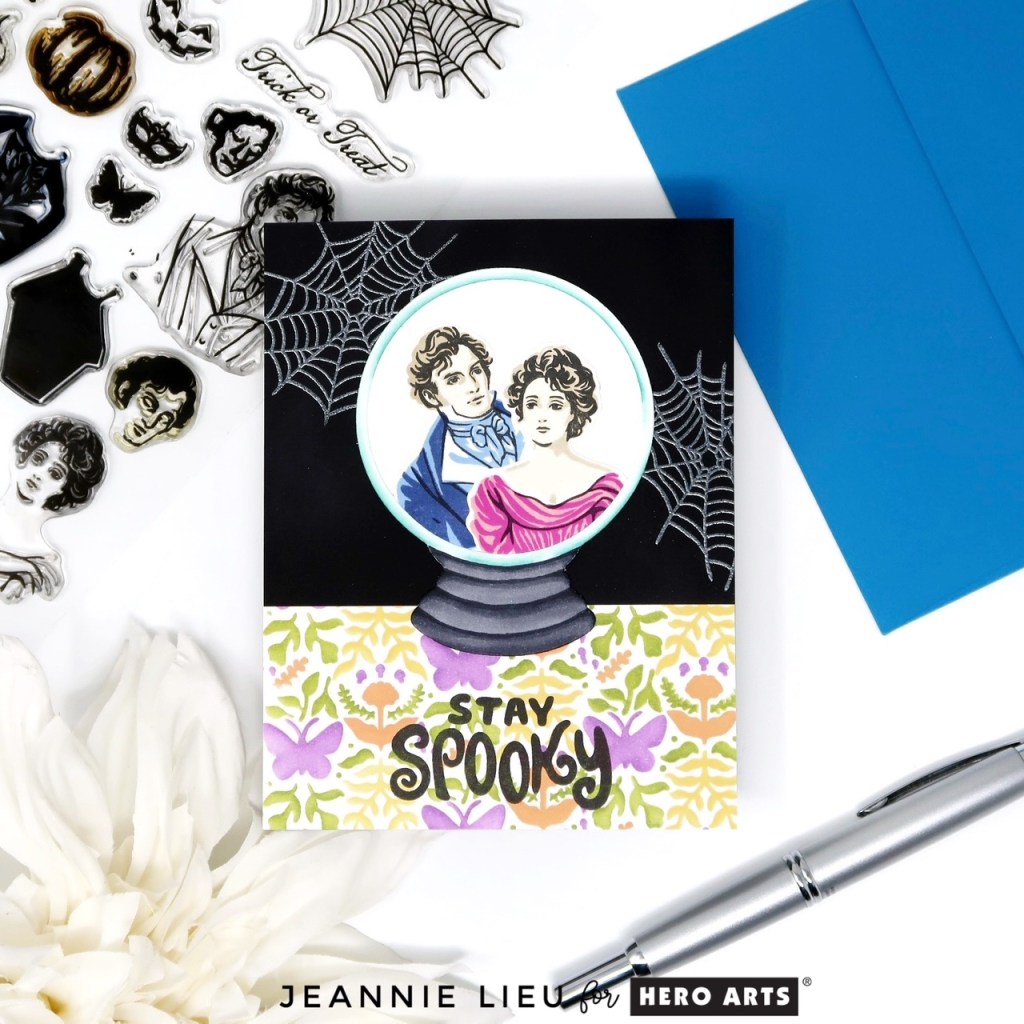
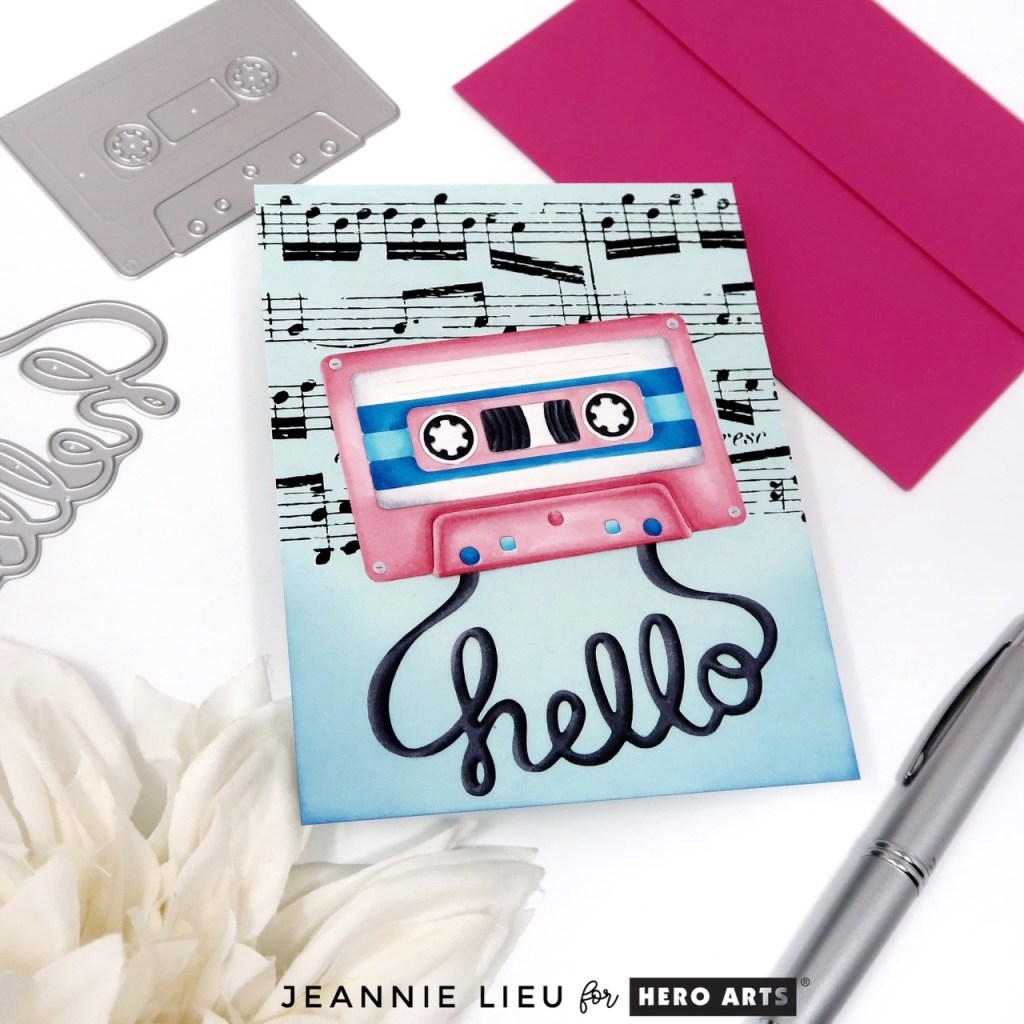
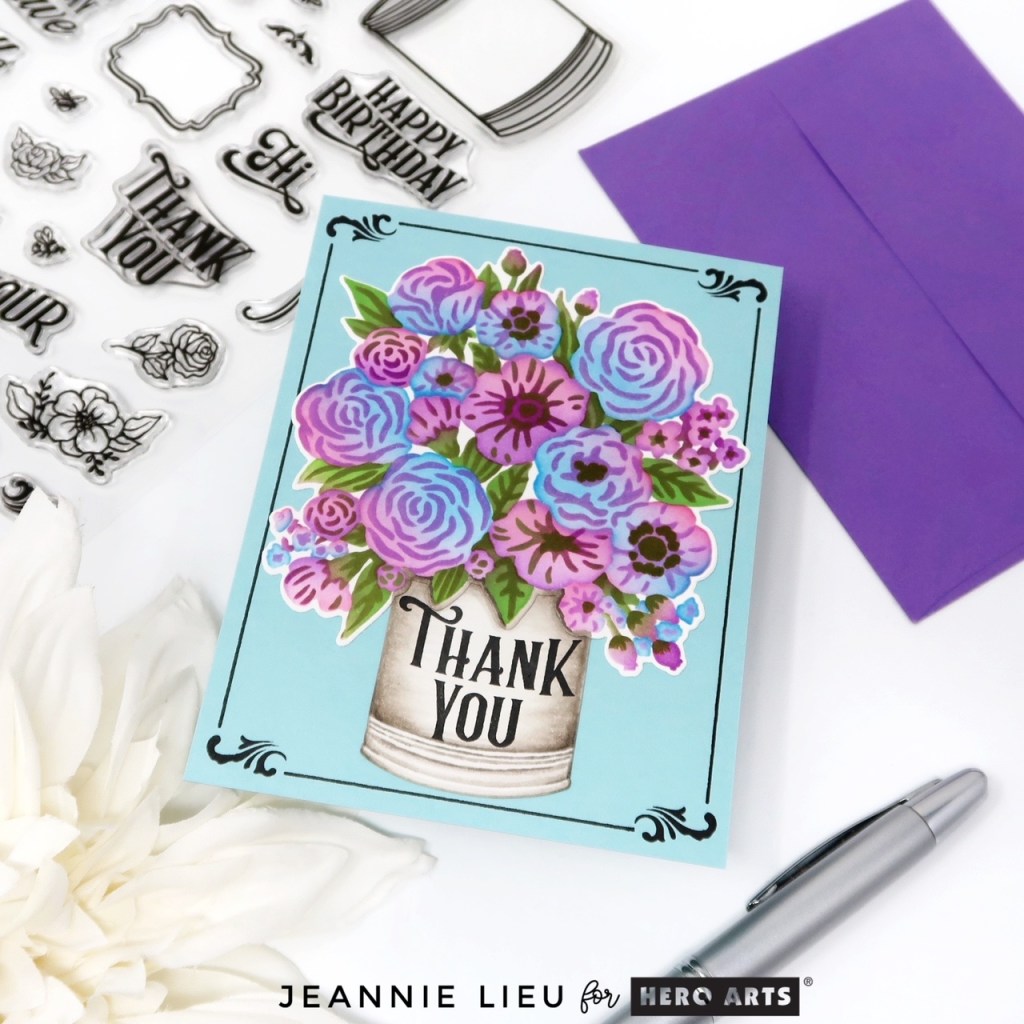
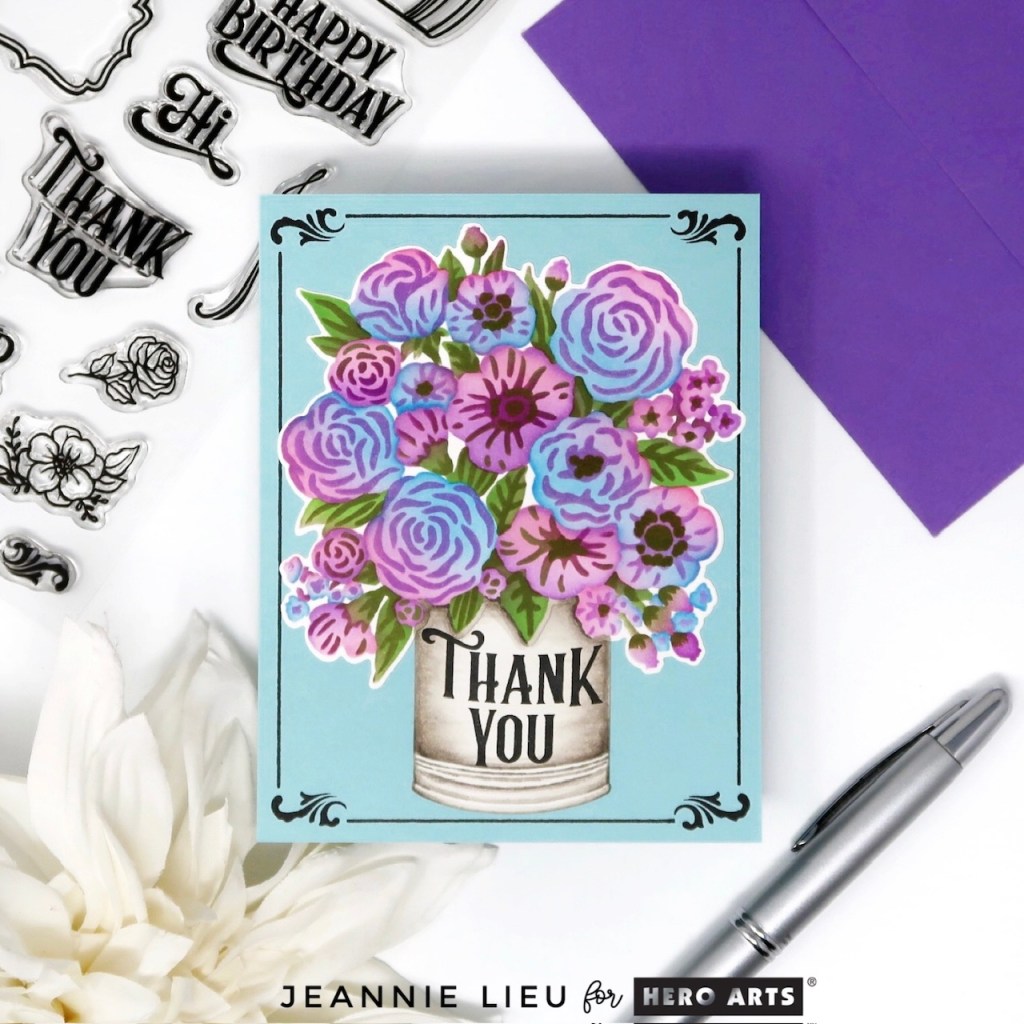
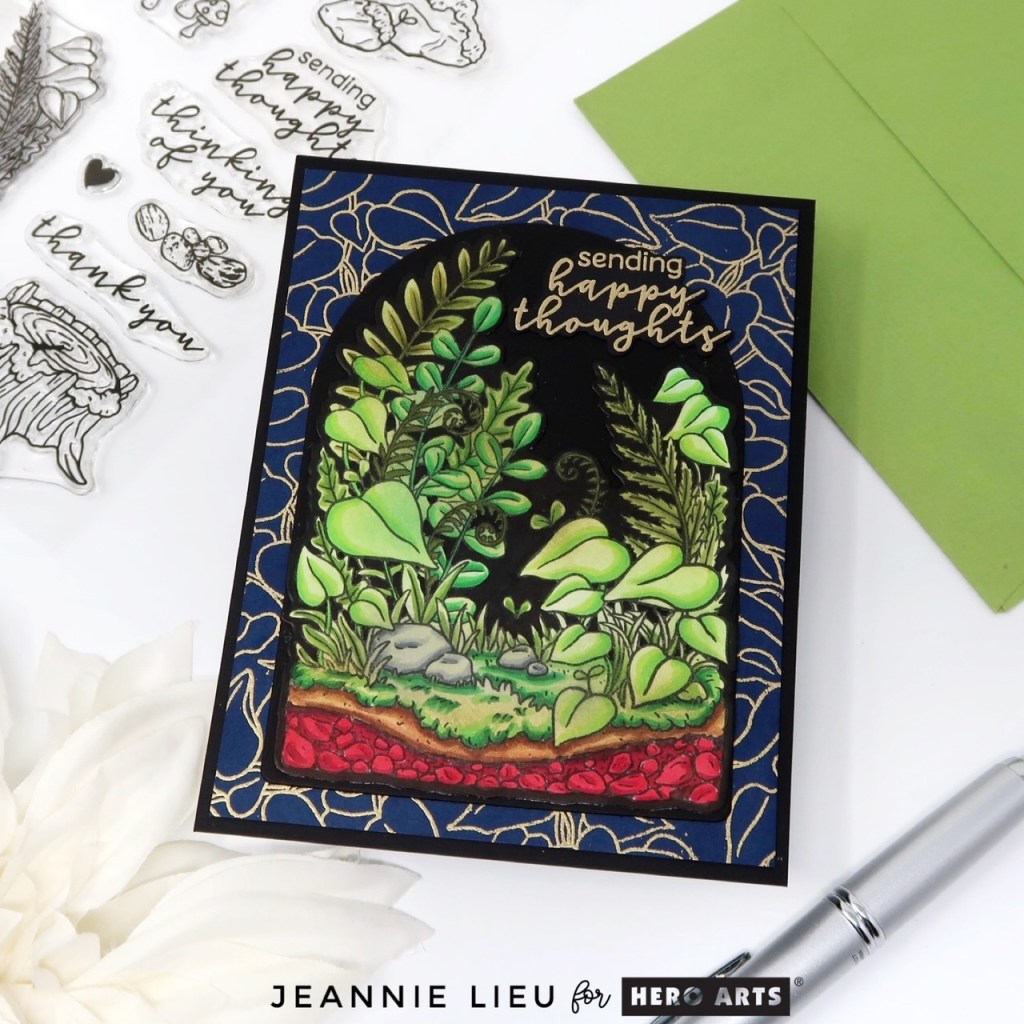
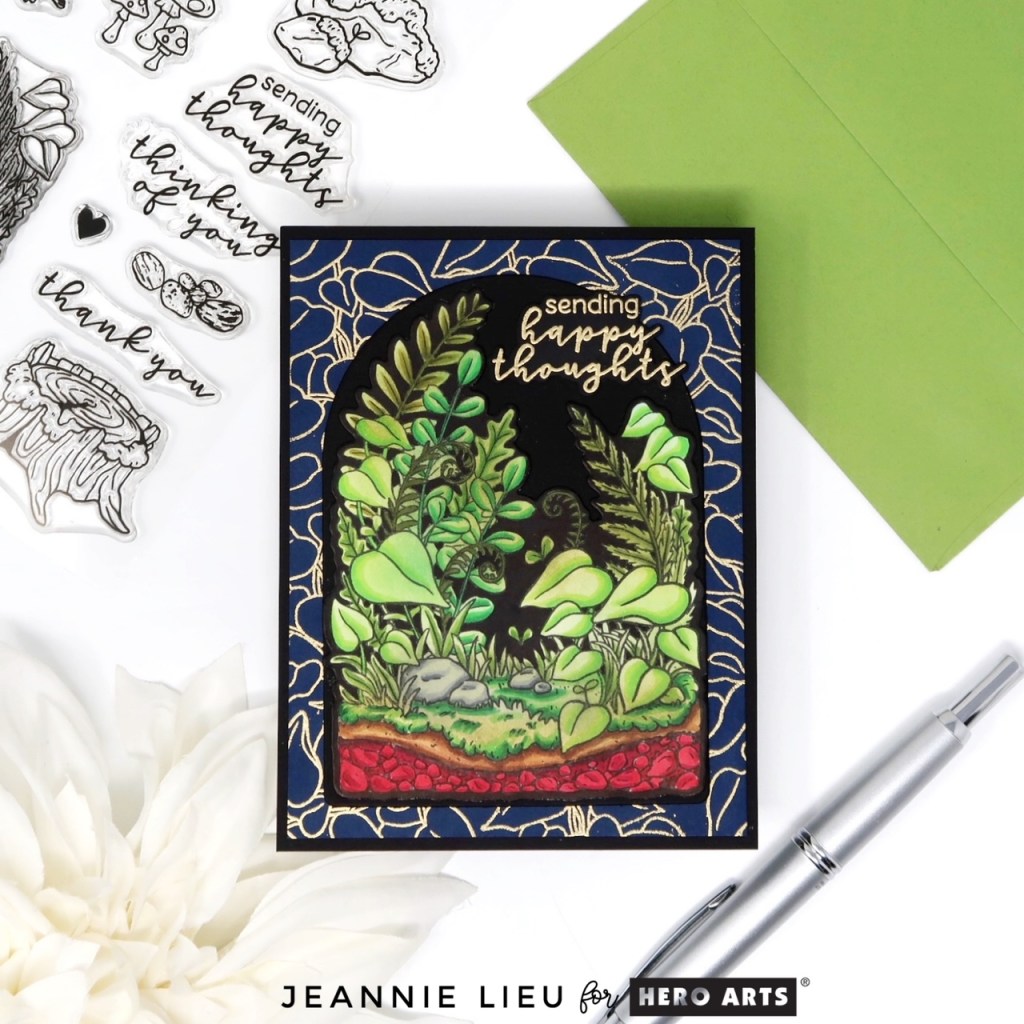
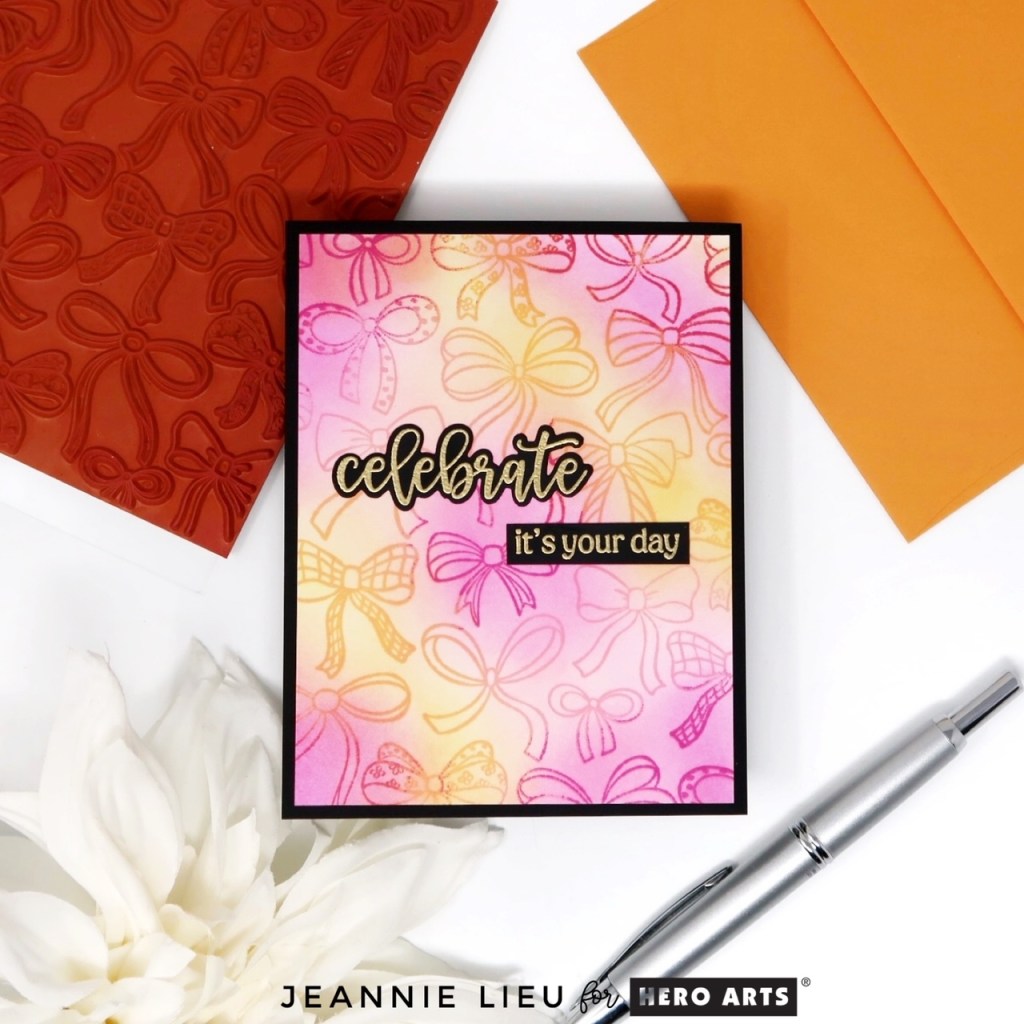
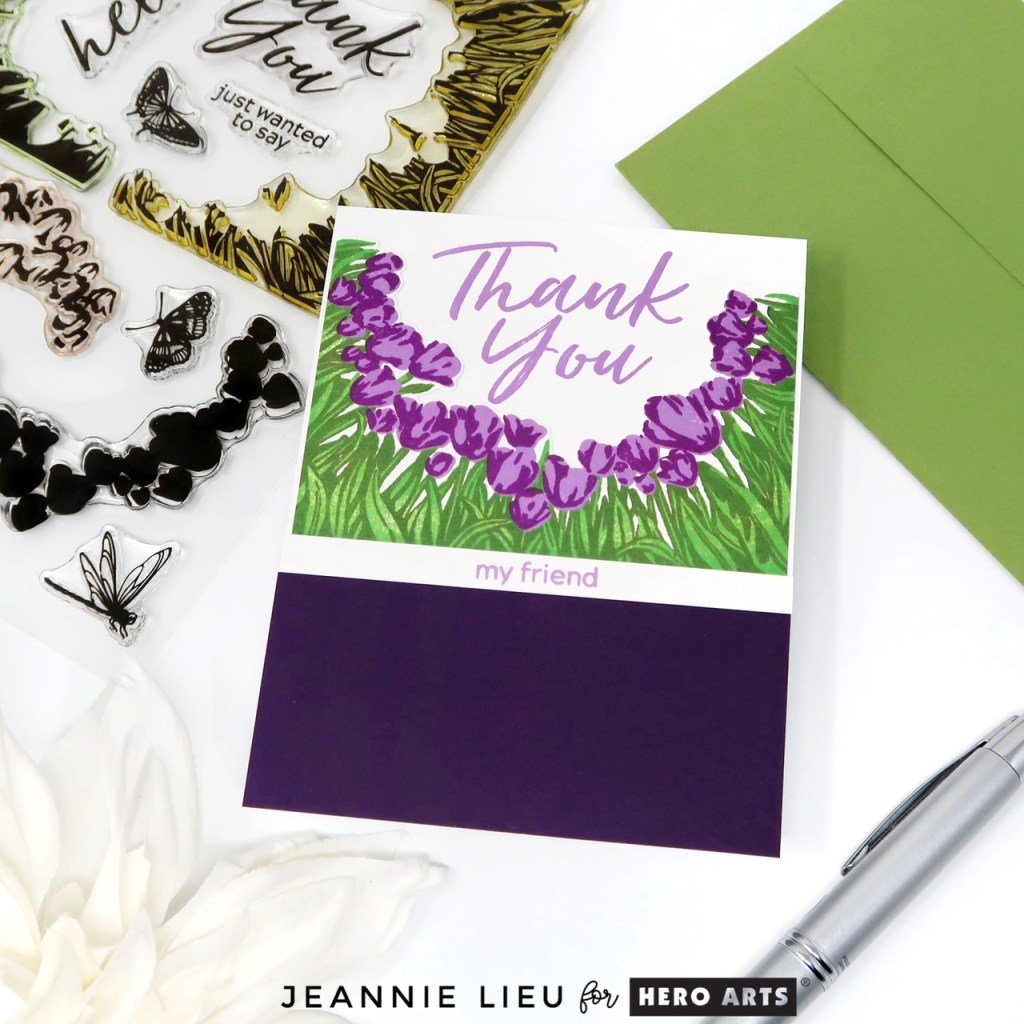
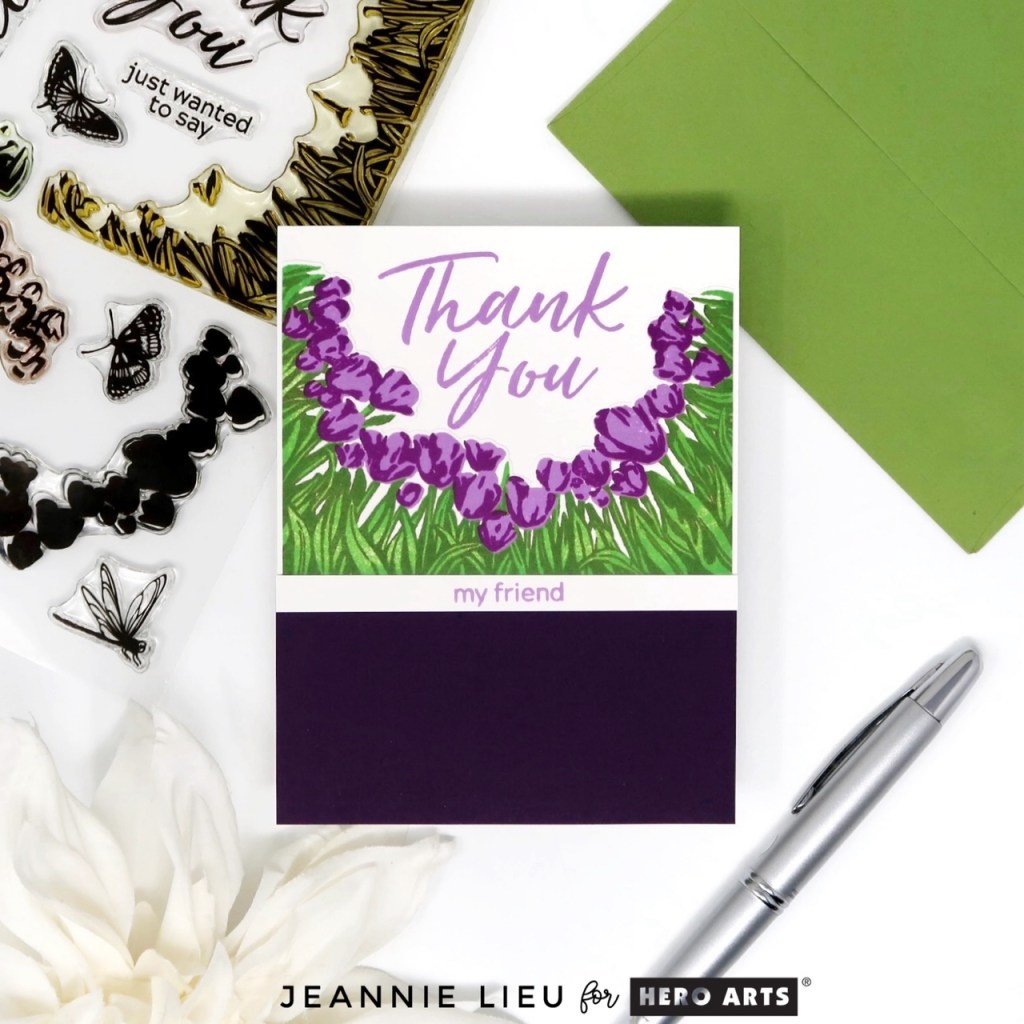
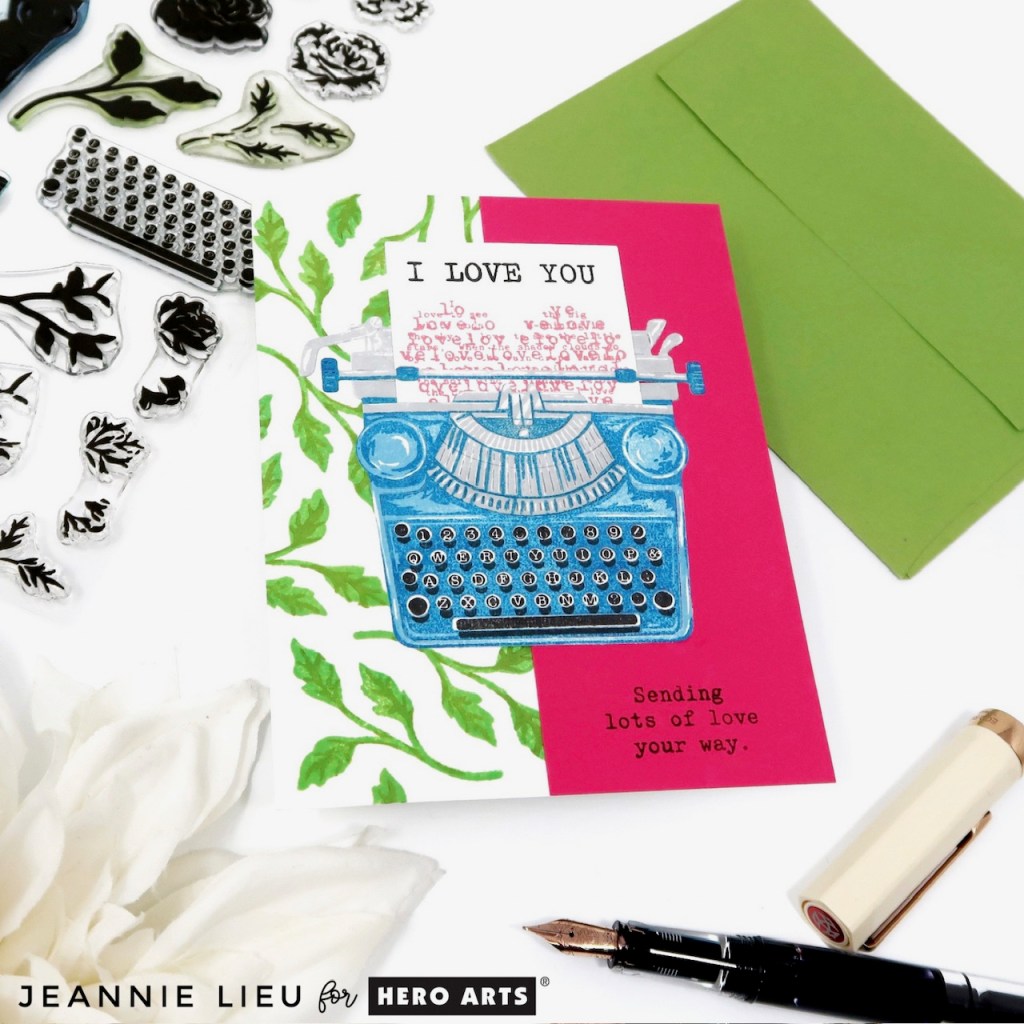
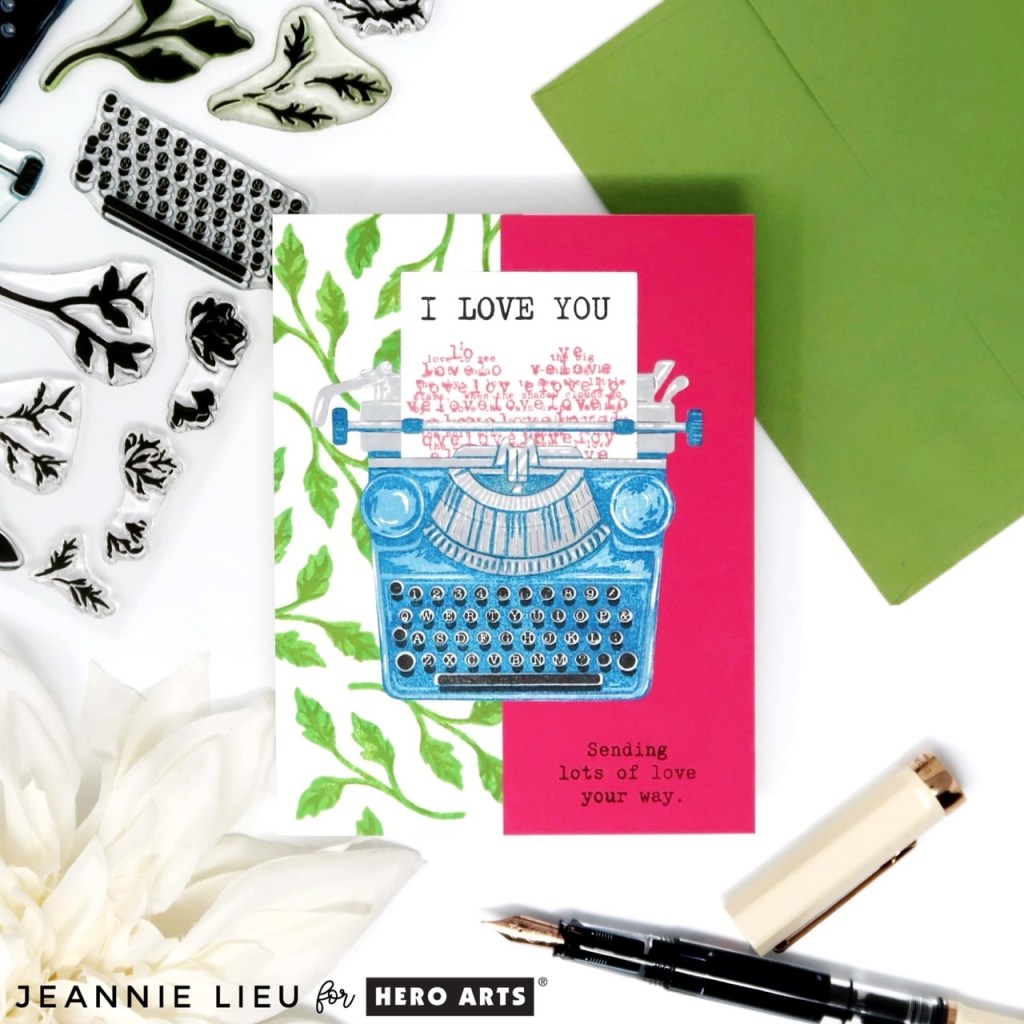
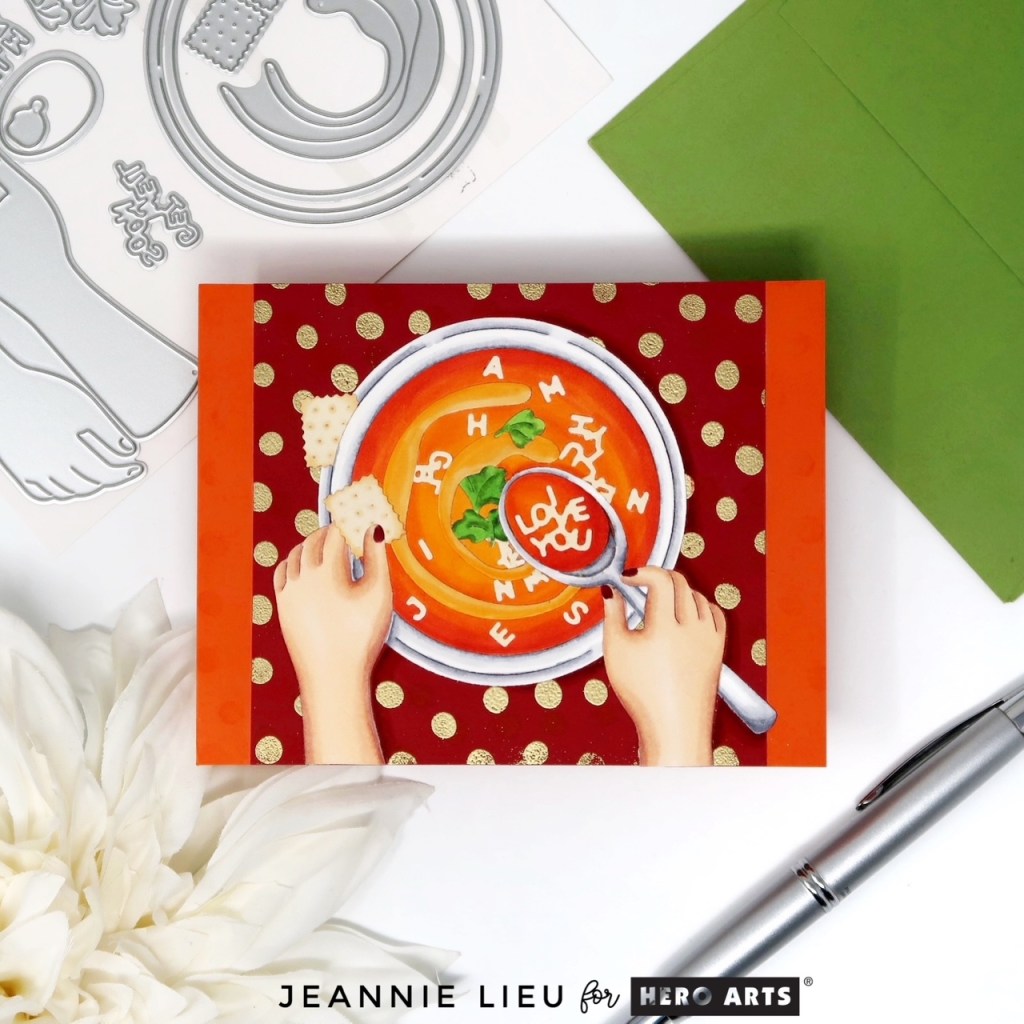
My first project focuses on the Die Set of the Month. This die set is so cute and perfect for a cozy vibe. I die cut most of the all the items and colored them up using alcohol inks because I tend to rather color than use color cardstock. It allows me to add the dimension I like for the images and it comes together so perfectly. Once I have all the pieces together, I decided that I wanted to use the Cling of the Month with
Embossing & Watermark Ink along with Gold Embossing Powder for a subtle detail. I love how this all came together.
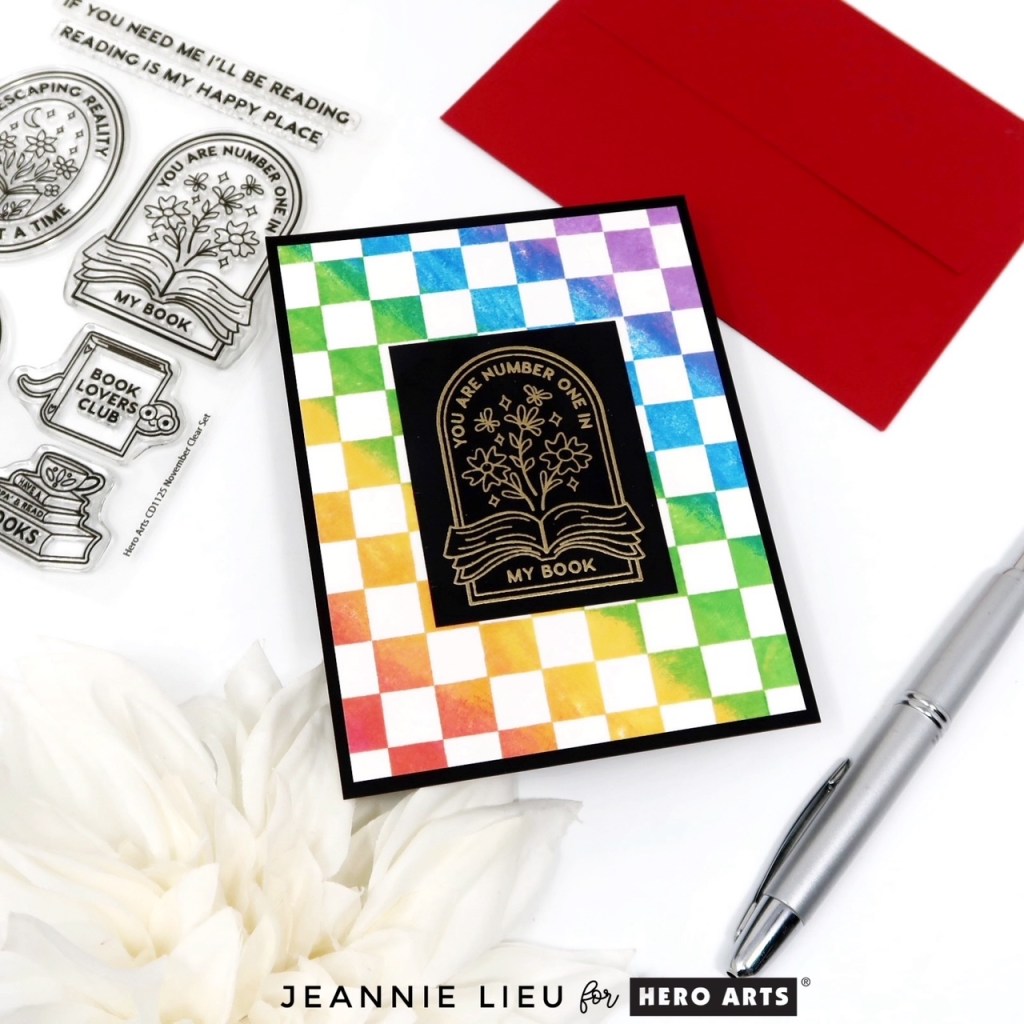
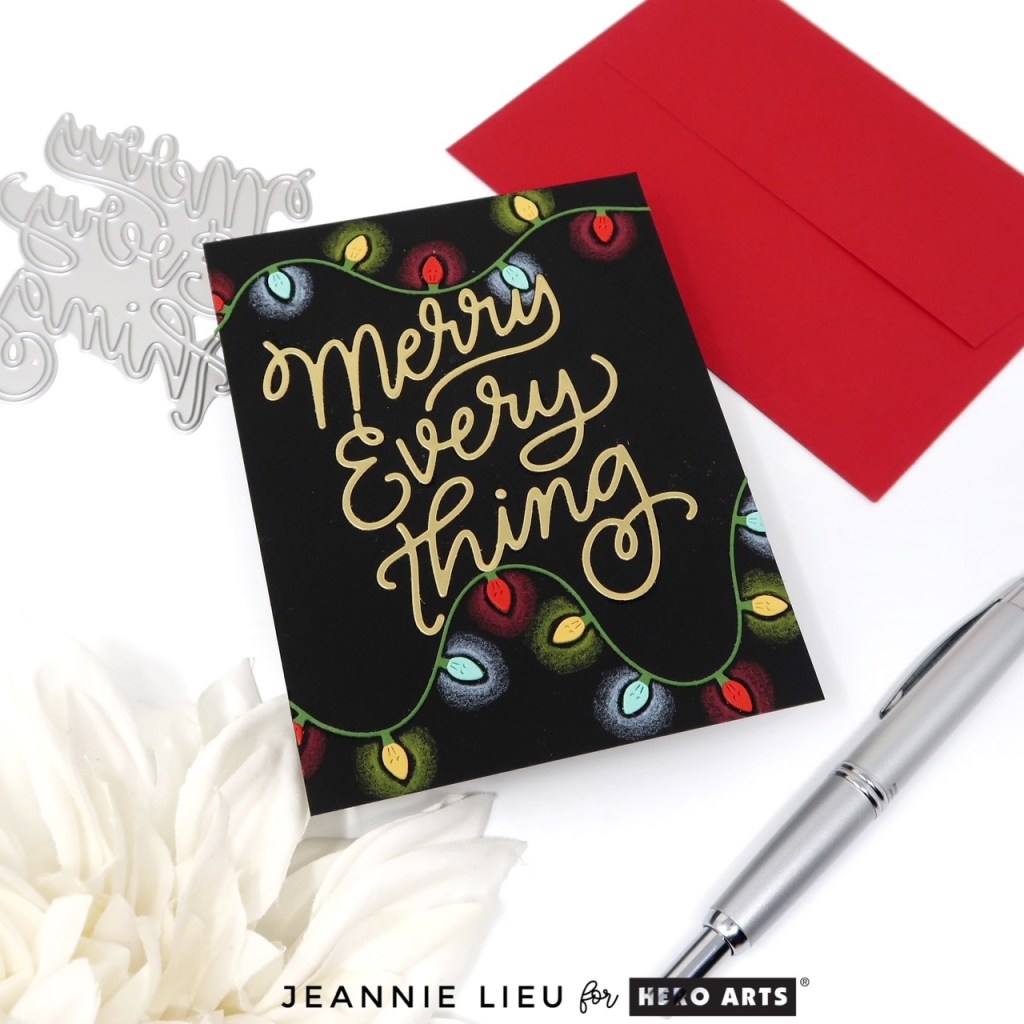
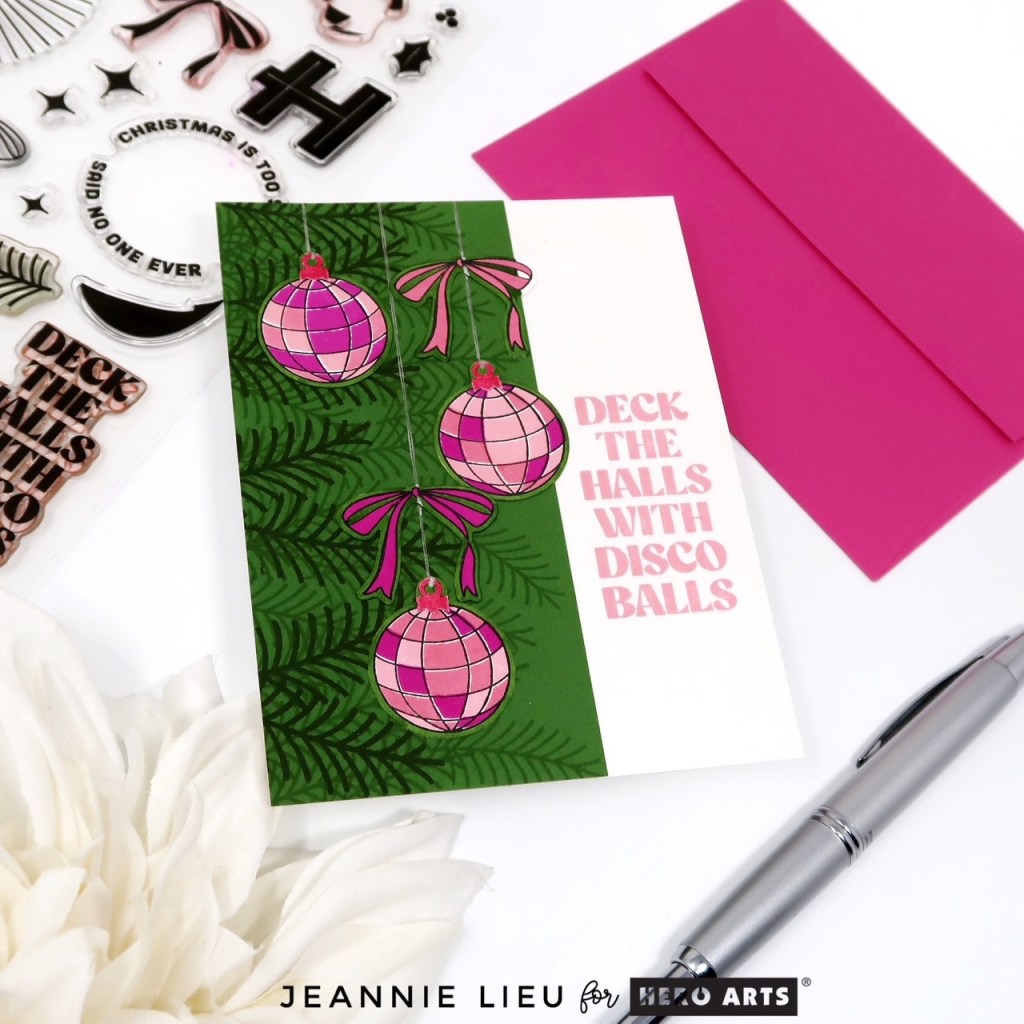
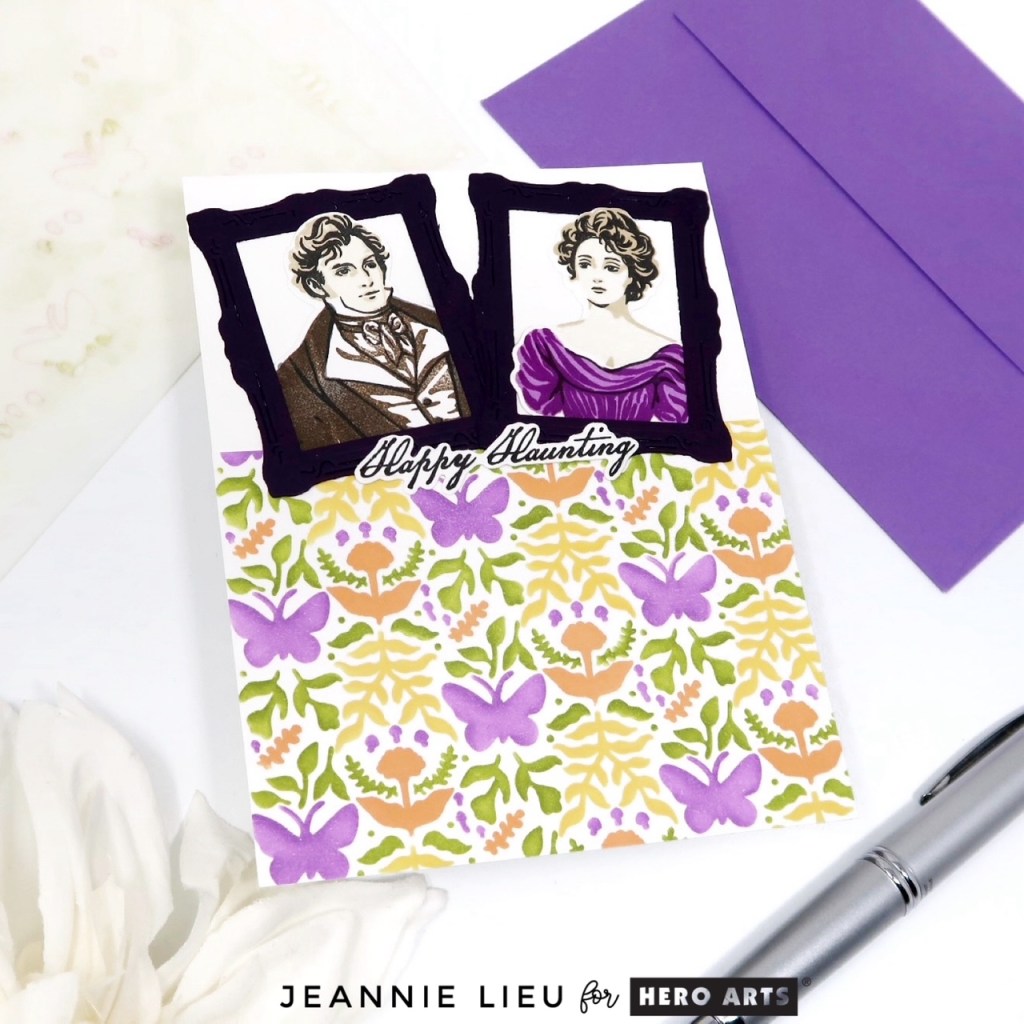
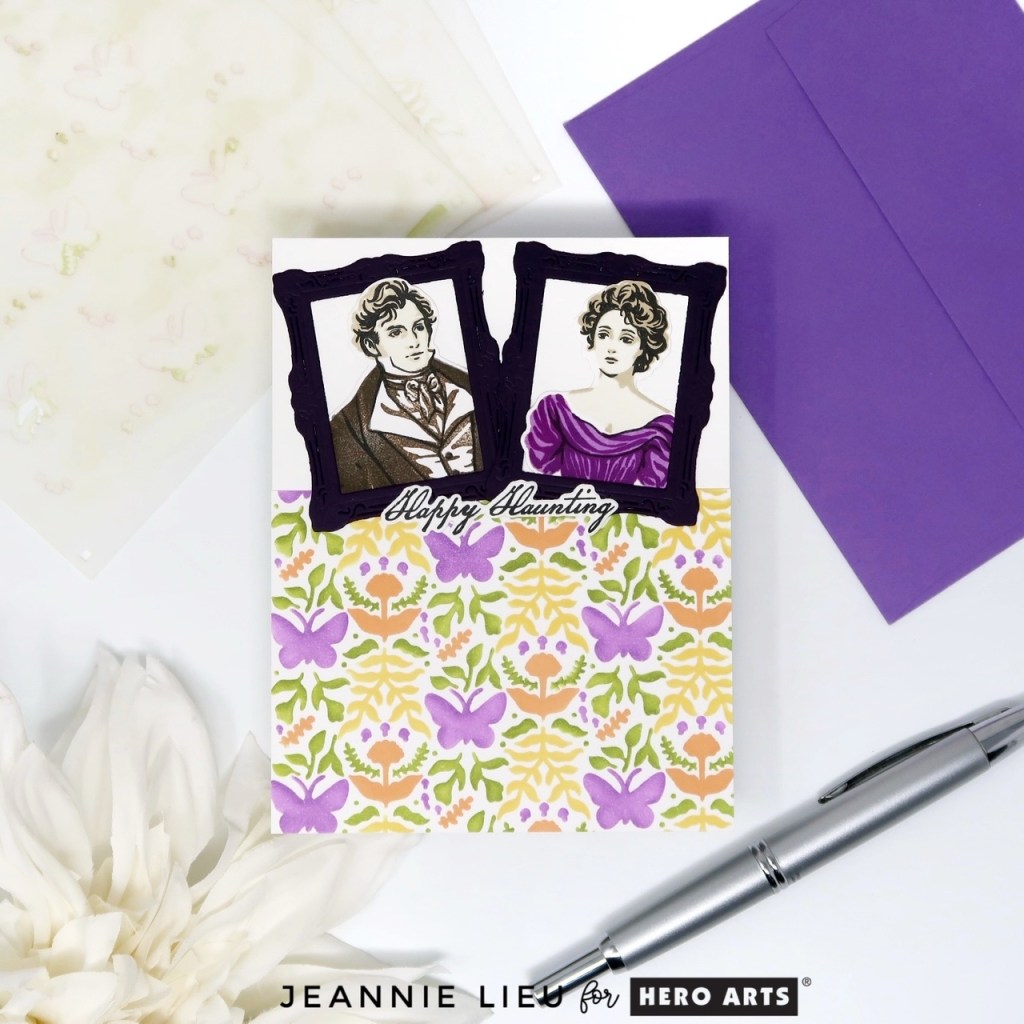
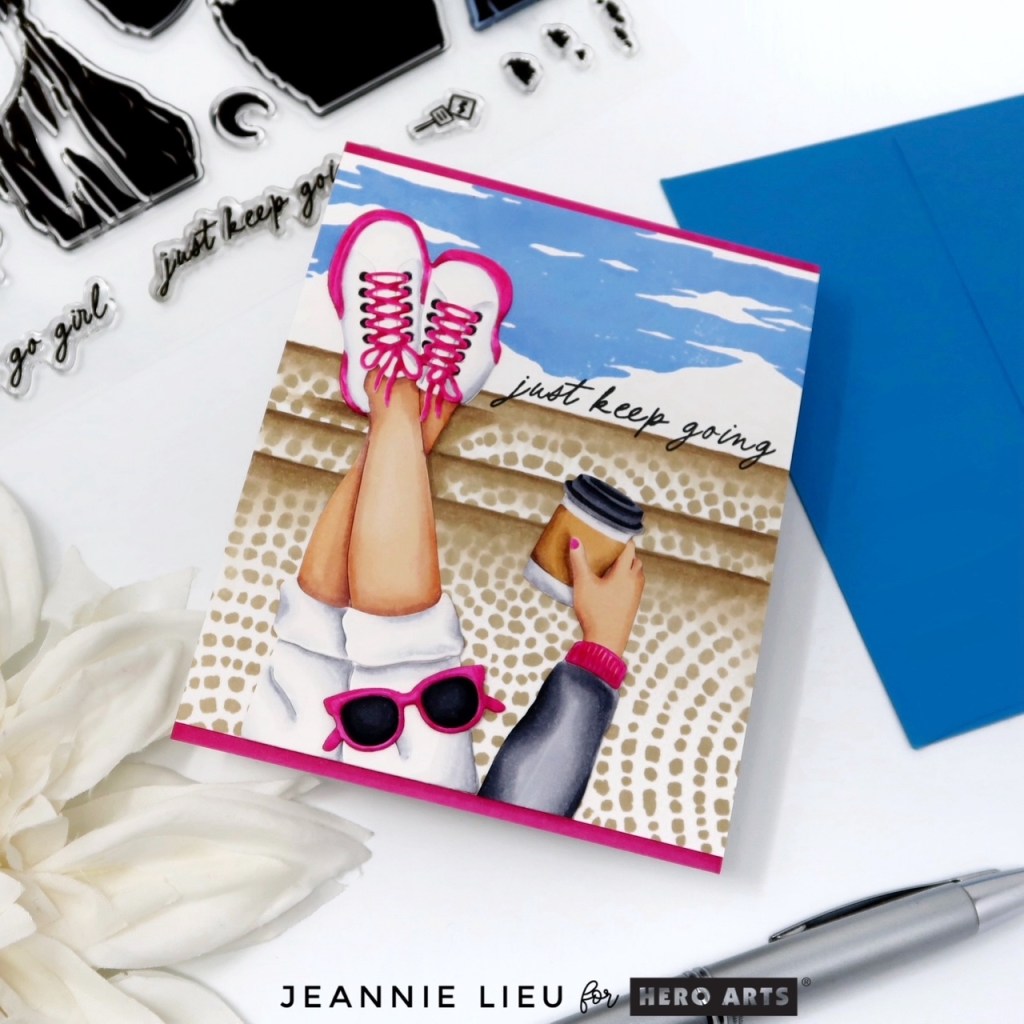
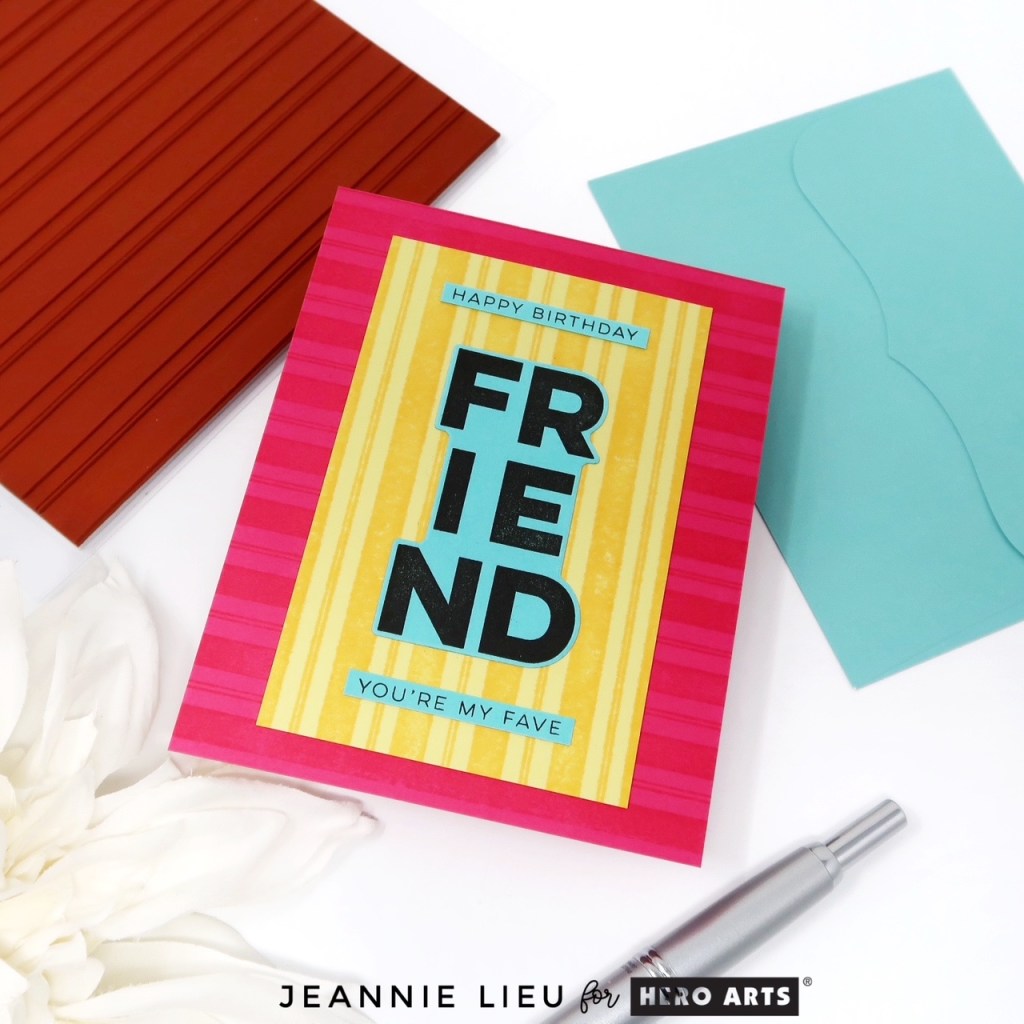
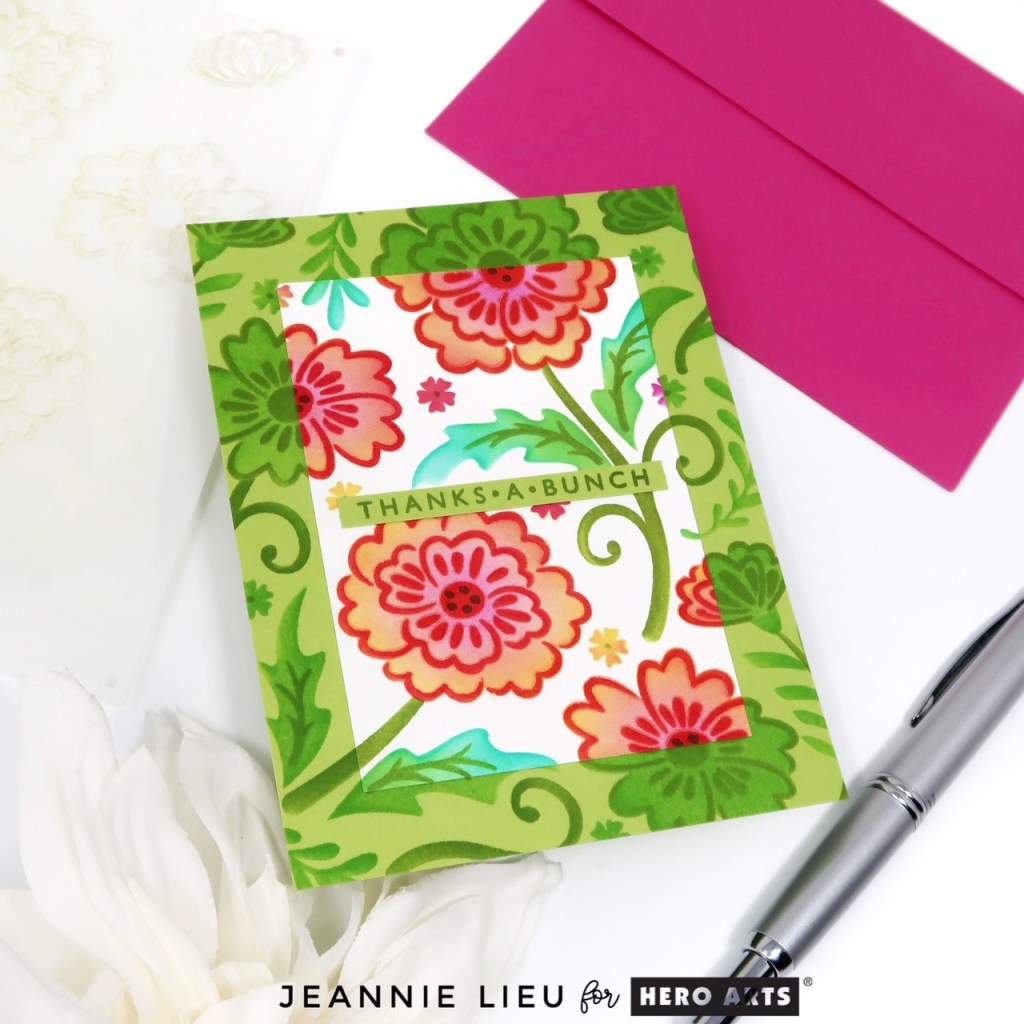
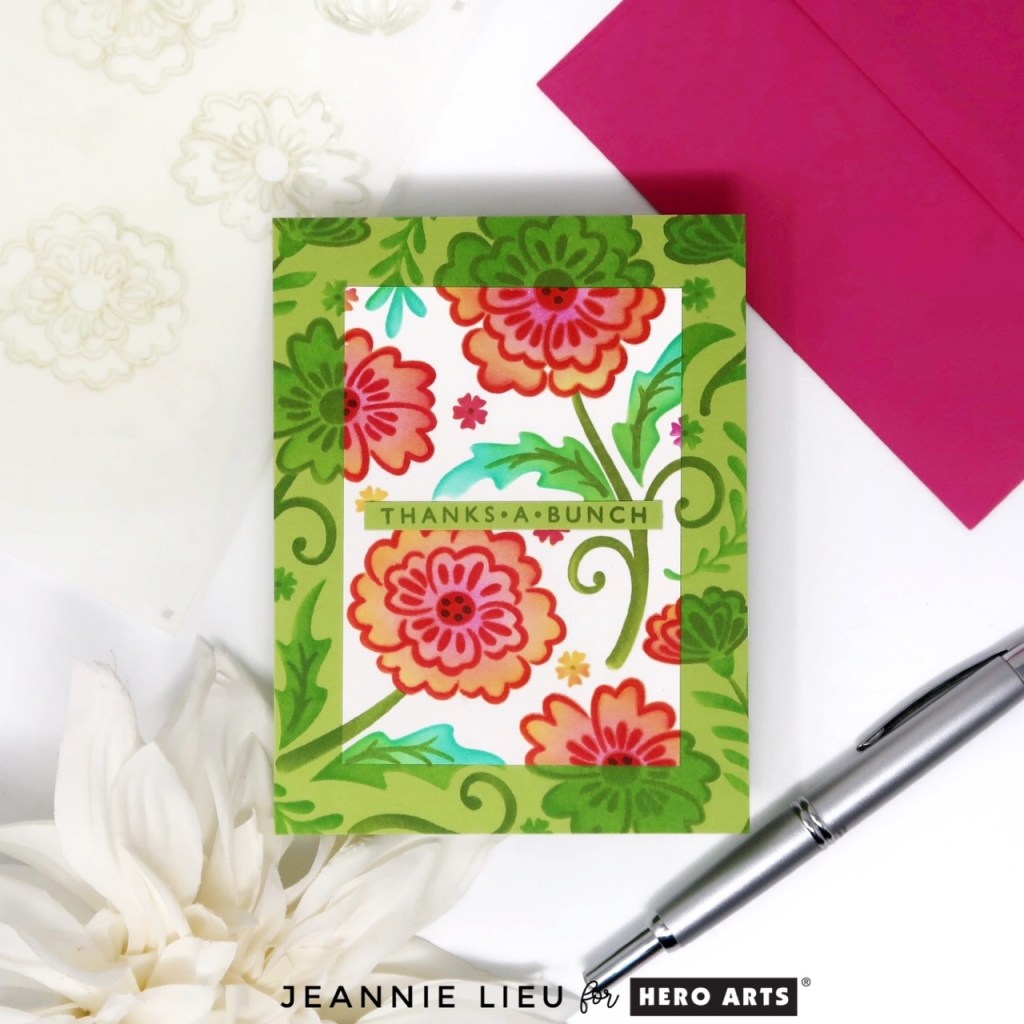
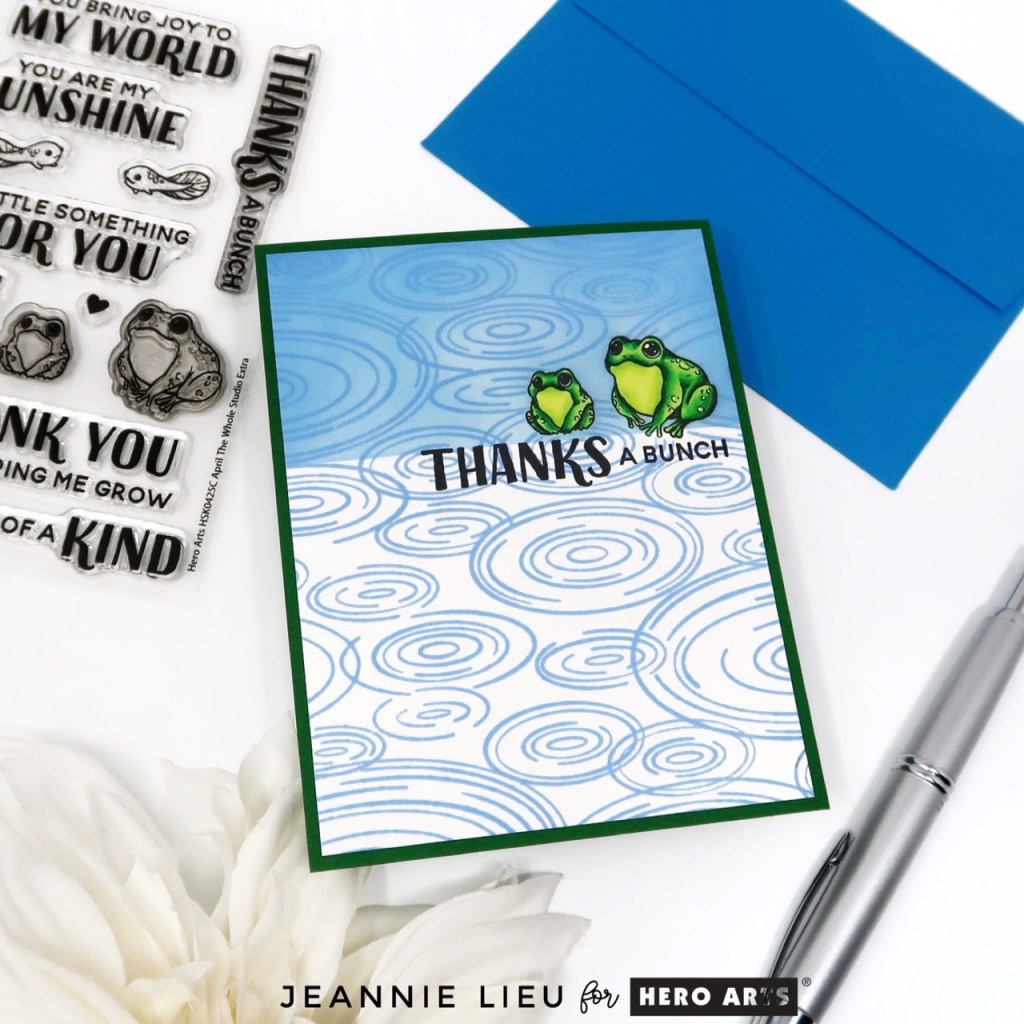
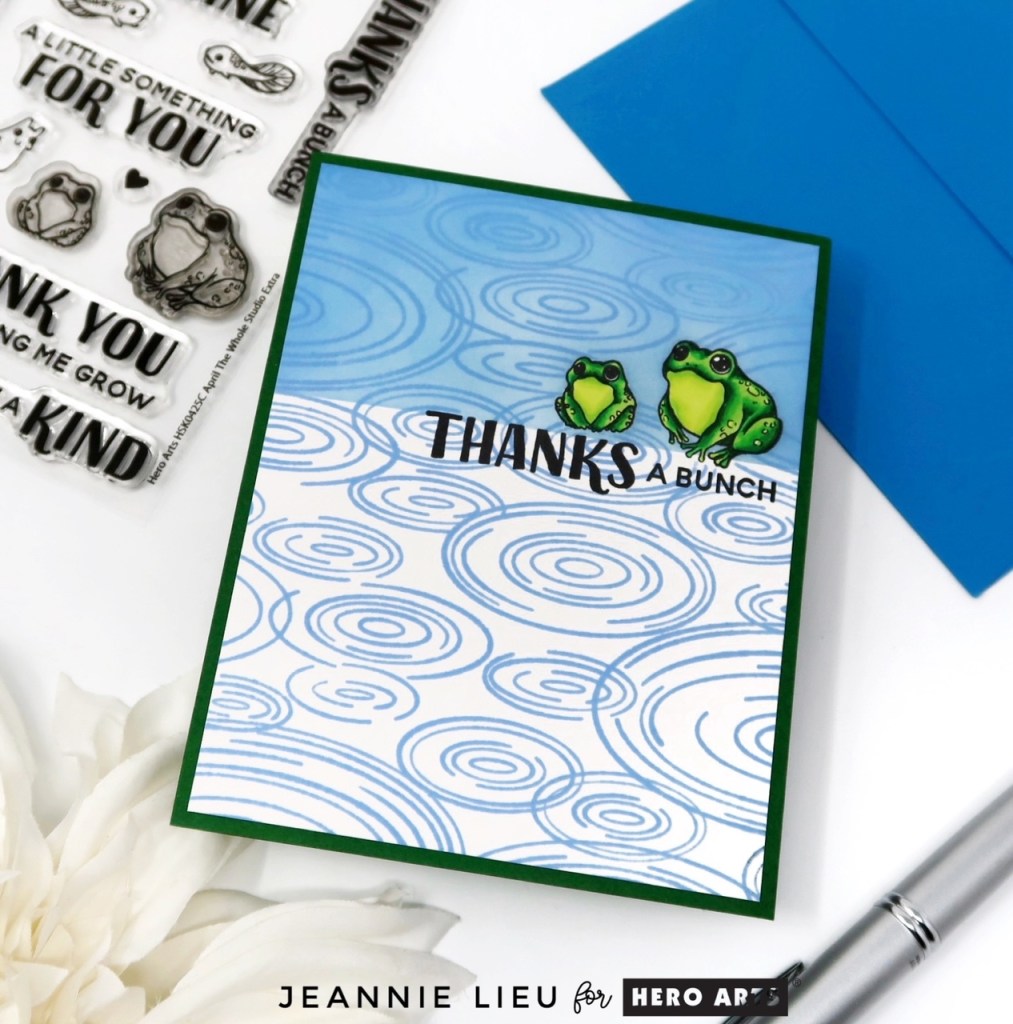
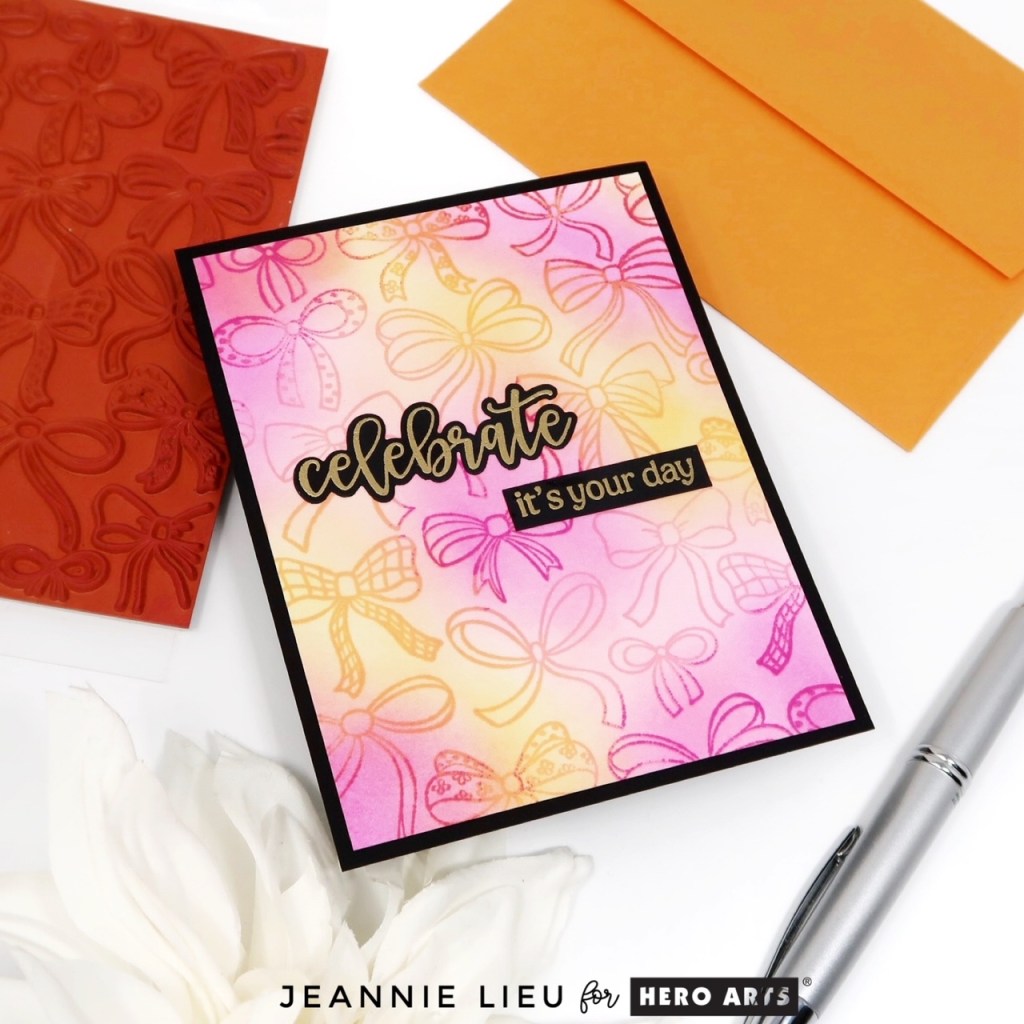
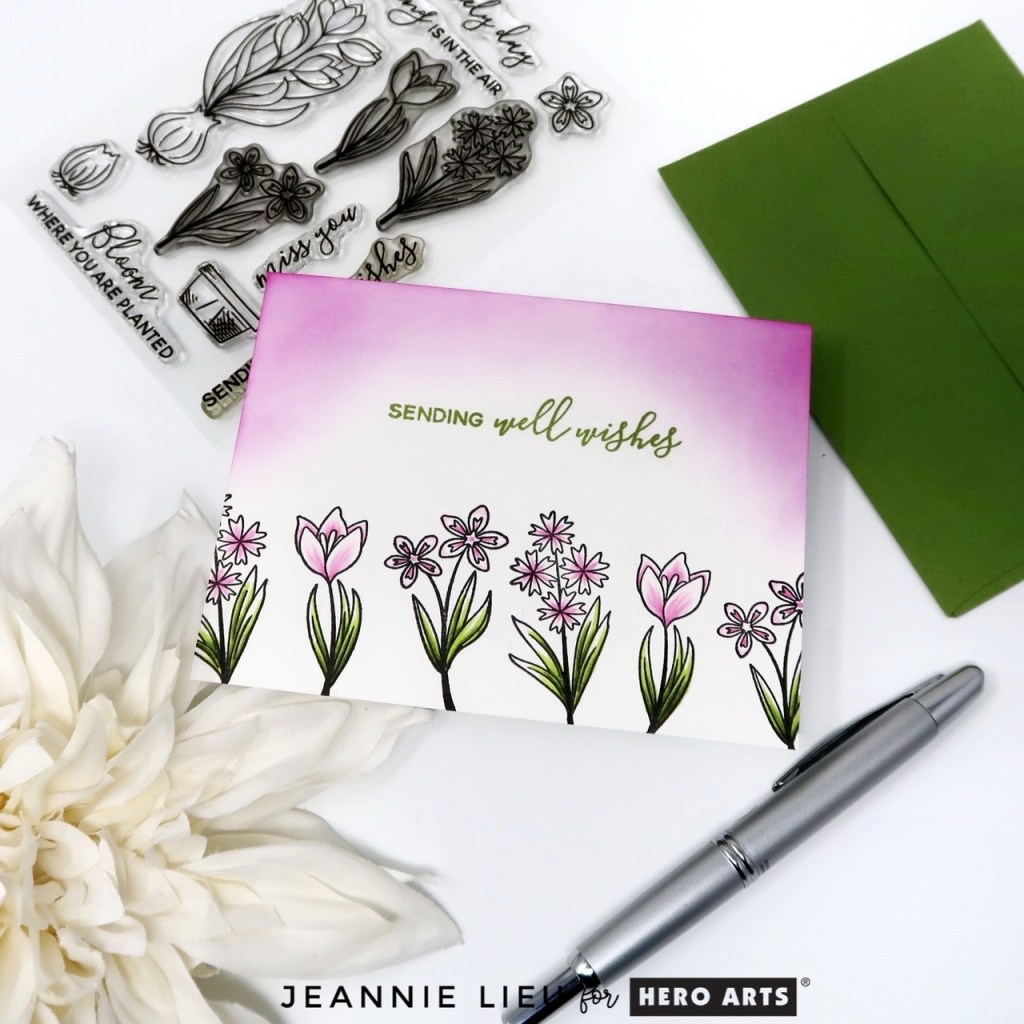
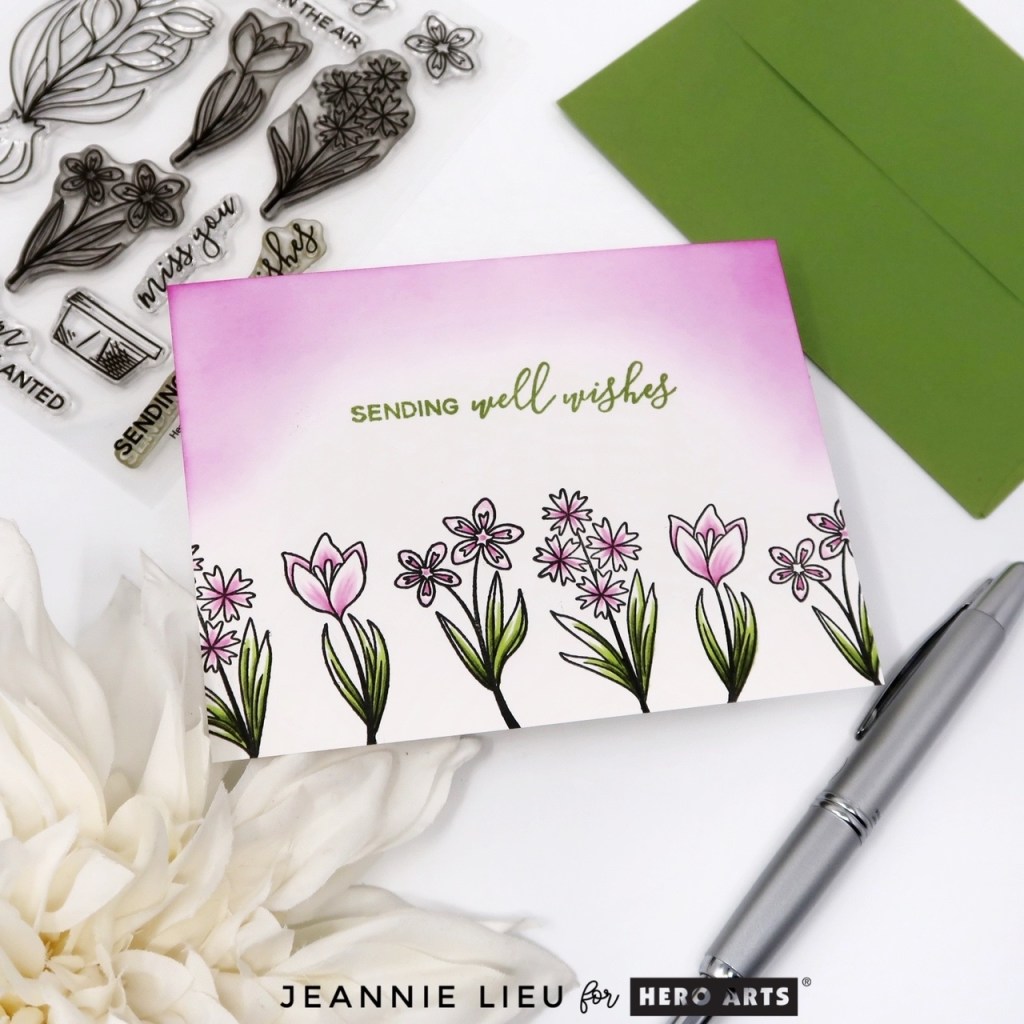
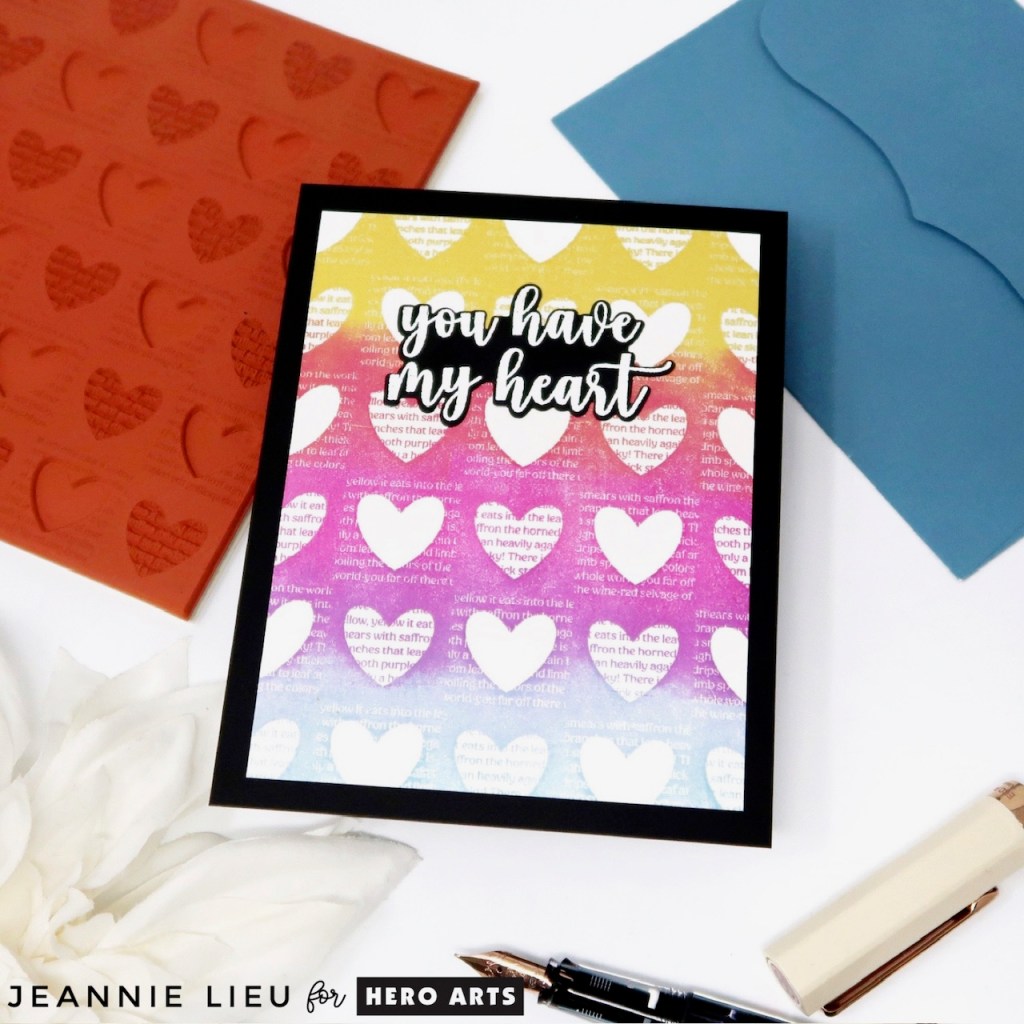
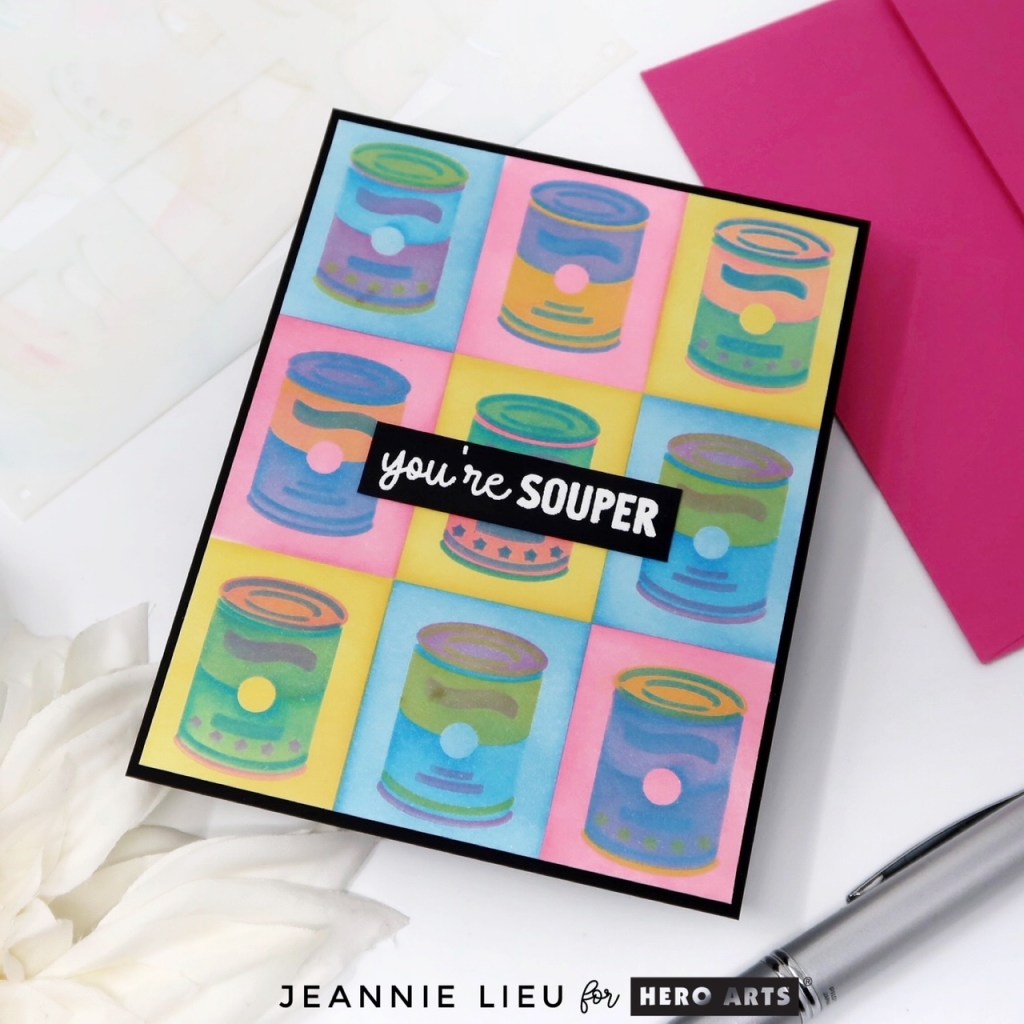
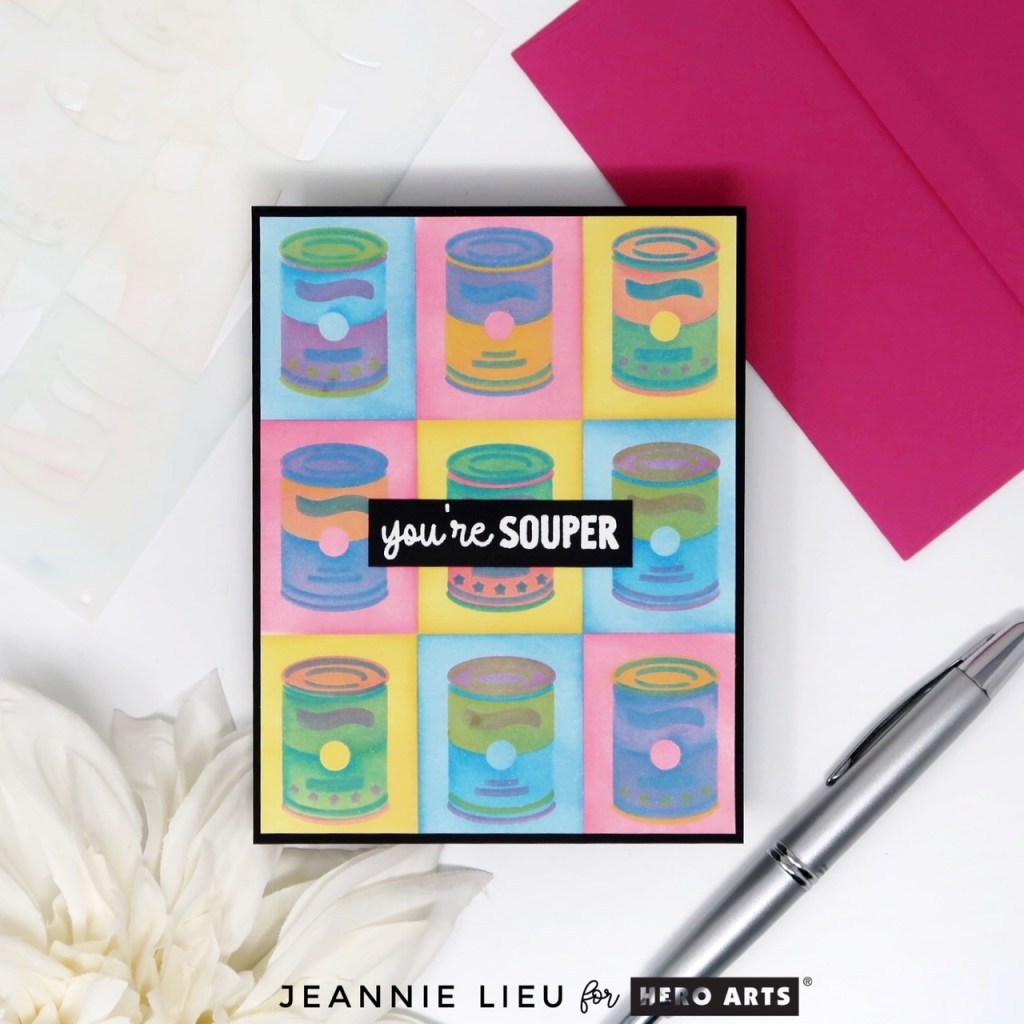
The second card focuses on the Layering Stencil Set of the Month. This set is super fun! It reminds me of Andy Warhol’s pop art and I definitely wanted to use colors that work well together. I chose Butter Bar, Cotton Candy, Periwinkle and Summer Sky. It comes together so easily and because these colors blend together, it creates additional colors within the finished product. For my sentiment, I pulled one from the Stamp & Cut of the Month, stamping it with Embossing & Watermark Ink along with White Embossing Powder on Pitch Black cardstock. I love all the colors on this card panel, don’t you?
Thanks for stopping by today and I hope you enjoyed the two cards I shared today using some of the new Hero Studio collection. Hope you were inspired to create!
GIVEAWAY
Hero Arts will give away a $50 gift card, drawn from the comments left across the hop. Enter by Sunday, December 7th at 11:59pm MT, and the winner will be announced on the Hero Arts blog the following week. Leave a comment on all stops for more chances to win!
Hero Arts
Seeka
Rosie Lopez
Rachel Kleinman
Nichol Spohr
Natasha Polite
Mindy Eggen
Michelle Short
Michelle Lupton
Lisa Tilson
Karen Brown
Jennifer Kotas
Jeannie Lieu
Charlene Madrid
Channin Pelletier
Anna Mahtani
Supplies:
December Die Set of the Month
December Die Set of the Month
—HA: https://bit.ly/4nygZXW
Hero Arts – Embossing & Watermark Ink
–HA: https://bit.ly/4gCWsi1
–Scom: https://tidd.ly/4hwYq58
Hero Arts – Gold Embossing Powder
–HA: https://bit.ly/43tnxjm
–SSS: https://tidd.ly/4o5cncT
–Scom: https://tidd.ly/3Lfh7y5
December Layering Stencil of the Month
December Layering Stencil of the Month
—HA: https://bit.ly/4oPcAC2
December Stamp & Cut
—HA: https://bit.ly/40zq8G6
Hero Arts – Cotton Candy Core Ink
–HA: https://bit.ly/4hBgKKe
Hero Arts – Butter Bar Core Ink
–HA: https://bit.ly/3Jqmr1d
Hero Arts – Hero Hues – Summer Sky Core Ink
–HA: https://bit.ly/3LhN8FT
Hero Arts – Hero Hues Periwinkle Core Ink
–HA: https://bit.ly/3JcRdus
Hero Arts – Embossing & Watermark Ink
–HA: https://bit.ly/4gCWsi1
–Scom: https://tidd.ly/4hwYq58
Hero Arts – White Embossing Powder
–HA: https://bit.ly/4oE46ND
Hero Arts – Hero Hues Pitch Black Cardstock
–HA: https://bit.ly/3WUCabP