I love large images, especially floral images. This one is no exception because it can fill up your card panel but also leave enough space for a sentiment. I’m loving my color choice here too!
All my supplies for creating this card will be listed down below (with multiple sources when available) for your curiosity and convenience. Affiliate links used when possible.
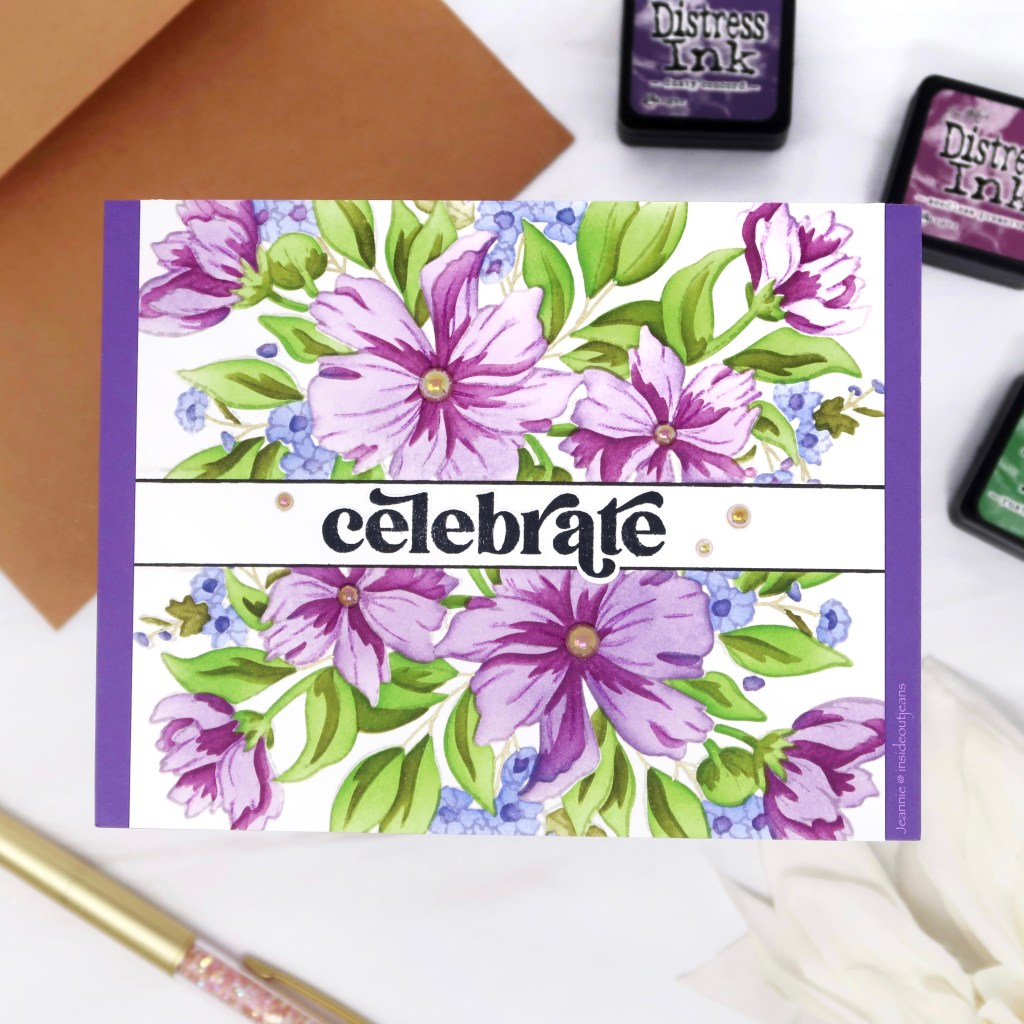
Ever color up an image and then cut it in half? It’s a little scary BUT I think it’s a great way to stretch your stamps and change up the look of things. I did this here to create a fun border on both edges and It looks so pretty. What do you think? Can you do it?
All my supplies for creating this card will be listed down below (with multiple sources when available) for your curiosity and convenience. Affiliate links used when possible.
I love when stamp sets include florals that can be anchors of a frame. I just added a bold black rectangle to add to the effect. I also really love how the purple pops on the blue background as well.
All my supplies for creating this card will be listed down below (with multiple sources when available) for your curiosity and convenience. Affiliate links used when possible.
I really wanted to use this one leafy image to fill up a background and I chose gold on navy but then, it was such a contrasting background that I needed to tone it down a bit. By just pulling out a piece of vellum, it allows me to let the focal image of this card to really stand out!
All my supplies for creating this card will be listed down below (with multiple sources when available) for your curiosity and convenience. Affiliate links used when possible.
Honey Bee Stamps has this product line of Lovely Layers for florals and they are so freaking smart and pretty. I love them so much!
All my supplies for creating this card will be listed down below (with multiple sources when available) for your curiosity and convenience. Affiliate links used when possible.
My favorite “cheat” with watercoloring is heat embossing an image. Watercolors are finnicky and if you paint too closely to something that isn’t dry, the colors will mix and bloom into each other. The raised edges from the heat embossing contains your colors so it doesn’t get messy. Also, underpainting is one of my favorite ways to watercolor because it’s full of color!
Embossing images on vellum is super underrated because my go to is to color. But when you have a colorful background and you don’t want it to fight with each other, vellum is the way to go!
All my supplies for creating this card will be listed down below (with multiple sources when available) for your curiosity and convenience. Affiliate links used when possible.
Hi everyone! Just sharing this hack to get your stencils lined up perfectly each time. It’s super simple… I use my corner in my Misti for any layering stencil. It’s the easiest way to have everything lined up — without having to line it up on paper by the stencil etchings.
Happy New Year! One of my crafty goals this year is to use a bunch of different craft companies throughout the year, either just their products or a mix and match. This is craft company #1 that I’m featuring… Pinkfresh Studio!
It was a super easy card to put together using the stencils and stamps. I just stamped the Cosmos Bunch on one half of the card and then the other side, masking the middle to leave room for a sentiment from the Perfect Sentiments stamp set. Here’s a YT short to show how I put it together!
I loved this set so much that I decided to kick off my bullet journal using it … and here’s my first planner video that features it!
All my supplies for creating this card will be listed down below (with multiple sources when available) for your curiosity and convenience. Affiliate links used when possible.
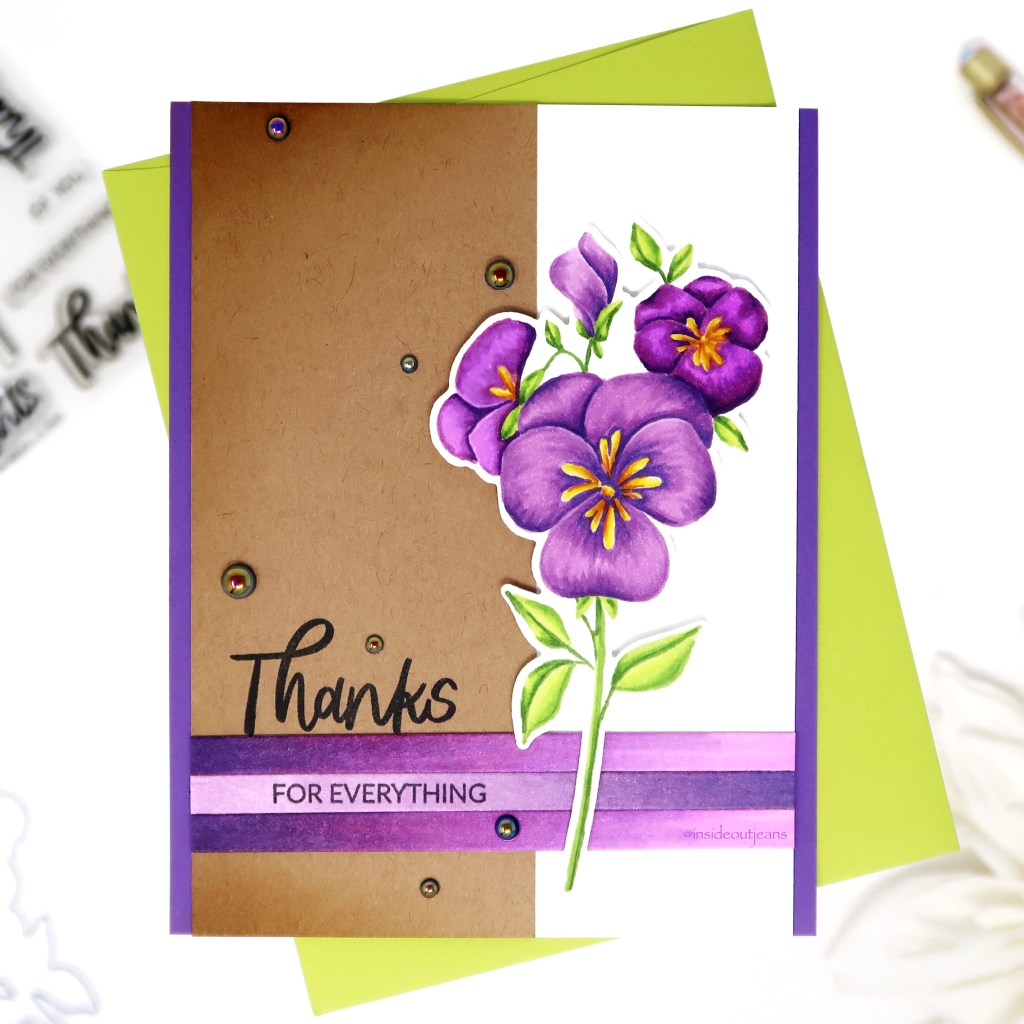
Happy Friday everyone! TGIF! I’m sharing a card featuring one of Ellen Hutson‘s new release stamp sets named, Pressing Thoughts. It’s a very simple floral set but perfect for lots of occasions.
All my supplies for creating this card will be listed down below (with multiple sources when available) for your curiosity and convenience. Affiliate links used when possible.
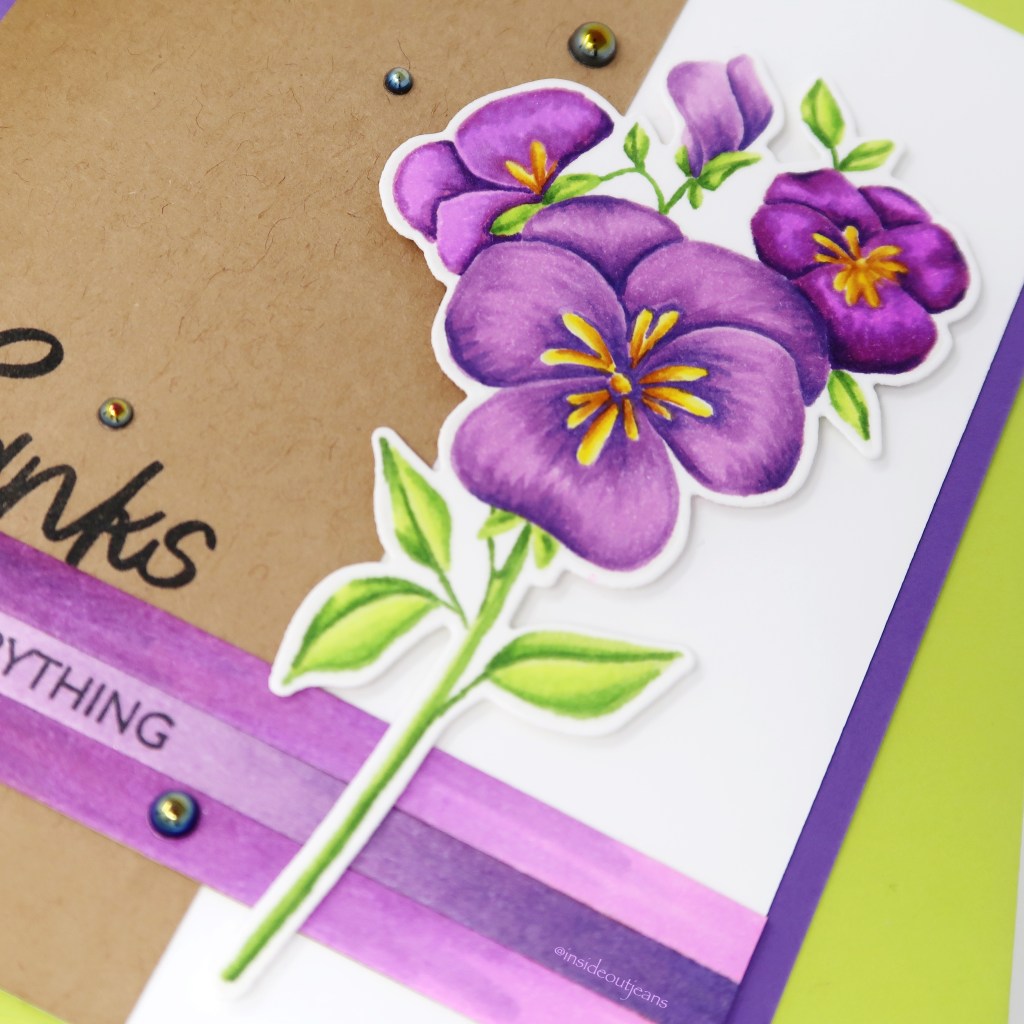
I stamped images from the Ellen Hutson’s Pressing Thoughts stamp set using Ink on 3’s Fadeout ink. Then I colored them up using copic markers. Using the corresponding dies, I cut this out and set it aside.
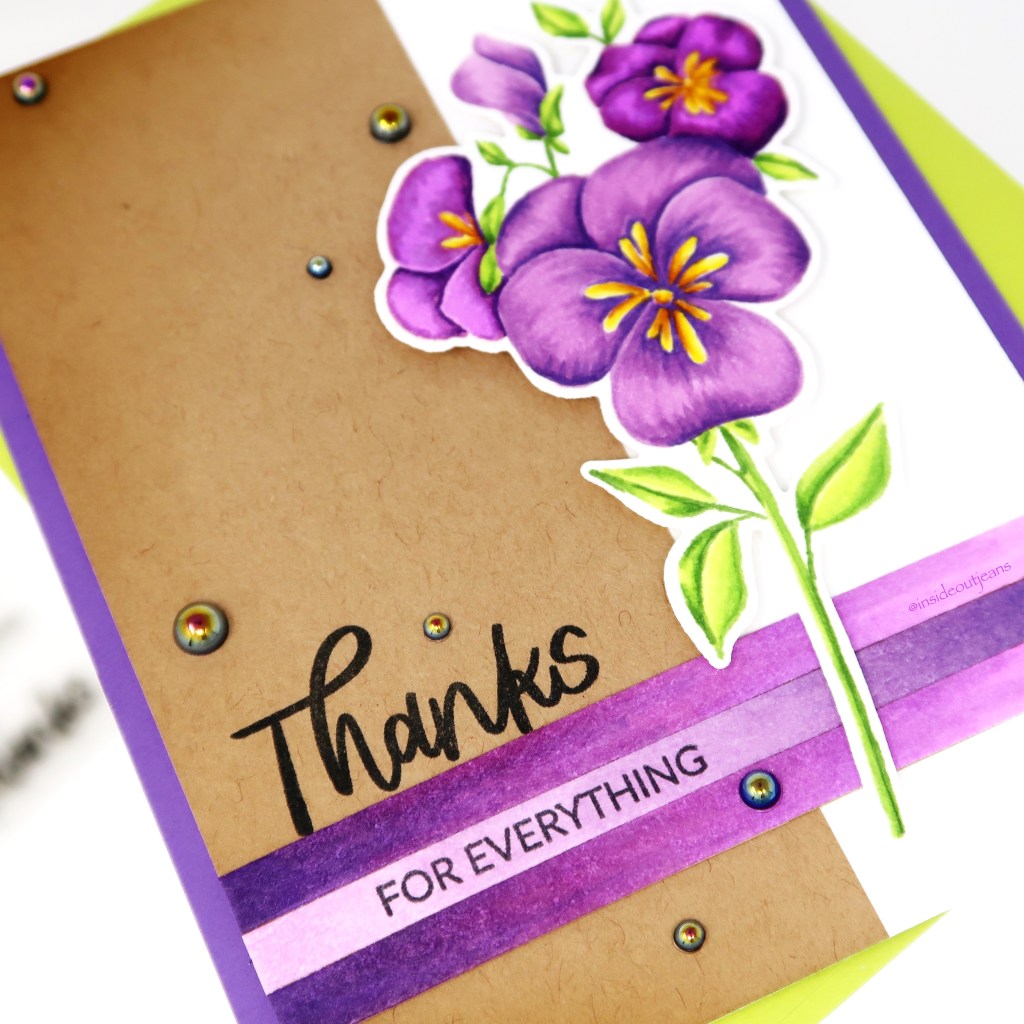
For the background, I used wanted to tie in the same purple colors so I die cut some stripes of white cardstock using Mama Elephant’s Quick Stripes and used the same copic markers to color them up. I decided I wanted some contrast so I cut down a strip of kraft cardstock and added some dimension by added distress inks around the corners in Walnut Stain. For the sentiment, I stamped it directly on the kraft cardstock and one of the purple strips.
To finish off this card, I added a couple of embellishments from Trinity Stamps called Midnight Ball that filled up the space on the kraft cardstock.
Thanks for stopping by! Happy Crafting!
→ SUPPLIES USED ←
Some products are provided by manufacturers for review and use. Affiliate links may be used at no cost to you.
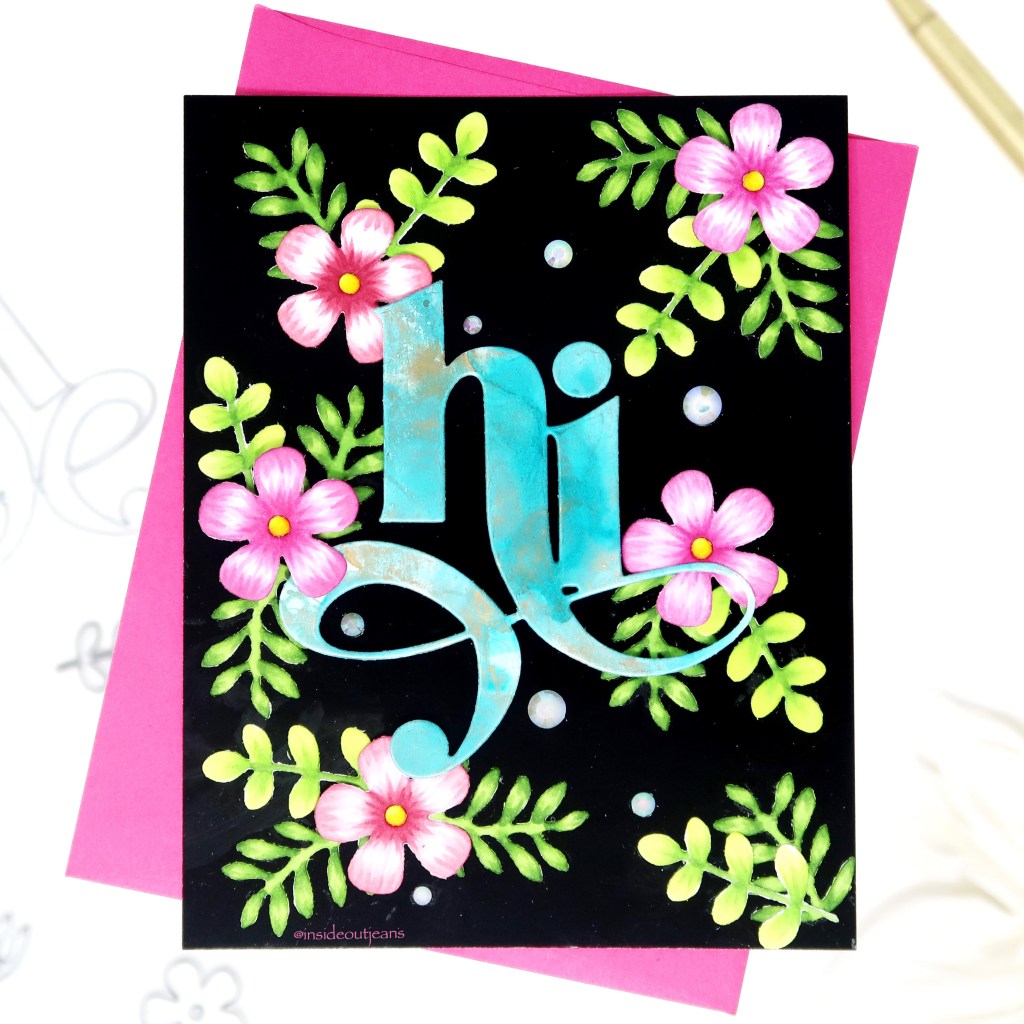
Happy Friday-eve! Today, I’m sharing a card featuring a bunch of Erin Lee Creative products, which ended up with an unintentional tropical card.
All my supplies for creating this card will be listed down below (with multiple sources when available) for your curiosity and convenience. Affiliate links used when possible.
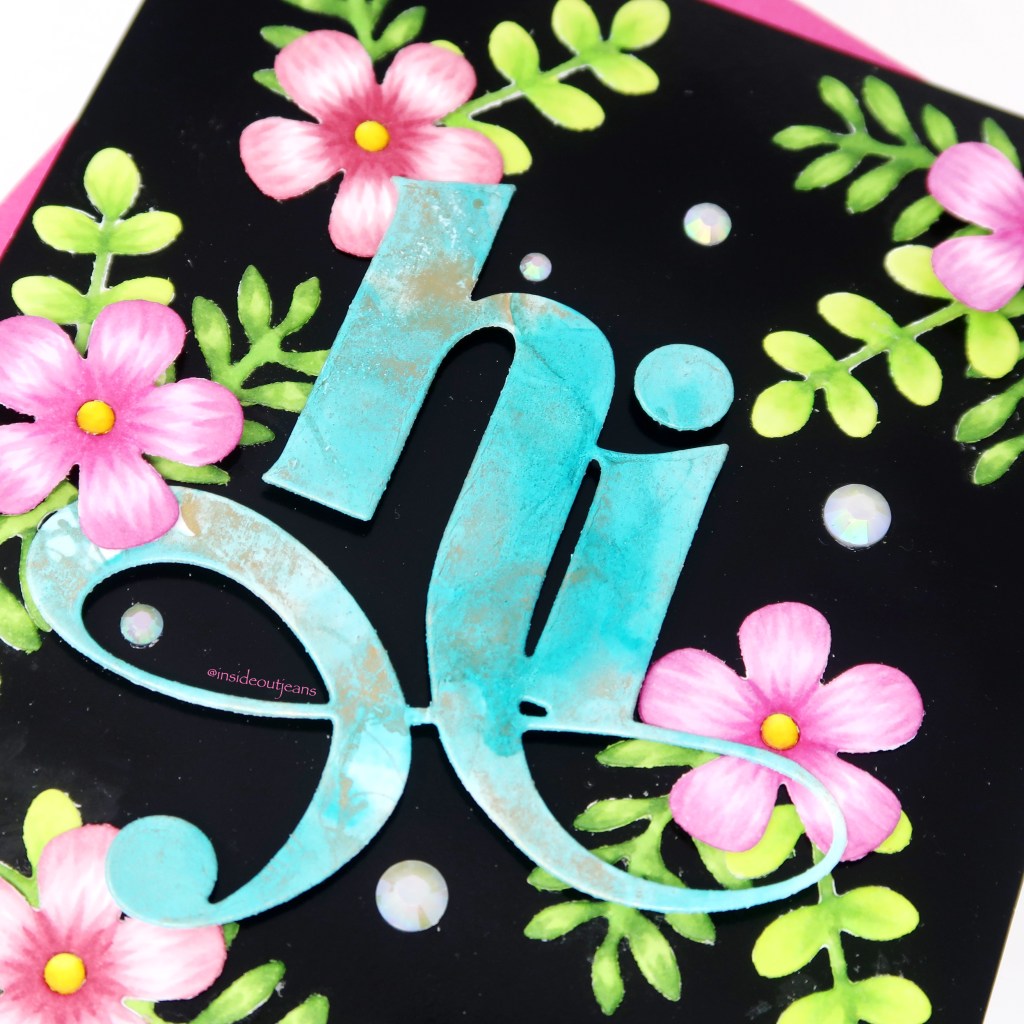
I went into this card because I had just learned that you could use alcohol inks on Erin Lee Creative’s Glossy White cardstock so I just wanted to play around to see how it would turn out. I wanted to keep it pretty simple so I just used Pool alcohol ink with some Gold Mixative along with the Blender for a very simple alcohol mix. It does move a little differently compared to Yupo paper but it works really well. I used that panel to cut out the main sentiment using the Jumbo Hi die. It’s generally pretty subtle but I thought it was really pretty, adding something special to the sentiment since there’s a good amount of space for the texture on this sentiment.
For the rest of the card, I used three of the dies from the Birdhouse Builder die set. Using copic markers, I added color onto it because I wanted the texture on them. Of course, you could just easily cut them out using different colored cardstock but I had my markers out so I figured why not. I placed the sentiments and the die cuts on a piece of A2 Glossy Black cardstock. Oh my! This is so fun to play with because it’s so dark and made my sentiment and florals REALLY pop.
To finish off this card, I used a few embellishments from Trinity Stamps (which are no longer in the shop, but you can use any ones you have in your stash) to fill up the empty space and I love the final product.
Thanks for stopping by! Happy Crafting!
→ SUPPLIES USED ←
Some products are provided by manufacturers for review and use. Affiliate links may be used at no cost to you.
Happy Friday-eve! Today, I’m sharing a card I created using some leftover scraps from a previous project. In that project, I had used Mama Elephant Quick Stripes dies to cut out a bunch of colorful stripes. Of course, I had a bunch of them leftover so I decided to use it to create a quick die cut card with an i-Crafter Box Pops Flowers die.
All my supplies for creating this card will be listed down below (with multiple sources when available) for your curiosity and convenience. Affiliate links used when possible.
I used the flower die in this set along with the solid coordinating die from the i-Crafter Box Pops Flowers set, cutting the flower out of white cardstock and the solid die out of black cardstock. I trimmed down the white flower outline removing the stem so it would be a standalone floral.
Using Hero Arts Precision Glue, I just added the leftover stripes from the Quick Stripes set to an A2 card white card panel in varying lengths allowing a nice pop of color for the background concentrated on the left hand side. I took the Thanks sentiment from the i-Crafter’s Pop Up Wiper Insert and added it as the sentiment. I took the florals I put together from the i-Crafter Box Pops Flowers set and decorated them on top of the stripes.
Isn’t it such a fun card? You can use any dies in your craft stash to create this easy card! Thanks for stopping by! Happy Crafting!
→ SUPPLIES USED ← Some products are provided by manufacturers for review and use. Affiliate links may be used at no cost to you.