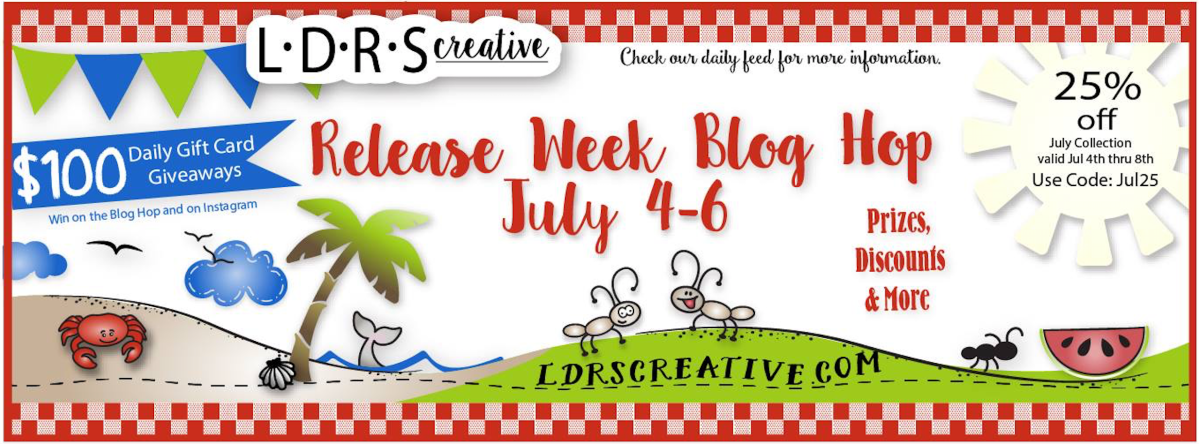
Thank you for joining us on our LDRS Creative inspiration week blog hop! We are showcasing lots of gorgeous projects using products from our new release. You can even see them in action with step-by-step projects by our amazing designers on their blogs and our own LDRS Creative Youtube channel (make sure you subscribe)!
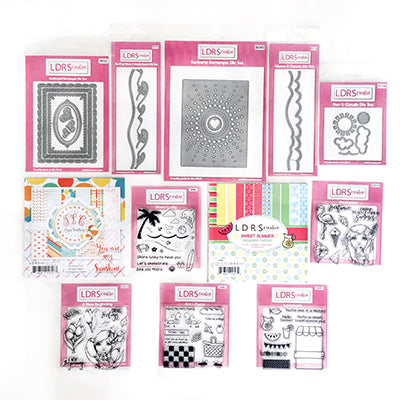
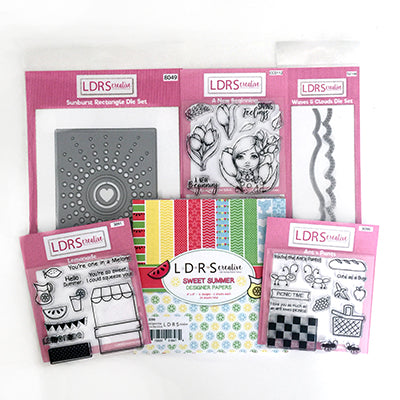
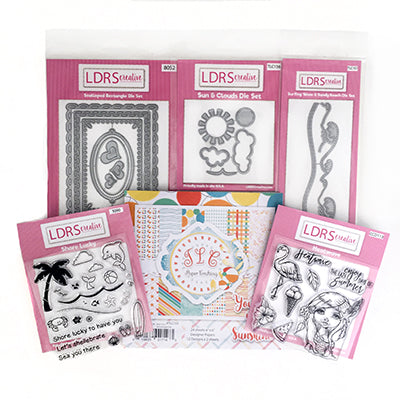
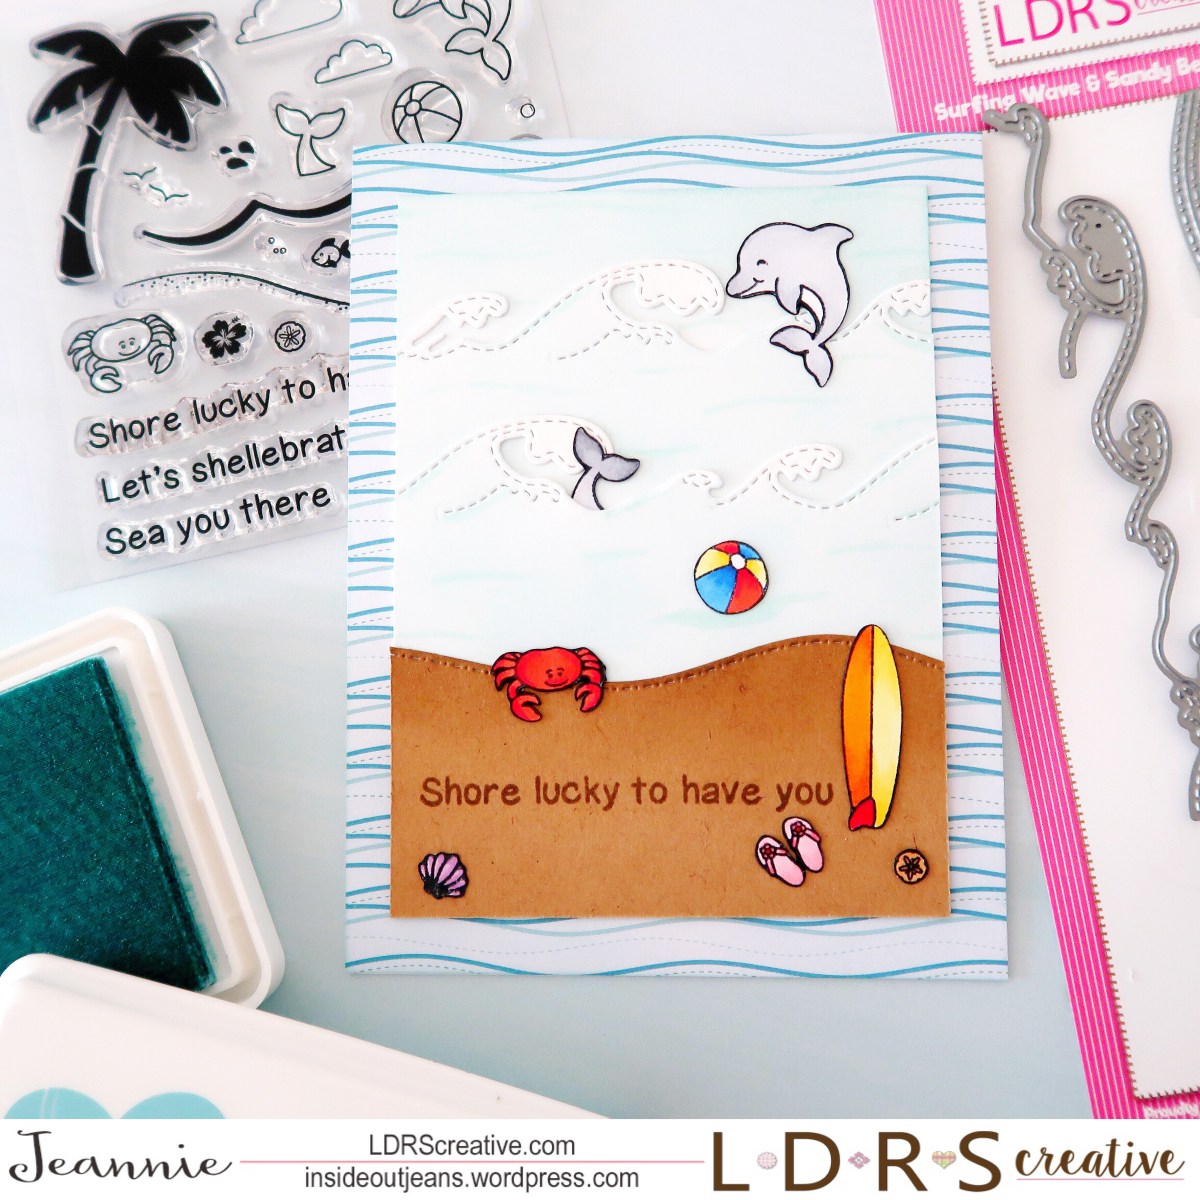
We have TWO new paperpads bursting of colors, with awesome patterns all ready for your projects called You Are My Sunshine (from TLC Crafting) and Sweet Summer! There are FIVE clear stamp sets that are oh-so-sweet: Shore Lucky, Lemonade, Ants Pants, A New Beginning and Heatwave (two sets from Cre8tive Cre8tions)! But wait, you’re about to die for… FIVE new die sets that can be used as accessories or full backgrounds: Sunburst, Scalloped Rectangle, Sun & Clouds, Surfing Waves & Sandy Beach, Waves & Clouds. And for the first time at LDRS Creative, you can grab them in bundles, because you KNOW you need them all!
Simply use the list at the end of the post to keep hopping!
Each day we are giving away a $50 LDRS Creative gift card to one lucky hopper! To enter leave a comment on each blog in the hop, plus follow us on Facebook and Instagram. Winners will be announced on the LDRS Creative inspiration blog on July 10th.
AND for the release event we are excited to offer some great savings!
Save 25% on the new release* and use code Jul25
(*Coupon valid until midnight EST 7/8/18, not on bundles)
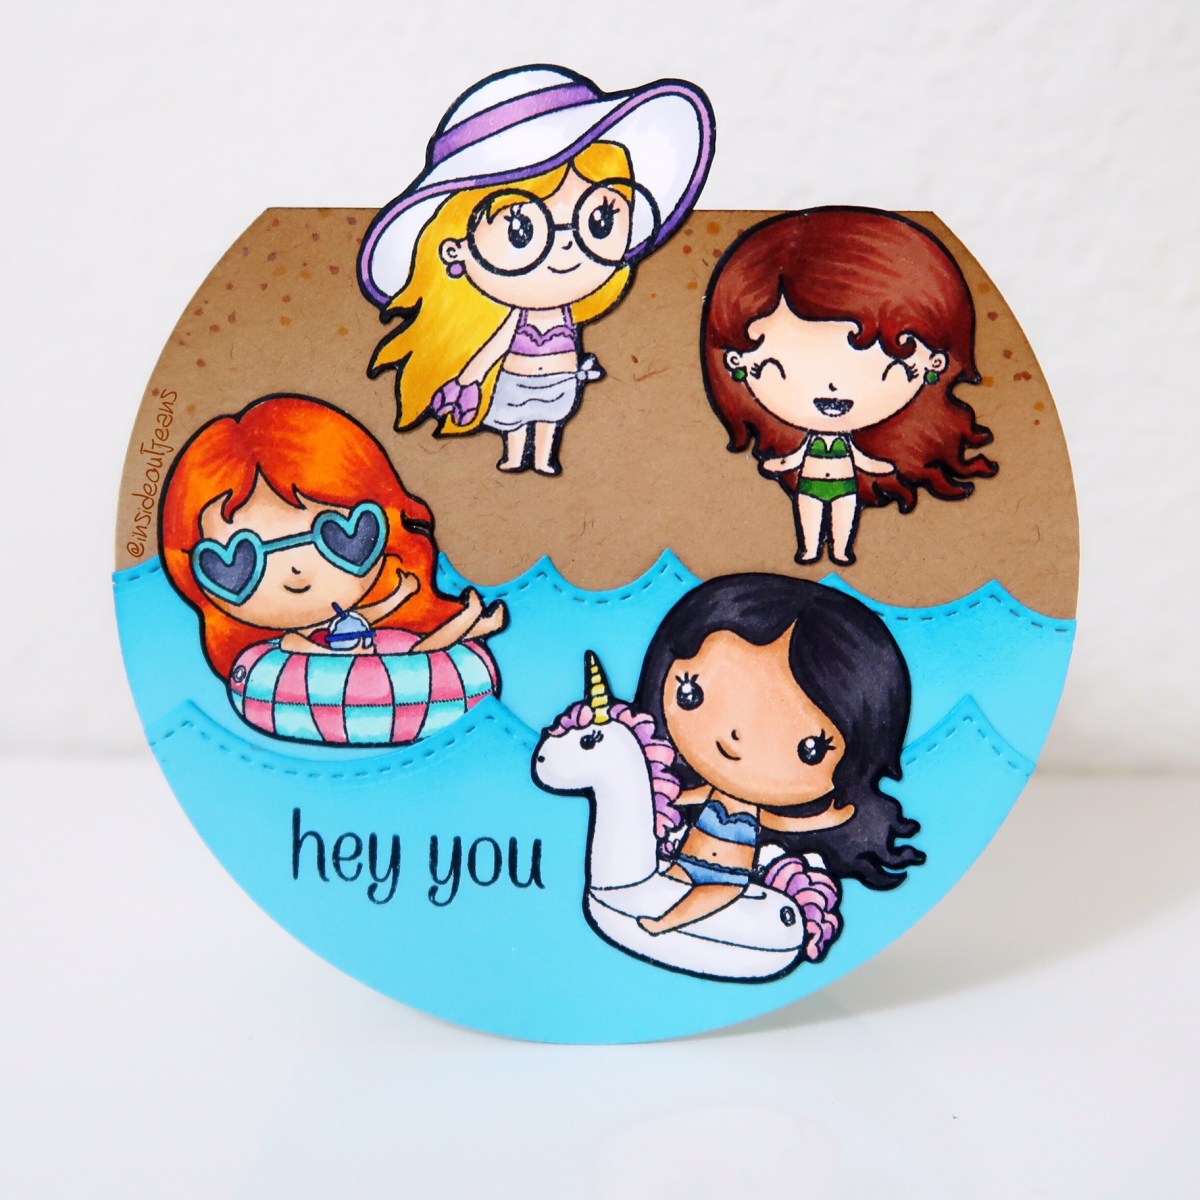
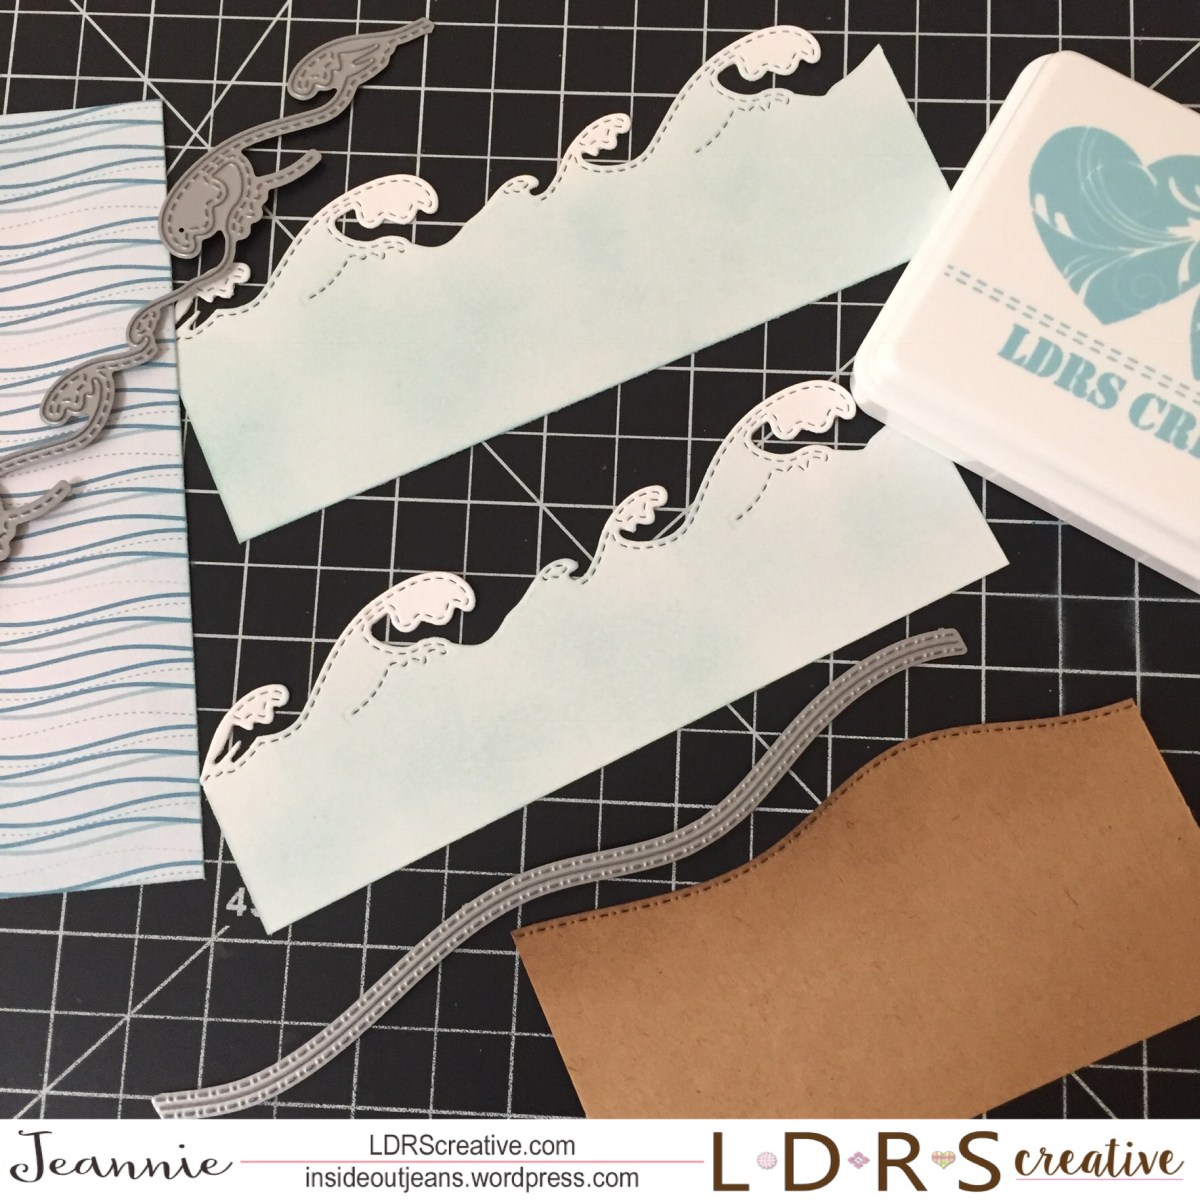
Today, I’m sharing a card I put together using the A New Beginning stamp set. I really like the floral images and wanted to use them for this card.
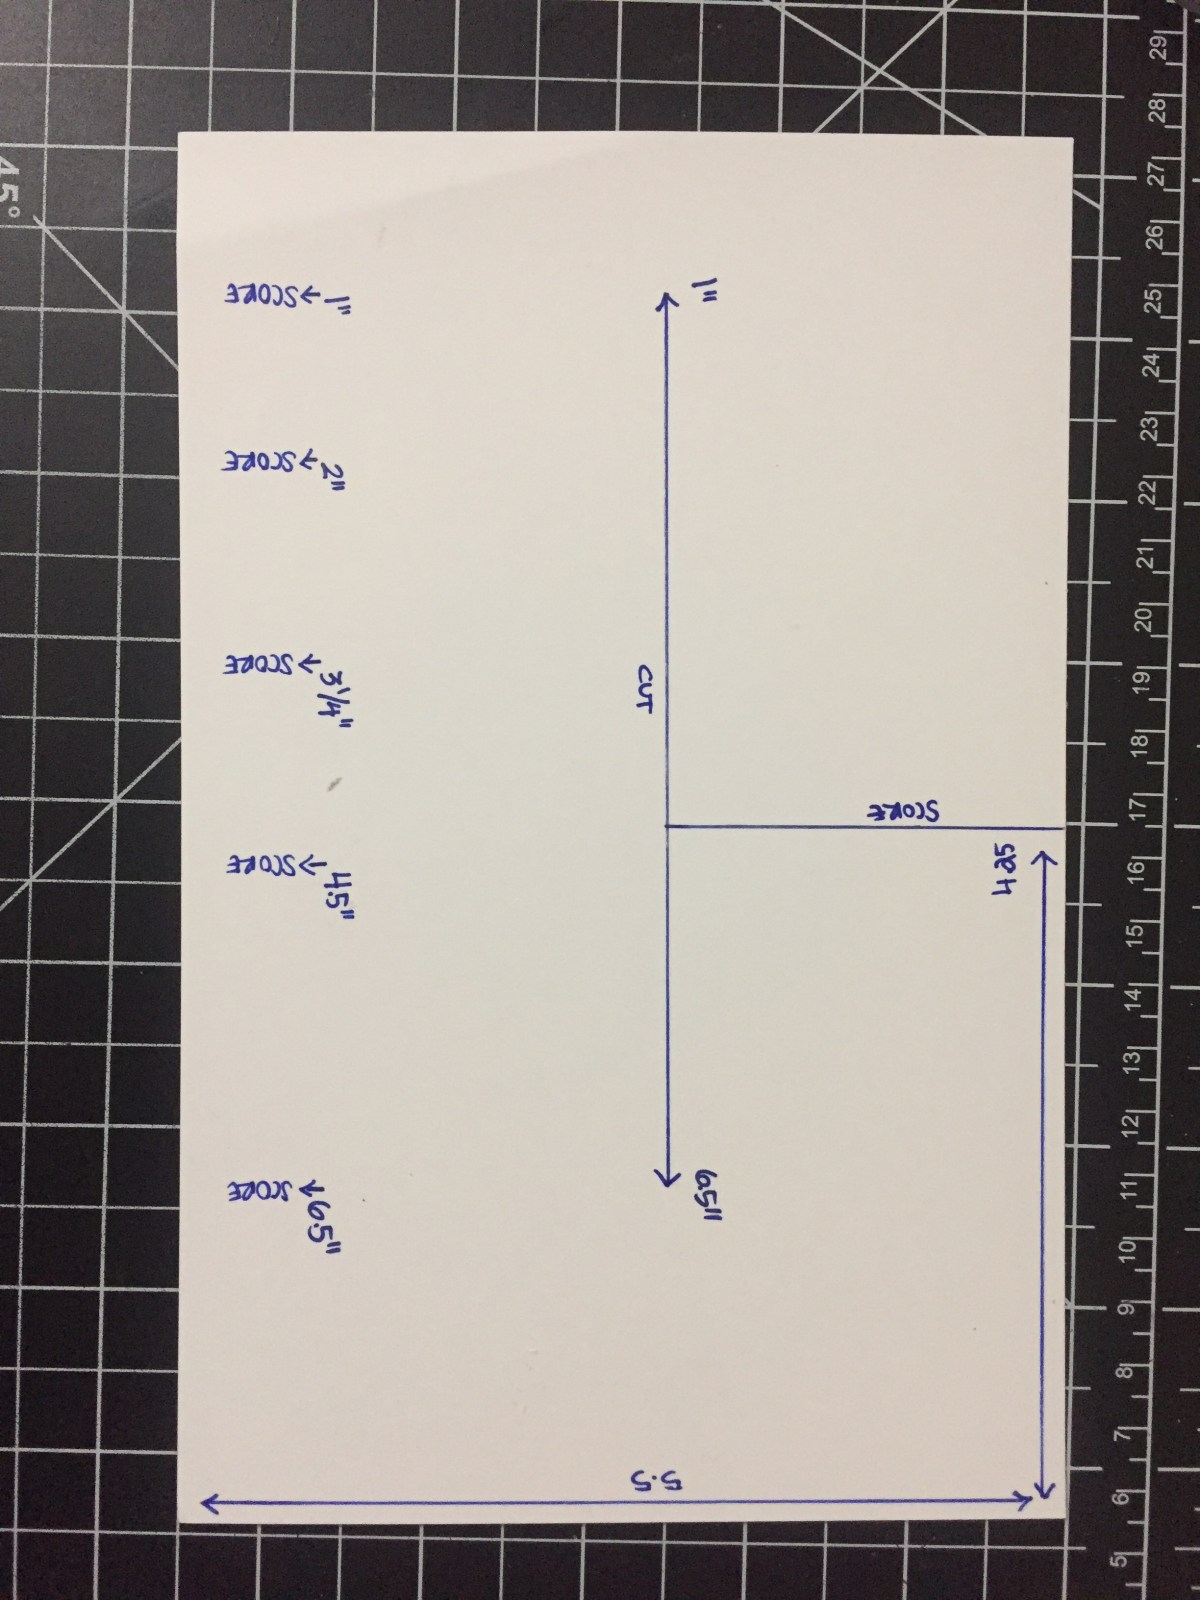
First, for the background, using Flesh and Pink Tutu Hybrid Ink, I inked up an A2 card panel. I kept Flesh in the middle and Pink Tutu on the edges. Most of this will be covered up but, I still wanted to blend it nicely between the two colors. Using the Sunburst die, I die cut a piece of white paper. This particular die cuts a little smaller than an A2 panel, so the Pink Tutu ink on the edges will create a nice frame for the card. I love how the two colors are subtle but look really pretty behind this die cut panel.
Second, I stamped out the image of the girl and the florals using Raven Hybrid Ink. I wanted to keep a orange and pink color theme, so I used shades of those two colors to color in these images. Once I was done, I fussy cut the images and placed them in the center of this card.
It’s a super simple card, but I think it turned out to be really pretty. Whenever, I decide to give away this card, I can add the appropriate sentiment along the bottom half of the card. I really like leaving cards ready to go minus a sentiment so it can fit any occasion.
Hope you enjoyed my first card for this release. Come back tomorrow for more card inspiration.
Hop along and leave a comment so you could win!
Day 1:
And make sure to be back tomorrow for more inspiration!