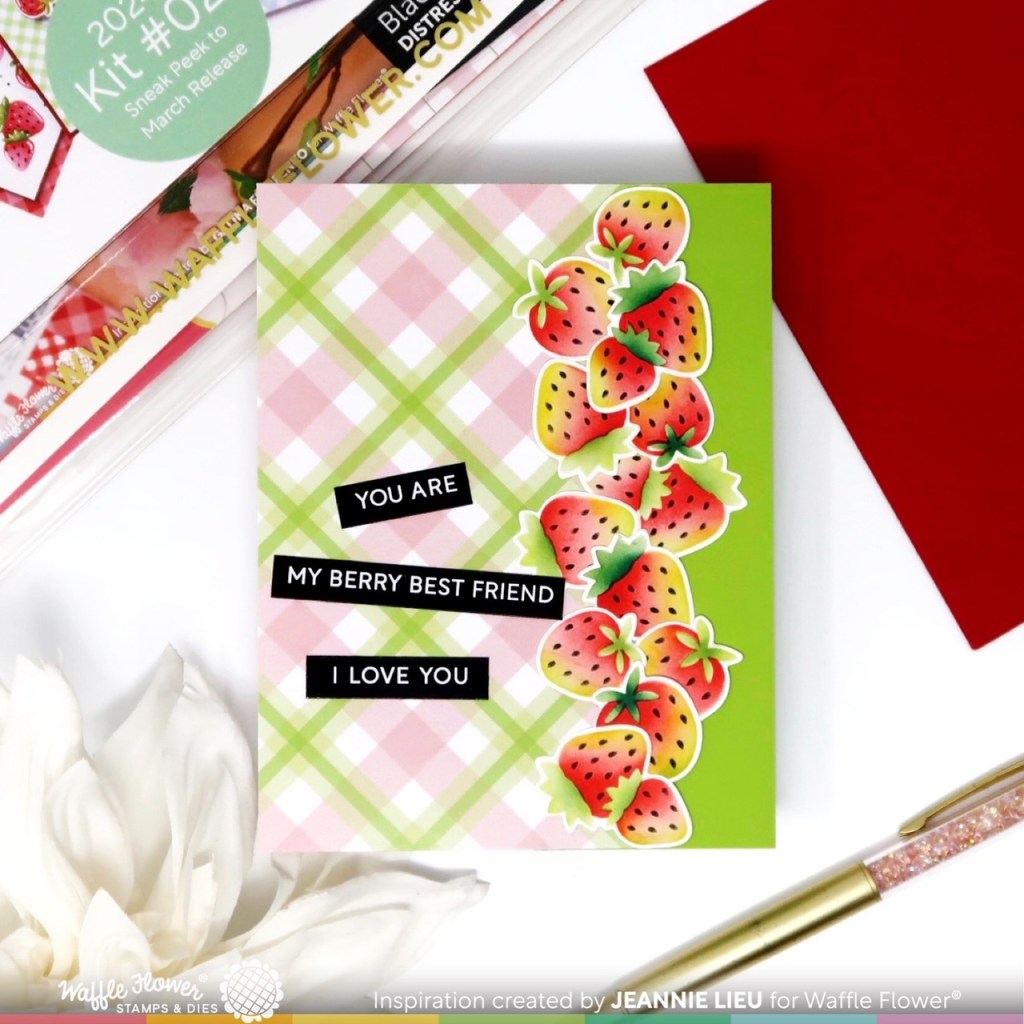
A large stencil — it’s great to fill up an entire panel but I couldn’t help add just a bit more color for it to really pop! Add a sentiment and that’s really all you need.
All my supplies for creating this card will be listed down below (with multiple sources when available) for your curiosity and convenience. Affiliate links used when possible.
Hi friends, today, I’m sharing a card I created using the Sneak Peek Club kit No. 2 for 2024 from Waffle Flower Crafts. The Sneak Peek Club kit is a monthly subscription that allows you to play with a handful of Waffle Flower products about a month before their official release date. Check out more inspiration on Waffle Flower’s blog as well!
For today’s card, I totally fell in love with these little strawberries in the Multiple Strawberries Die-n-Stencil. They are so cute! I really wanted them to look dimensional so I used a few colors to ink these up: Mustard Seed, Twisted Citron, Candied Apple, Rustic Wilderness, Pine Needles. I used the coordinating dies to cut them out as well.
I pulled out the Gingham Paper and used those die cut strawberries lined up on edge of my pattern paper. I thought it would be fun to have a funky edge. I pulled out a piece of green cardstock to back up that piece for a pop of color.
To finish off this card, I used the Subsentiments – Berry Sweet to quickly add the sentiment. I kinda love these because my favorite way to stamp sentiments is using white embossing on black cardstock — this saves me the trouble of stamping and heat embossing.
Remember to check out all the other inspiration of how to use this kit!
GIVEAWAY
Waffle Flower has generously offered to give away this sneak peek kit to one of my blog readers. Just leave a comment below this post to enter for a chance to win. Giveaway ends on February 29, 2024 (open to US residents) and winner will be contacted so be sure to leave your comment and email below!
If you subscribe today, your first kit will be Sneak Peek Kit No. 3.
To see more inspiration, check out the link party happening on the Waffle Flower Blog!
These were one of the first things that caught my eye when this new release came out. I had to get my hands on it to use it immediately and they were so fun to put together. Not only that, they are mini! Mini anything makes it so much cuter – don’t you agree?
All my supplies for creating this card will be listed down below (with multiple sources when available) for your curiosity and convenience. Affiliate links used when possible.
Using alcohol markers was something I’ve practiced over time – lots of videos, lots of coloring. You pick up small techniques along the way and it really just needs time. I kind of got the effect of foil balloons here (I think!).
All my supplies for creating this card will be listed down below (with multiple sources when available) for your curiosity and convenience. Affiliate links used when possible.
I love a large focal image for a card — You just stamp and color! I tend to stick with my rainbow colors and for this sentiment, it works perfectly!
All my supplies for creating this card will be listed down below (with multiple sources when available) for your curiosity and convenience. Affiliate links used when possible.
Sometimes an image is just perfect without any coloring — it has enough details to carry itself. I love this girl who is just carefree. I did a bit of masking so my watercolors wouldn’t move onto the image and used watercolors in rainbow order so they would blend together nicely.
All my supplies for creating this card will be listed down below (with multiple sources when available) for your curiosity and convenience. Affiliate links used when possible.
I always forget how much I love gold and navy put together until I put them together! I wanted a bright pop of color as well to have a fun contrast. I think it really goes with this vintagey image from the latest Honey Bee Stamps release!
All my supplies for creating this card will be listed down below (with multiple sources when available) for your curiosity and convenience. Affiliate links used when possible.
When I don’t want to create a large scene filling up an entire card panel, I’ll do some mini scenes along with partial stenciling or ink blending. The Scene Building Let’s Eat Something Sweet Bakery has a ton of dies that you can pick on to create a bunch of little scenes — this being one of them!
All my supplies for creating this card will be listed down below (with multiple sources when available) for your curiosity and convenience. Affiliate links used when possible.
Last year, I went to the Eras Tour and now, I’m really appreciating Taylor Swift so when I got a peek at this kit, I knew I had to have it, use it, and to do it justice. I freaking love how this card turned out. The snake is my favorite part. I went in with a lighter green and then darkened up certain areas to create that dimension that just pops here!
All my supplies for creating this card will be listed down below (with multiple sources when available) for your curiosity and convenience. Affiliate links used when possible.
Happy Spring Catalog Day! Hero Arts will be giving away two $50 gift cards, drawn from the comments left along the hop. Comment on all the blogs for more chances to win! You have until Wednesday, February 21st at 11:59pm to enter. The winners will be announced on the Hero Arts blog.
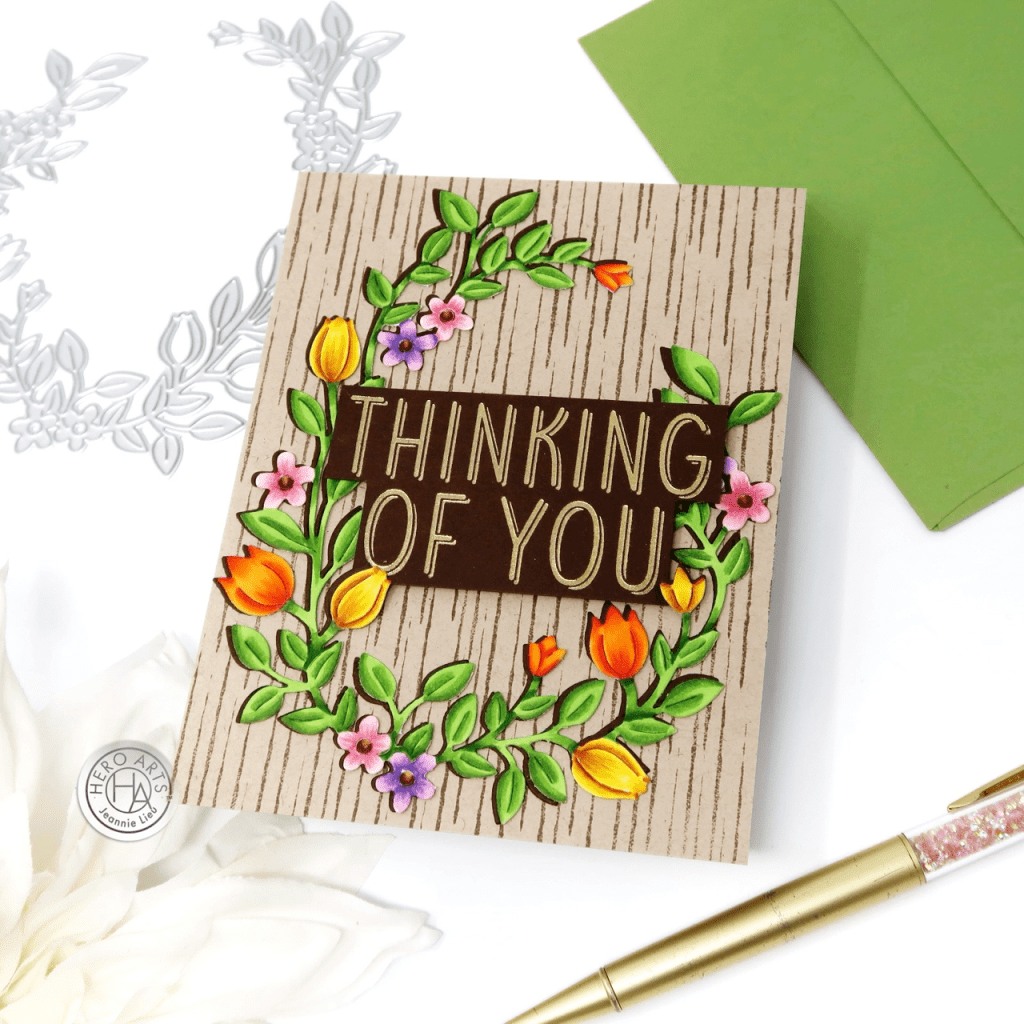
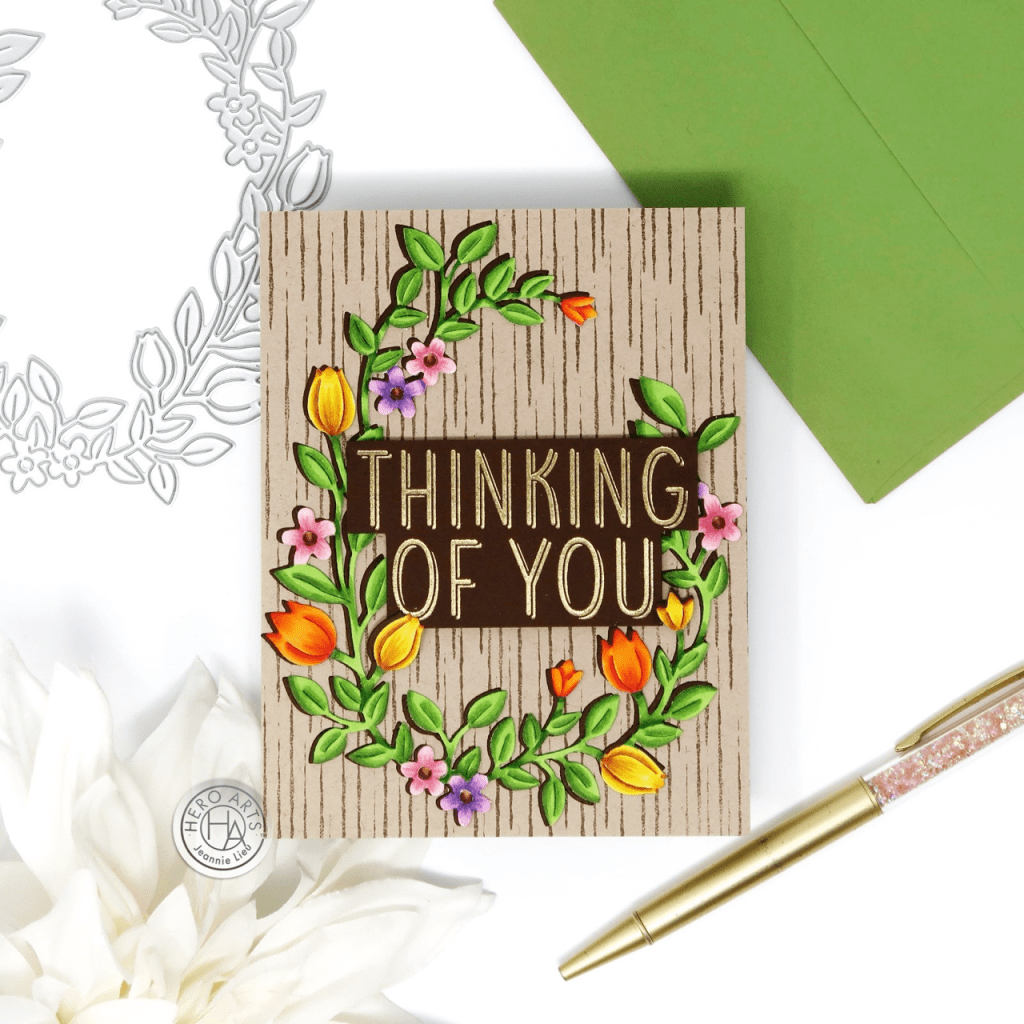
Today, I’m sharing one of my favorites that I created using some of the Spring Catalog items. I die cut the Floral Wreath Fancy Die out of white cardstock because I wanted to use my copic markers to color in all the florals and leafy bits. Once I finished coloring, I die cut a piece of Cup Of Joe Cardstock using the same Floral Wreath Fancy Die and glued the colored die cut on top, just a little off set to look like a shadow.
For my background, I pulled out a piece of Sand Cardstock and then stamped it with the Rain Texture Bold Prints using Espresso Core Ink. I love this background stamp because it’s a very subtle pattern so your focus won’t be pulled away from your main focal point.
Ok — as a cardmaker, I’m just not a fan of Valentine’s Day — I like cards that you can use at any time for a loved one. Although, this can definitely be used for a Valentine’s Day card, I decided to use a very generic sentiment that you can use all year round!
All my supplies for creating this card will be listed down below (with multiple sources when available) for your curiosity and convenience. Affiliate links used when possible.
Welcome to Pretty Pink Posh‘s February 2024 Release Blog Hop! CBe sure to check out the latest release from Pretty Pink Posh. Before we jump into my project for the hop, there’s a total of 5 $30 gift certificates up for grabs (one winner each day) for this 5 day blog hop! Winners will be picked randomly along the blog hop. Comments must be left by 11:59 PM PST on 2/16/2024. Winners will be announced on the Pretty Pink Posh blog.
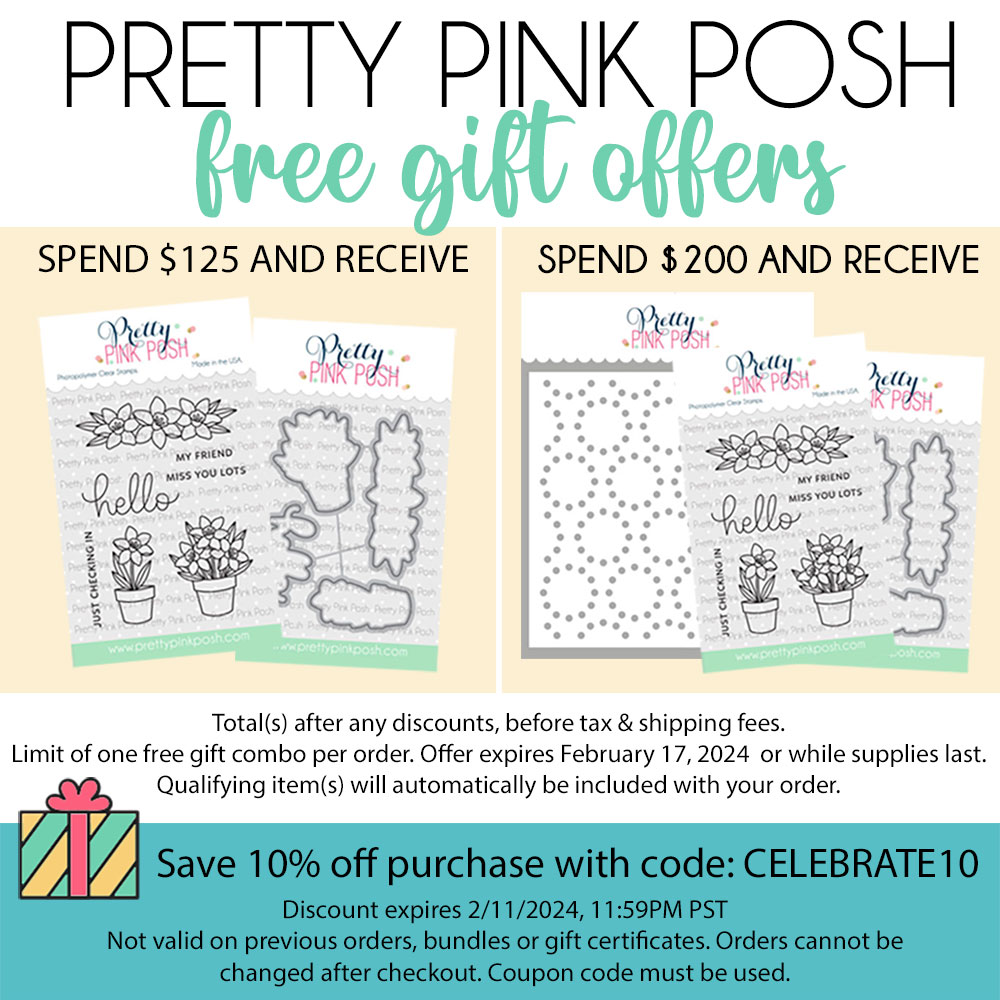
Hi friends! There have been so many amazing projects already shared in the past four days of the blog hop and there’s so much inspiration today as well! Be sure to check it all out and today’s lineup AND there’s free gifts along with the new release!
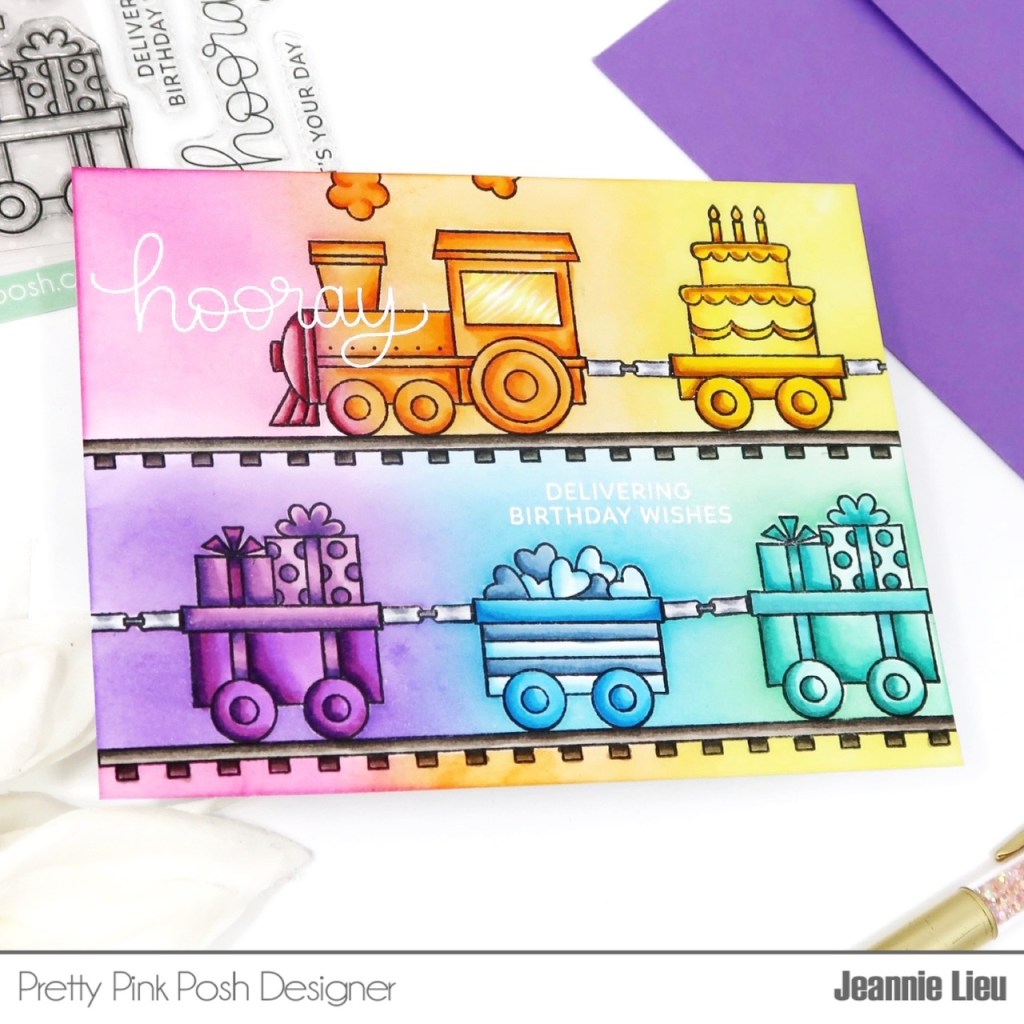
For today, I’m sharing this colorful birthday card that I put together using one of the new items from Pretty Pink Posh’s February’s release in conjunction with one of the stamp sets from lat month’s release.
I really wanted to do something fun since Pretty Pink Posh is celebrating 10 years! It was a cause for celebration and why not use all the colors! I did a ton of stamping, masking, ink blending and coloring and I just adore how this card turned out.
Here is my coordinating YouTube video if you want to see how I created this card!
All my supplies for creating this card will be listed down below (with multiple sources when available) for your curiosity and convenience. Affiliate links used when possible.
Be sure to stop by the previous days of inspiration for the Pretty Pink Posh blog!