All my supplies for creating this card will be listed down below (with multiple sources when available) for your curiosity and convenience. Affiliate links used when possible.
SUPPLIES <<
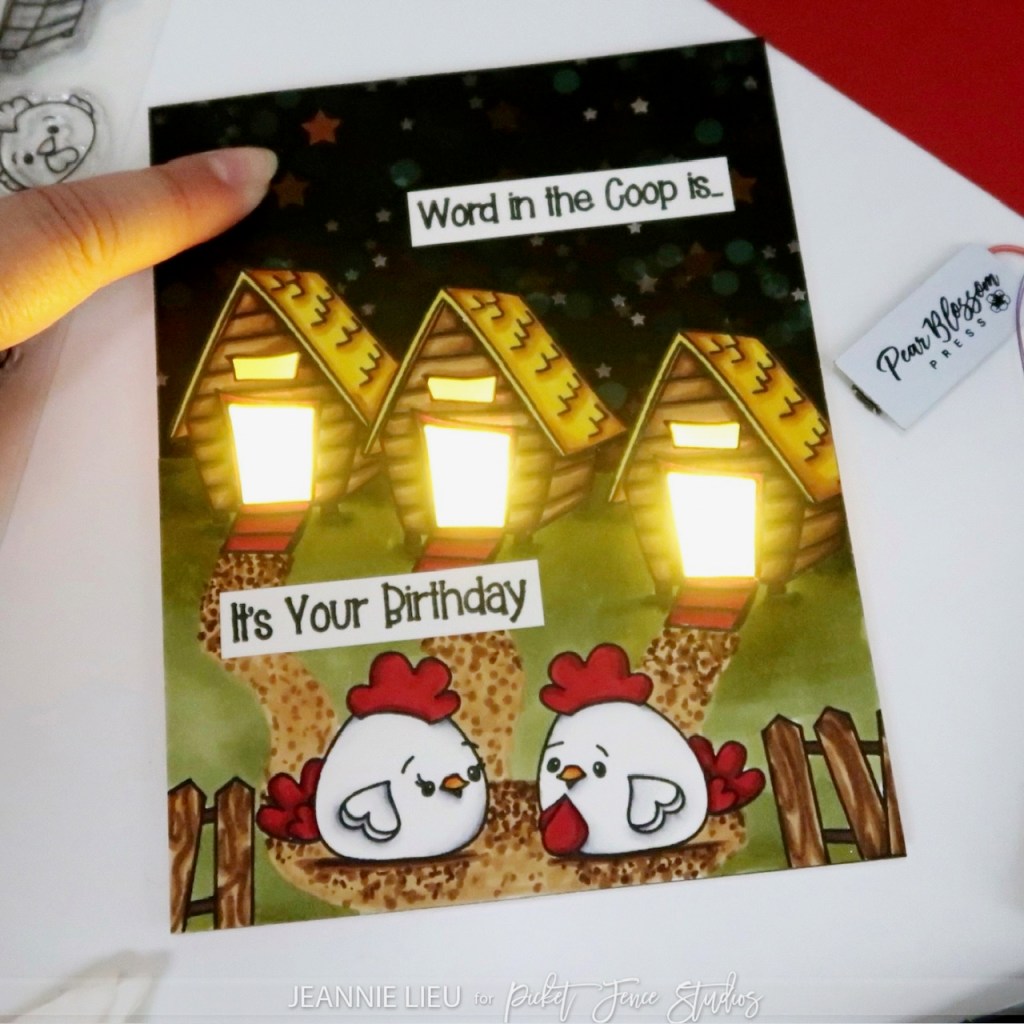
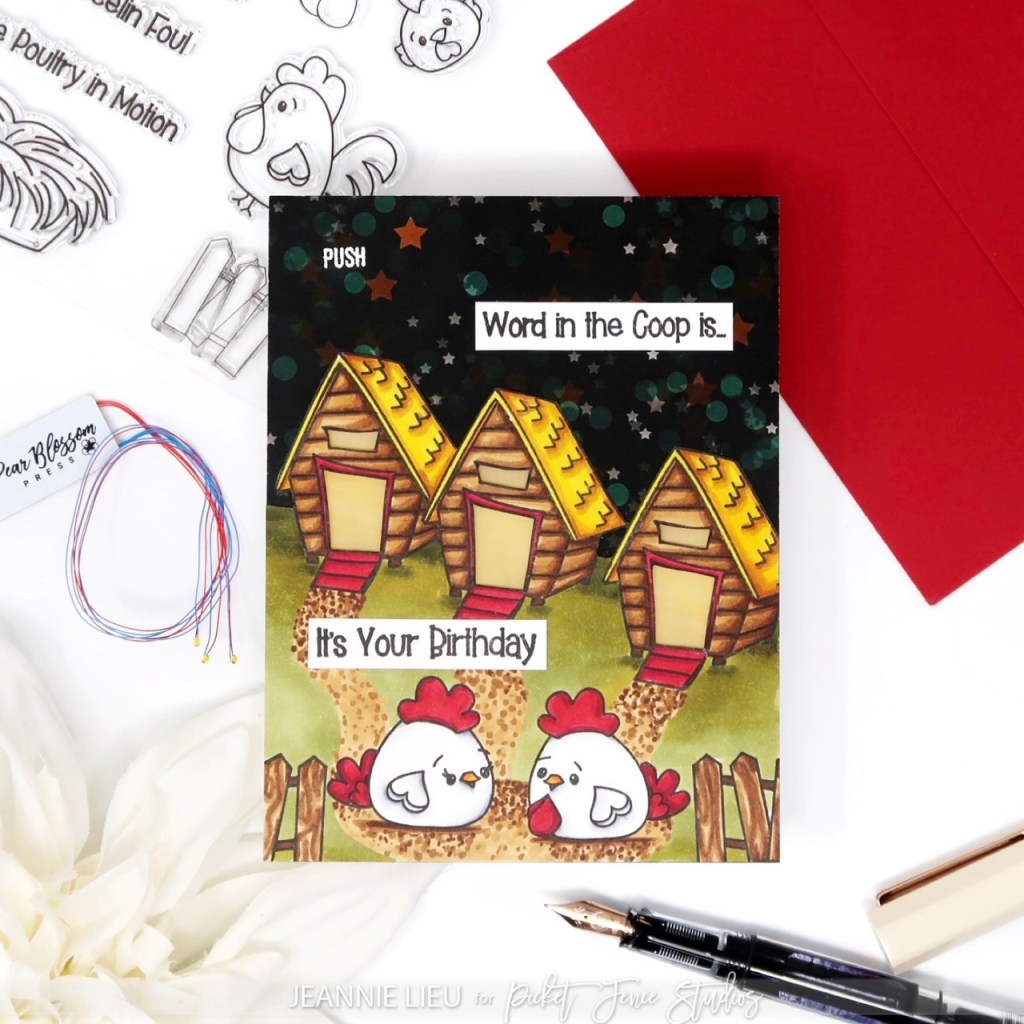
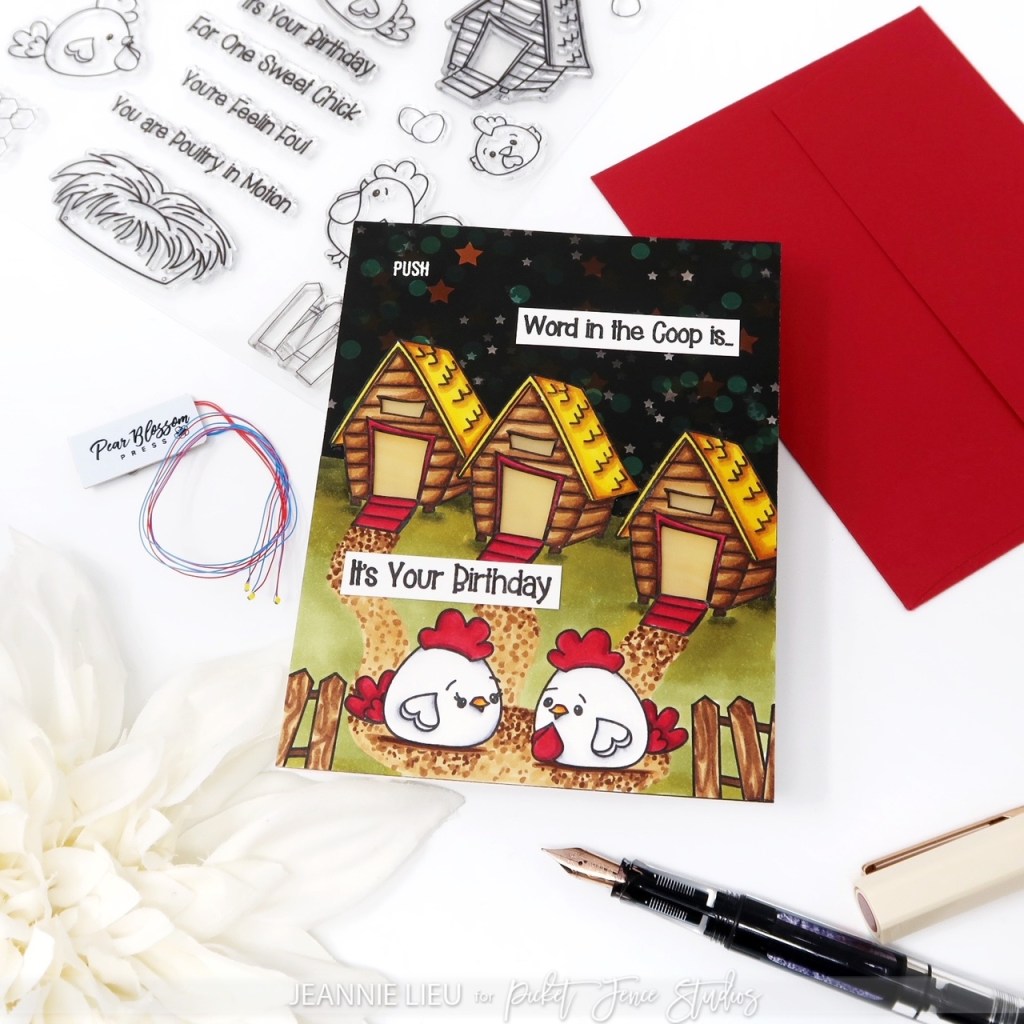
Pear Blossom Press – EZ-Lights
—PBP: https://bit.ly/466Cckw
Pear Blossom Press – EZ-Lights, 2 pack
—SSS:https://tidd.ly/472iwA8
—TS: https://collabs.shop/dm06wu
–Scom: https://tidd.ly/4bgH2Qp
Pear Blossom Press – EZ-Lights, 3 pack
—SSS: https://tidd.ly/477urwx
–Scom: https://tidd.ly/3MQNtR4
Pear Blossom Press – EZ-Lights, 5 pack
—SSS: https://tidd.ly/4rKa6Wv
—TS: https://collabs.shop/uh73cn
–Scom: https://tidd.ly/4rK9Fv9