If you don’t know how to fill up your card, sometimes you can just use pattern paper that you have! I’m betting you have a ton in your stash and it’s an easy way to fill up the space along with some images.
All my supplies for creating this card will be listed down below (with multiple sources when available) for your curiosity and convenience. Affiliate links used when possible.
Large sentiment stamps — Trinity Stamps has this whole line of them and it’s so fun. They make for really fun and easy card. Also, super fun for coloring. For this one, I did rainbow coloring and then added a little friend, also colored in rainbow colors!
All my supplies for creating this card will be listed down below (with multiple sources when available) for your curiosity and convenience. Affiliate links used when possible.
I forgot how easy toner card fronts were for creating cards! You can leave it as is or add foil by running in through a laminator or a minc machine. Add a sentiment and you’re done! Easy for mass production!
All my supplies for creating this card will be listed down below (with multiple sources when available) for your curiosity and convenience. Affiliate links used when possible.
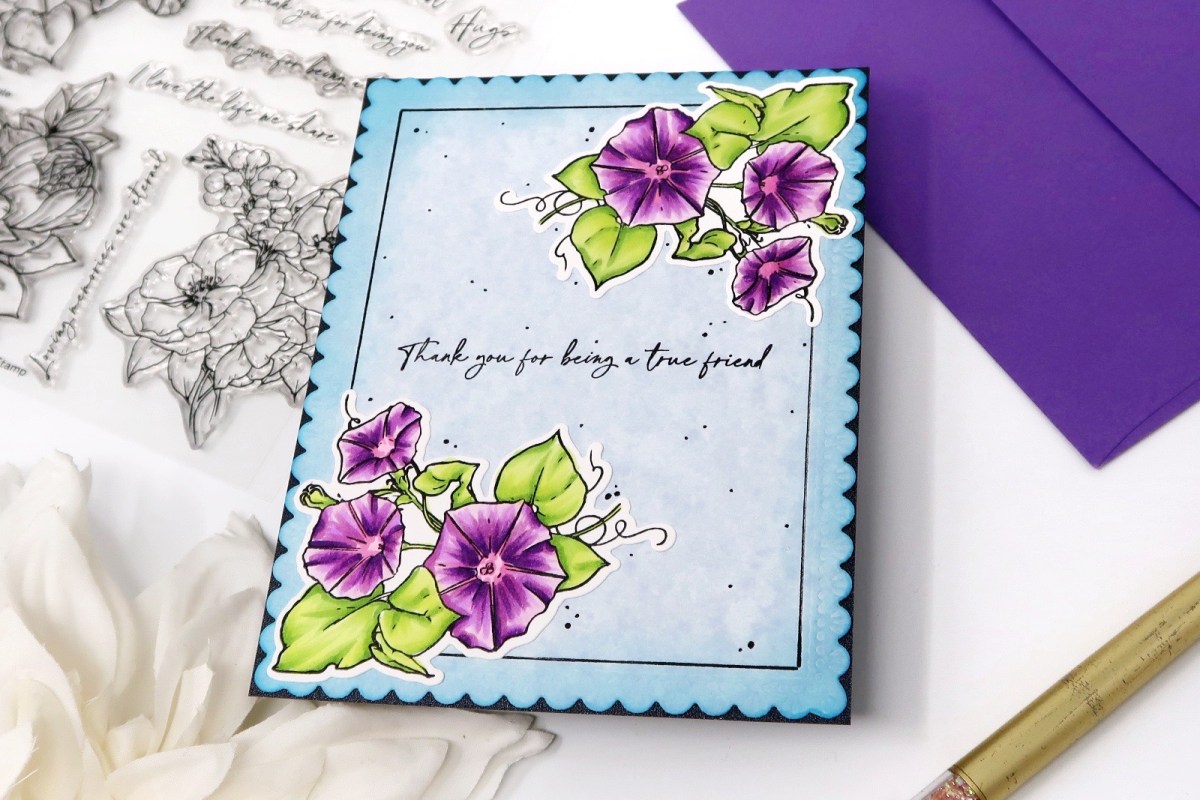
I love when stamp sets include florals that can be anchors of a frame. I just added a bold black rectangle to add to the effect. I also really love how the purple pops on the blue background as well.
All my supplies for creating this card will be listed down below (with multiple sources when available) for your curiosity and convenience. Affiliate links used when possible.
You definitely can’t always find the exact supplies for what you want to make. Here, I wanted to create the Lover house so I did it myself. I just pulled up a picture, grabbed a pencil and a ruler and tried to recreate it. It’s a simple background but I really wanted the sentiment to shine.
All my supplies for creating this card will be listed down below (with multiple sources when available) for your curiosity and convenience. Affiliate links used when possible.
Pattern paper works well as a base and then you can add to them to create the look you want. I did that here with a piece from the Textiles & Textures Vintage paper pack and this card really came to life!
All my supplies for creating this card will be listed down below (with multiple sources when available) for your curiosity and convenience. Affiliate links used when possible.
I saw this image and fell in love but I really didn’t feel like coloring all the details but I wanted color. I went ahead, stamped this image out and then used a ruler to create lines. I colored it in with a rainbow array of colors and then I used greys and a little blue green to add a bit of dimension. It turned out great!
All my supplies for creating this card will be listed down below (with multiple sources when available) for your curiosity and convenience. Affiliate links used when possible.
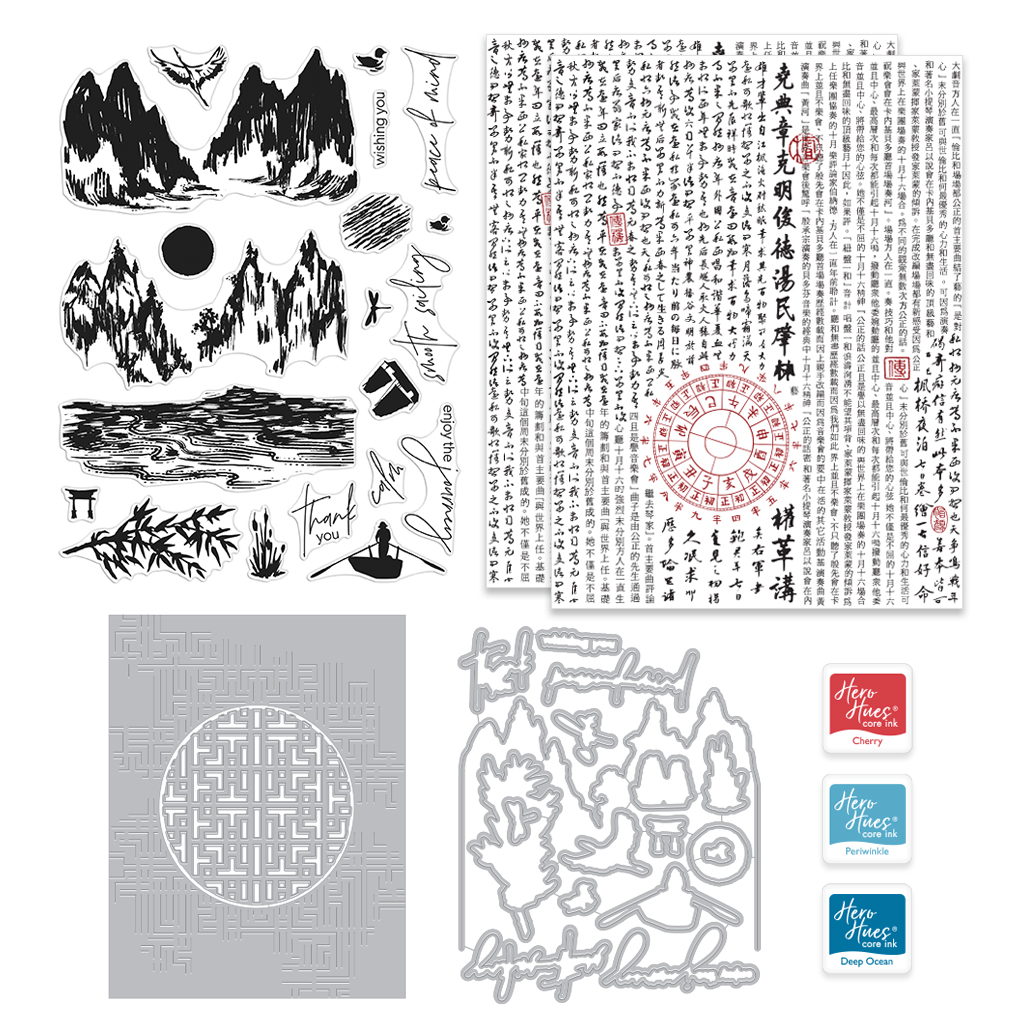
Hi crafty friends! Today, we are hopping along to introduce the March 2024 My Monthly Hero Kit from Hero Arts. There’s a ton of inspiration and the full blog lineup can be found on the Hero Arts blog. You should be coming from Rachel Kleinman‘s blog and your next stop will be Seeka. The full blog list will be updated below! This month’s collection focuses on peace, love and kindness! Here is a peek at the Classic Kit:
and the Premium Kit (along with the Classic kit items) includes:
Clear Stamp Set, 4” x 6”
Frame Cuts
Translucent Pinks Hero Hues Enamel Dot
I have two cards to share with you today featuring this month’s kit and add ons!
The first card focuses on the Classic Kit. I’ll admit that I’m not a big fan of solid stamps because my preference is just to color but one that builds a scene in this sketchy kind of way along with silhouettes is something I can get behind. I used the 6″ x 8″ stamp set along with the Periwinkle, Deep Ocean, Cherry and INTENS-ified black ink pads to stamp this scene up. You can create any type of scene you’d like and interchange all the silhouette images. It’s so fun and easy! I also couldn’t resist using the Rub-On Transfer Sheets to add a little flair to the card. It reminds me of those old asian paintings with the scene and then the writing over it — exactly what this card looks like.
{PinterestId: 190777}{PinterestId: 190777}
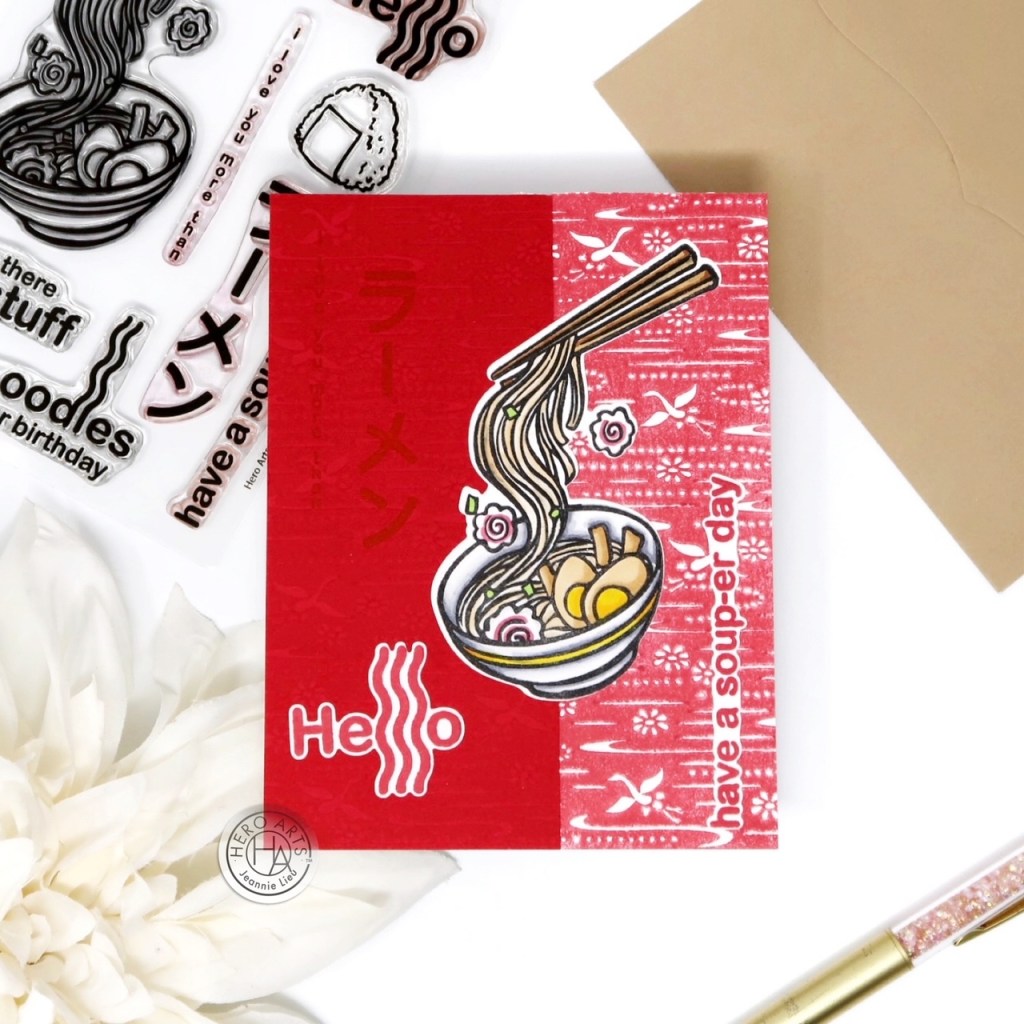
My second project features a one of this month’s add ons set, the Ramen Bundle and the Origami Paper Bold Prints. I love split card designs, it’s usually a great way to use up pattern paper or add some interest to a card. I stamped the Origami Paper Bold Prints on both white and Cherry Cardstock using the Cherry Core Ink. I used half of it on one side, half on another side. Then I stamped some of the images and sentiments from the Ramen Bundle using Cranberry Core Ink and placed them on my card panel.
{PinterestId: 190777}{PinterestId: 190777}
Here’s a little video for this card above:
Giveaway:
Hero Arts will give away a $50 gift card, drawn from the comments left across the hop. Enter by Sunday, March 11th at 11:59pm Pacific, and the winner will be announced on the Hero Arts blog the following week.
Quick backgrounds are my favorite — You don’t have to worry too much about the images because it becomes your focal point, especially when they shimmer.
I detail my steps over on the Hero Arts blog so be sure to check it out!
All my supplies for creating this card will be listed down below (with multiple sources when available) for your curiosity and convenience. Affiliate links used when possible.
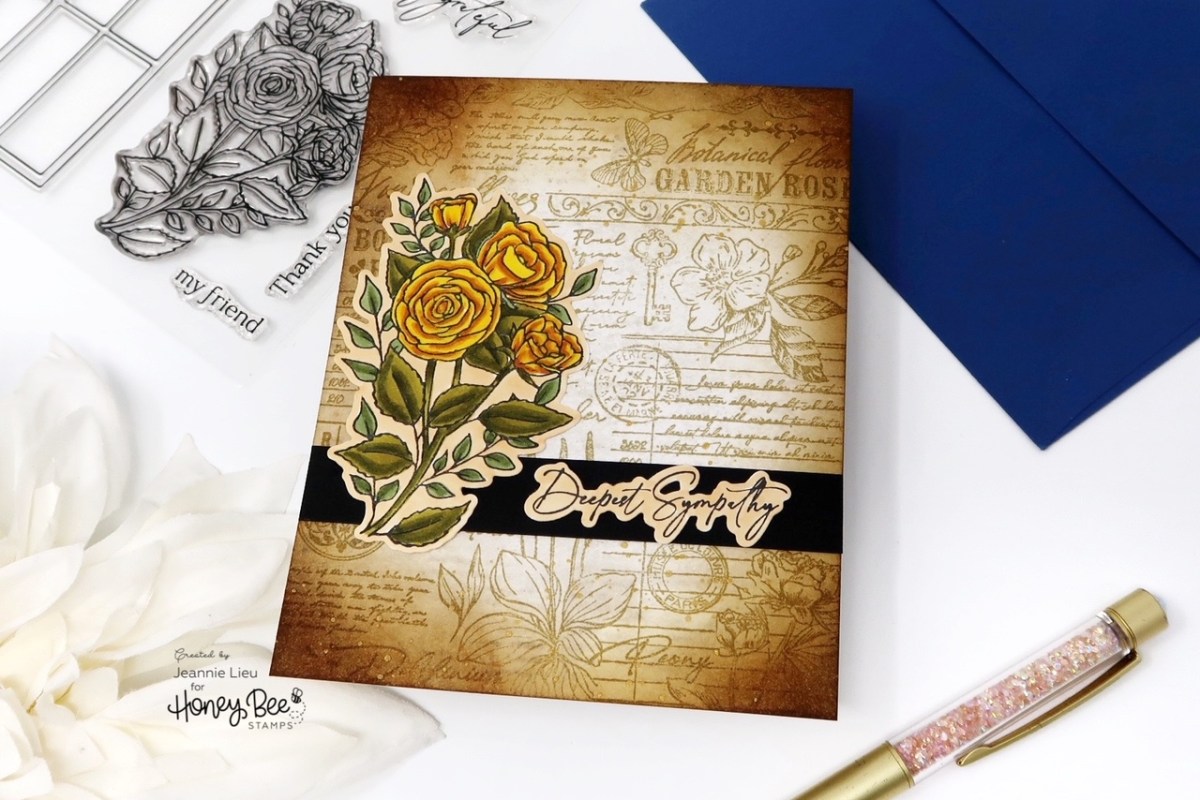
Sometimes you don’t need much to achieve the look you want. The newest Honey Bee Stamps release makes it really easy to achieve a vintagey look and I love it. The background stamp is so pretty that it really only needs a strong focal image.
All my supplies for creating this card will be listed down below (with multiple sources when available) for your curiosity and convenience. Affiliate links used when possible.
Toner foil card fronts is the cardmaking cheat code — it creates such an easy card quickly, by running it through your laminator with some foil for that added glimmer OR you can leave it as is. Did you know that you can ink blend right over the foil and it’ll resist the ink? It allows you to add some color and it’s pretty!
All my supplies for creating this card will be listed down below (with multiple sources when available) for your curiosity and convenience. Affiliate links used when possible.
There’s no such thing as too much glimmer! I used a silvery paste along with perfect pearls to add shimmer. I also used a white gel pen to create a faux glitter look to my die cut sentiment. Best believe — I can still make the whole card shimmer.
All my supplies for creating this card will be listed down below (with multiple sources when available) for your curiosity and convenience. Affiliate links used when possible.