Happy Thanksgiving everyone!!! I hope everyone’s having a family-filled and food-filled day. It’s one of my favorite holidays of the year and it’s all filled with sales too! I’ve already taken advantage of a ton and I’m sure there’s more coming.
Here are a few I know about that I personally have taken advantage of:
- Trinity Stamps
– 25% off the entire store automatically
– with a purchase of $50, you’ll receive the Snow Mole-bile stamp (I’m featuring a project using it today below).
– with a purchase of $75, you’ll receive the Snow Mole-bile stamp AND die
– Valid until December 2, 2019 - Ink on 3
– Use code THANKS35 for 35% off your entire order
– Valid until December 3, 2019 - LDRS Creative
– Use code BLACKFRIDAY40 for 40% off your entire order
– Valid until December 1, 2019 - My Favorite Things Stamp
– Use code THANKS for 35% off your entire order
– Valid until December 2, 2019 - Pink & Main
– Use code BLACK2019 for 25% off your entire order
– Valid until December 2, 2019 - Simon Says Stamp
– Use code GBLE299 for 30% off Simon Says Stamp brand items
– Valid until November 28, 2019
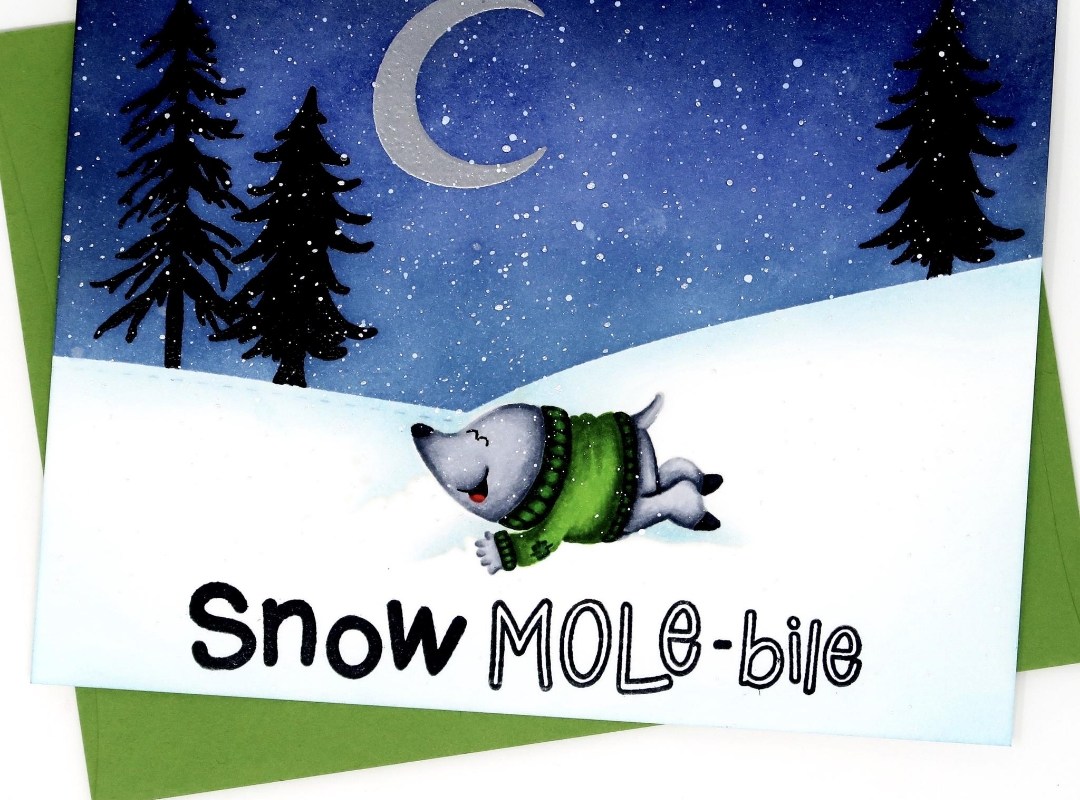
Today, I’m sharing a card featuring the freebie Trinity Stamps stamp set named, Snow Mole-bile, which you’ll receive with a purchase with $50. You’ll also get the coordinating die with a purchase of $75 or more.

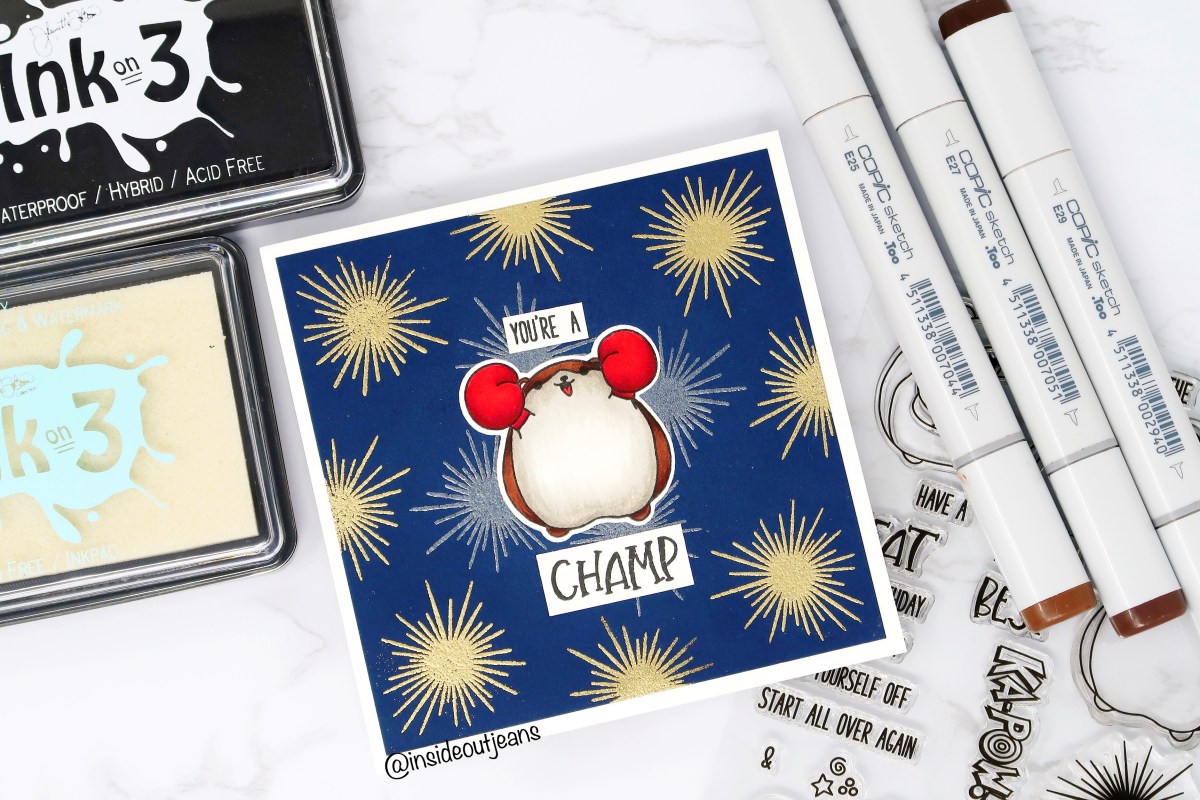
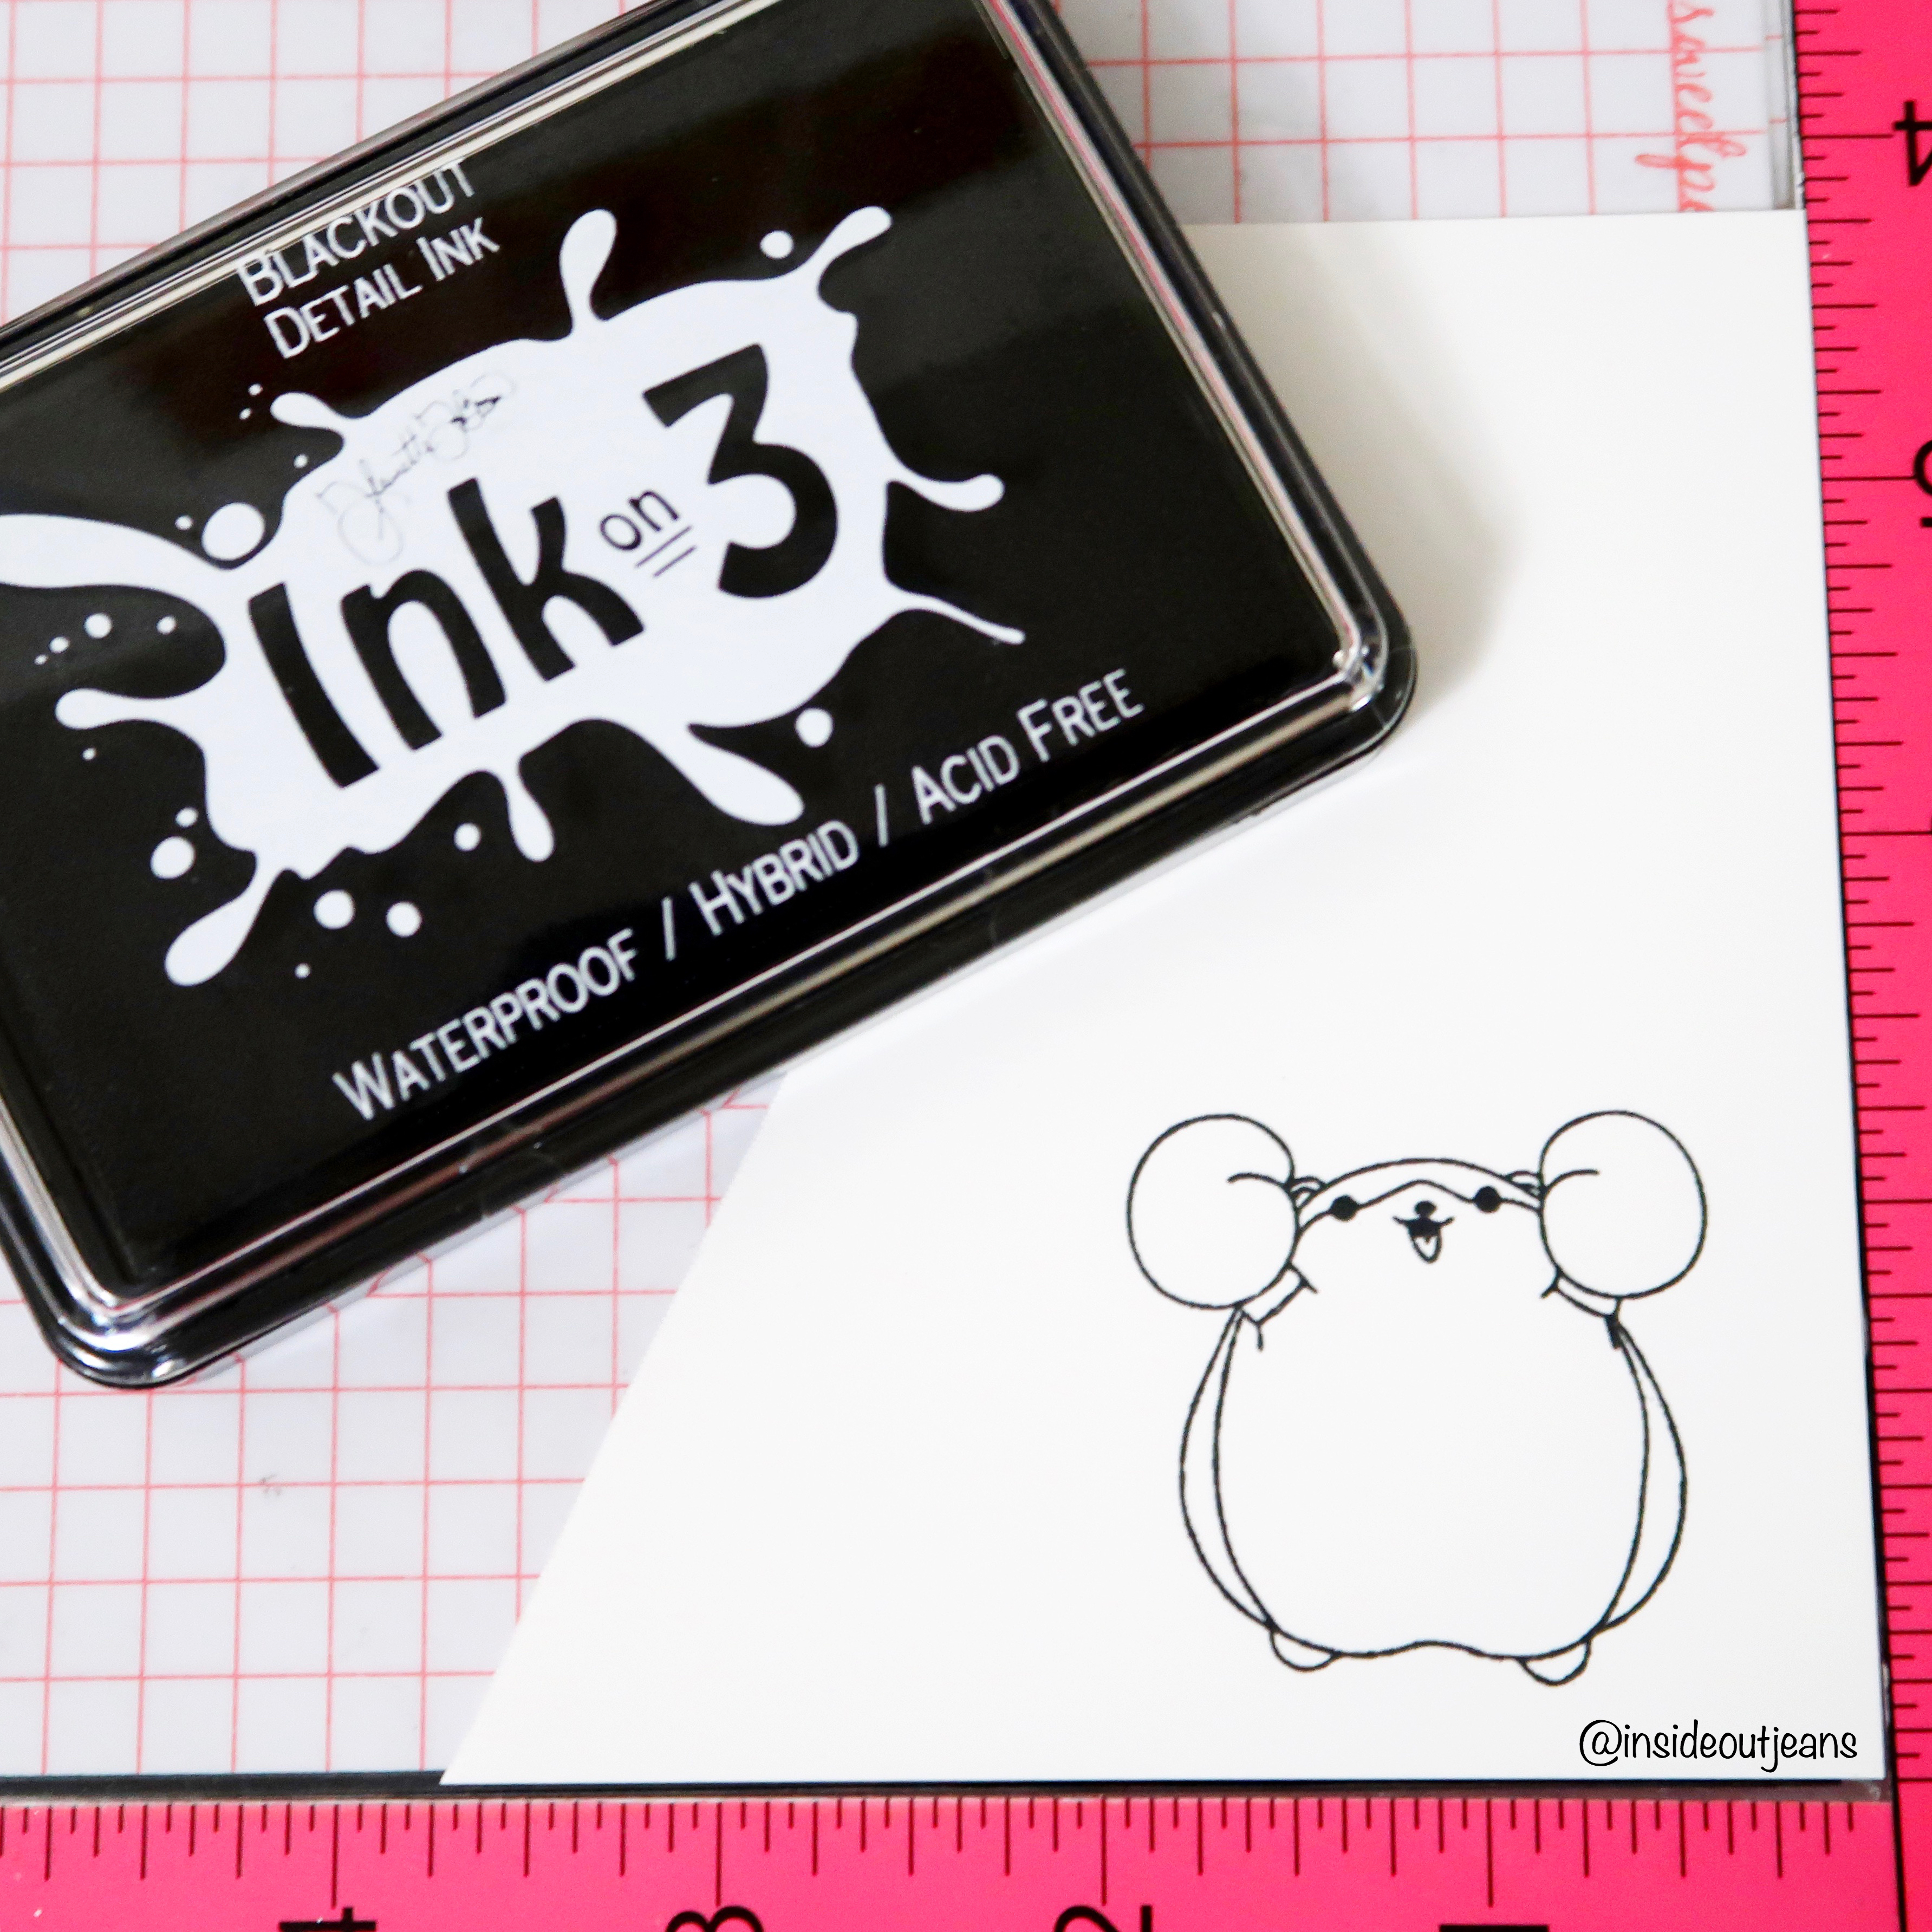
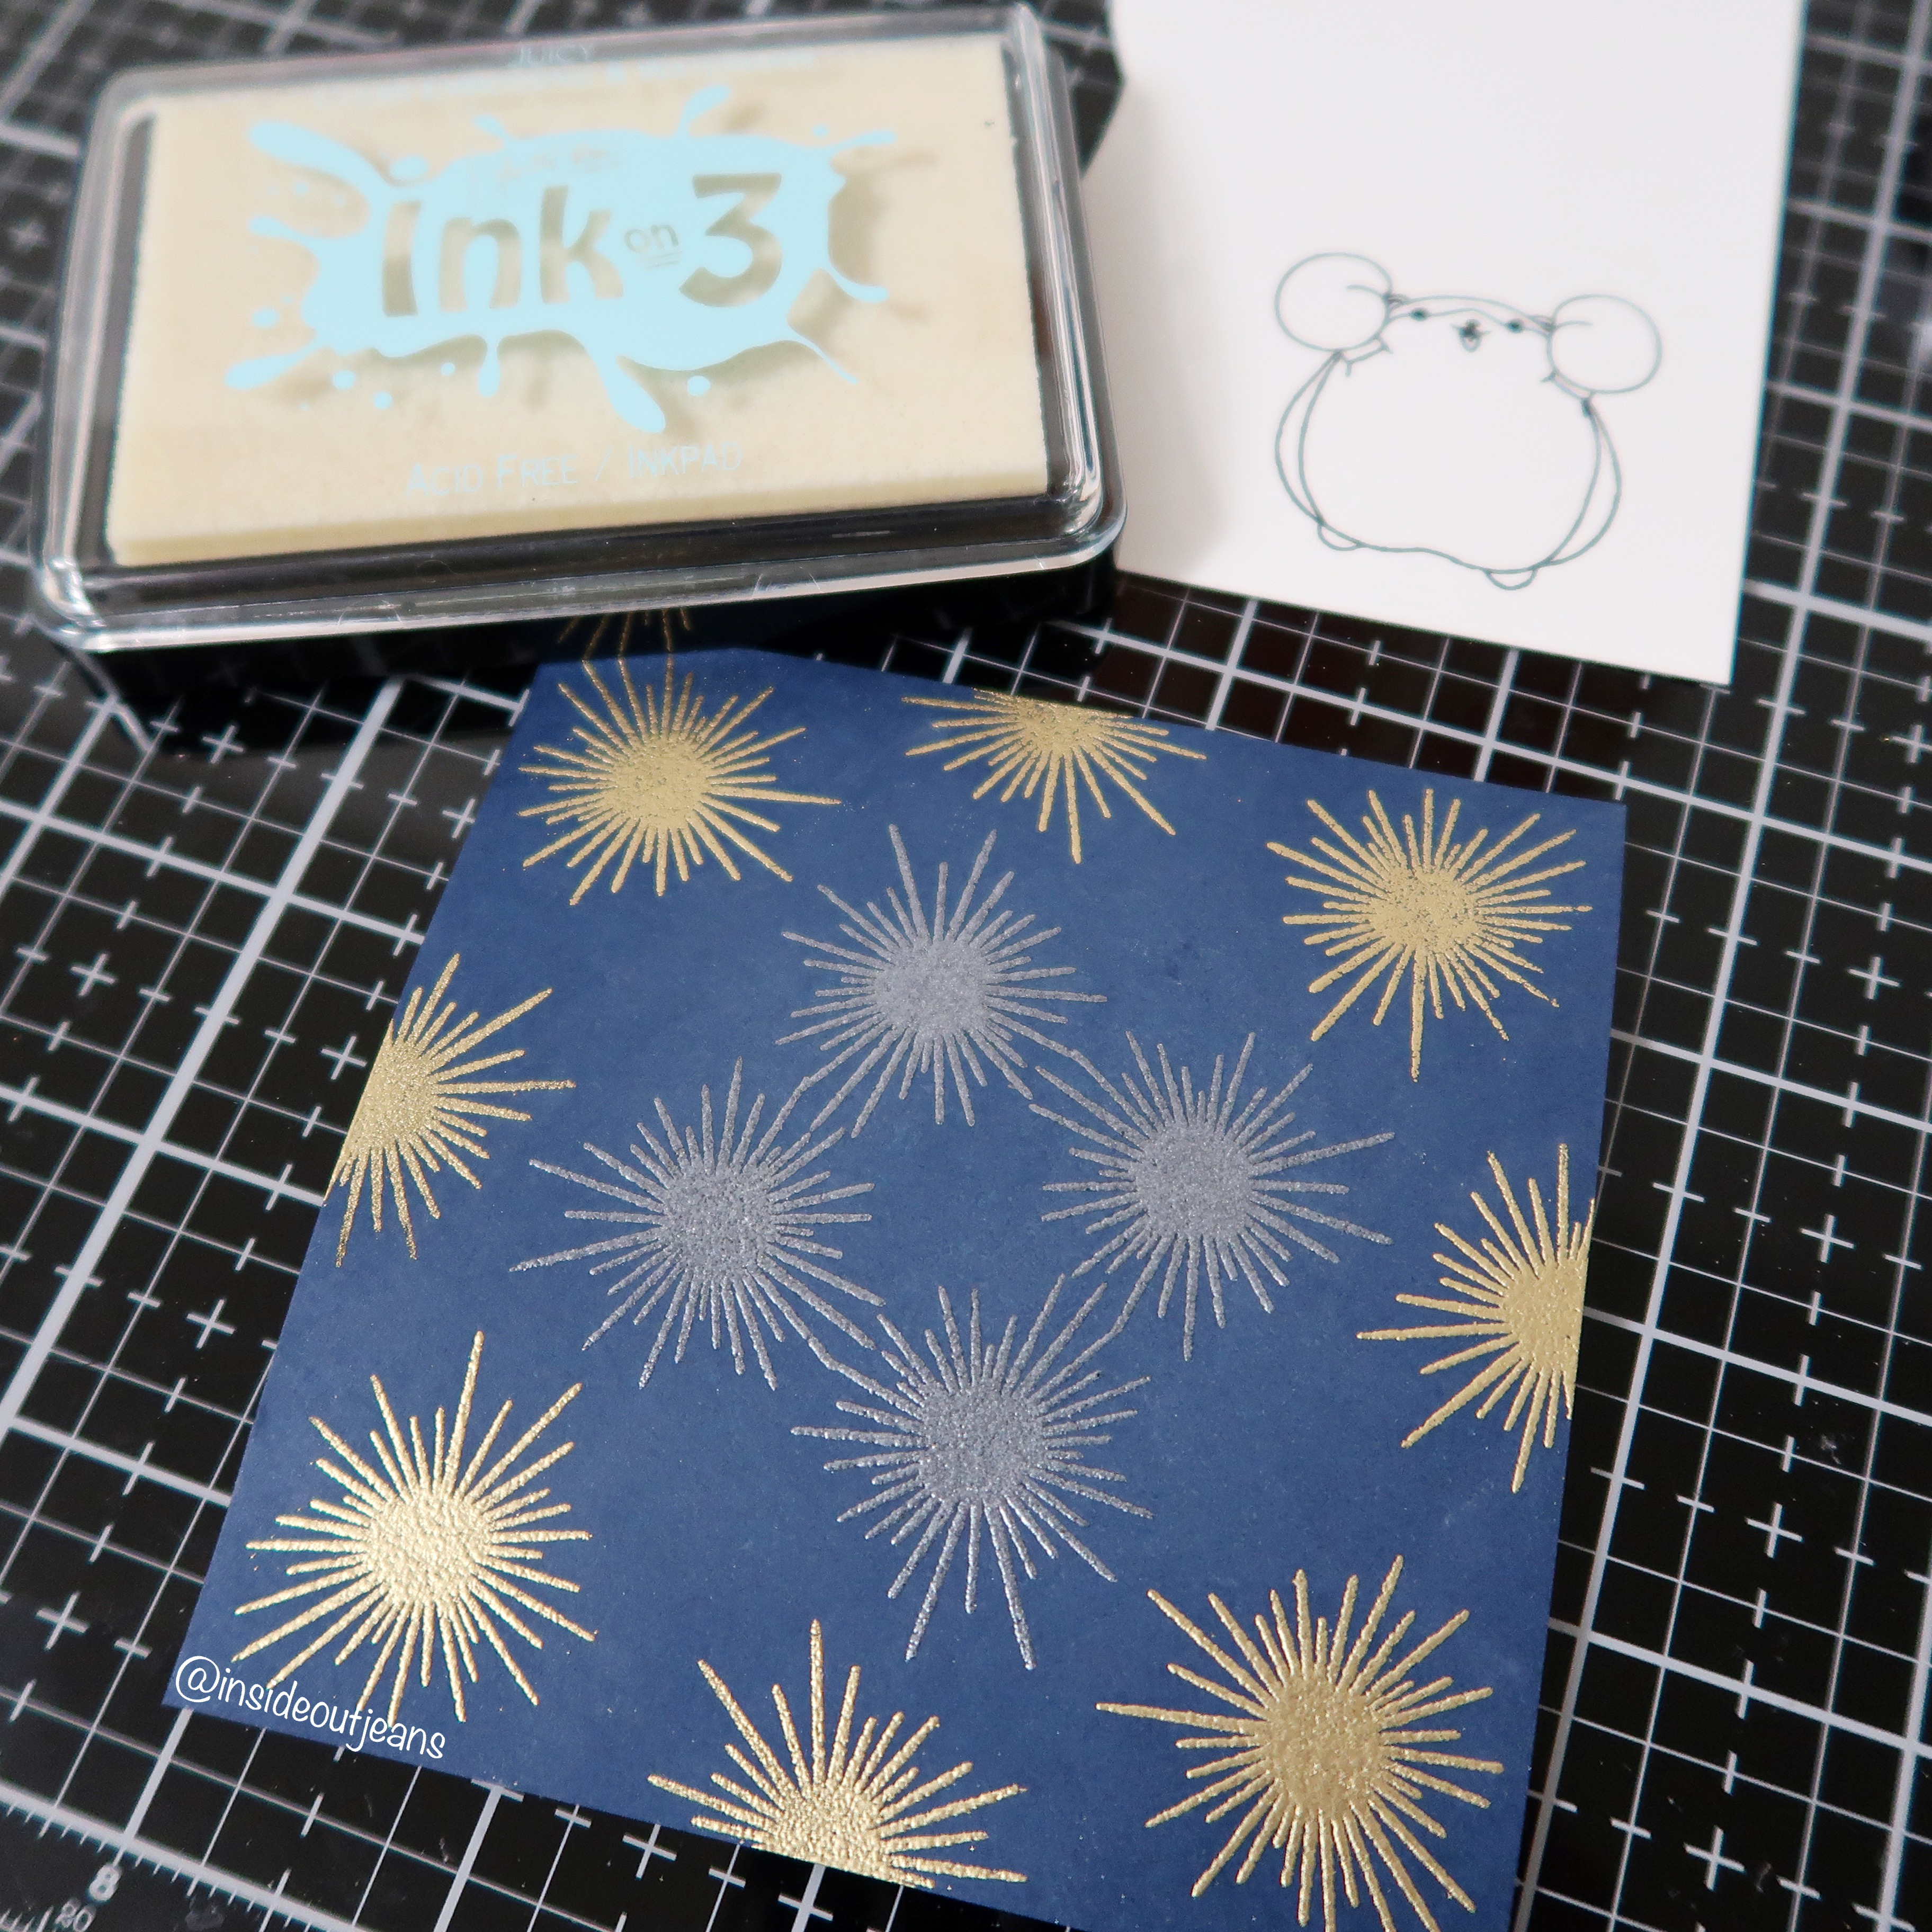
I just wanted to create a simple and fun card to feature this little cutie. I’ve been super into no-line coloring, so I decided to do that today. I stamped the Mole using Ink on 3‘s Fadeout ink.

I also used Trinity Stamps’ Slimline Card Series: Scenic Border Die Set to cut out some masks for the snow banks. Once I masked it too, I used the Season Greetings Silhouettes stamp set to add a few trees using Versafine ink and Ink on 3’s Clear Embossing powder. I also decided to stamp out the moon in Ink on 3’s Chrome Embossing powder so it stands out.
After I finished the trees, I used the Blending Buddy with distress inks to create a sky. The colors I used are Stormy Sky, Chipped Sapphire, and Black Soot. For the sky, I had to add stars, so I used Perfect Pearls and Permanent White Gouache to splatter it everywhere.
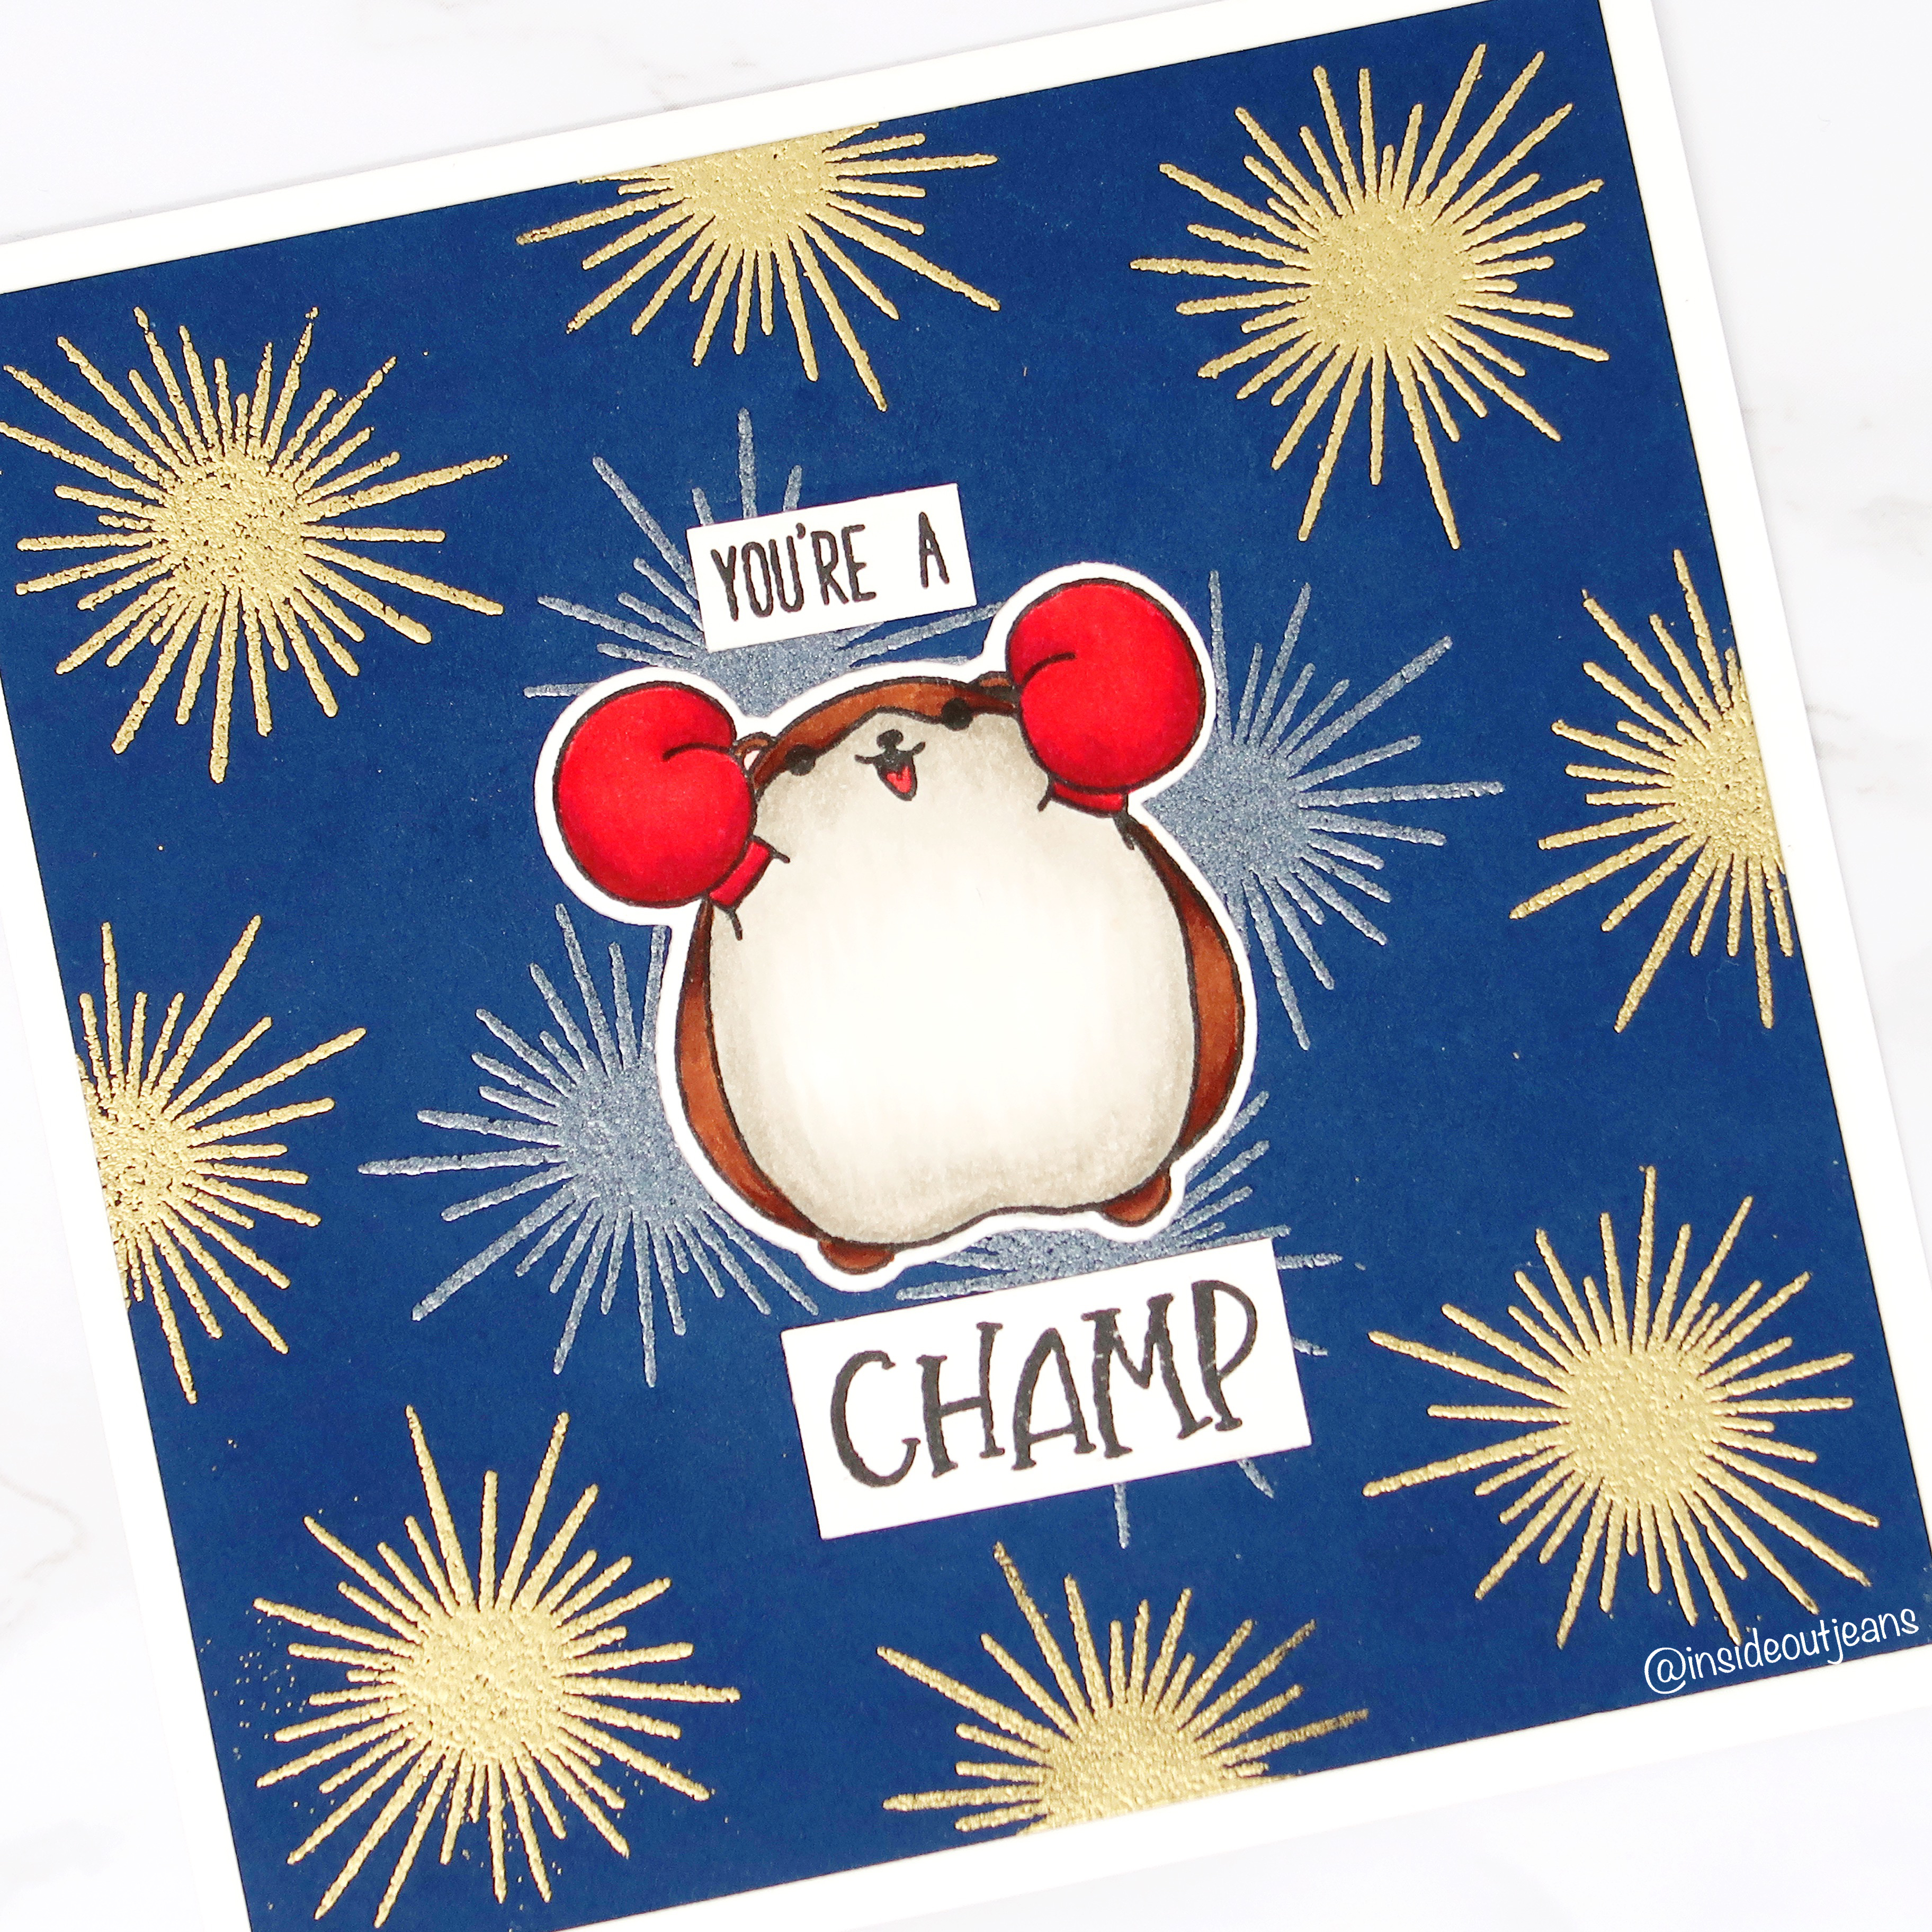
I colored up the cute little mole using some Copic markers and then stamped out the sentiment from the set. It’s punny!

I hope you get inspired to create and take advantage of the different sales happening for Thanksgiving and Black Friday.
Thanks for stopping by! Come back soon!

→ TO SEE MORE ←
FACEBOOK: https://www.facebook.com/Insideoutjeans/
INSTAGRAM: https://www.instagram.com/insideoutjeans/
YOUTUBE: https://www.youtube.com/c/insideoutjeans