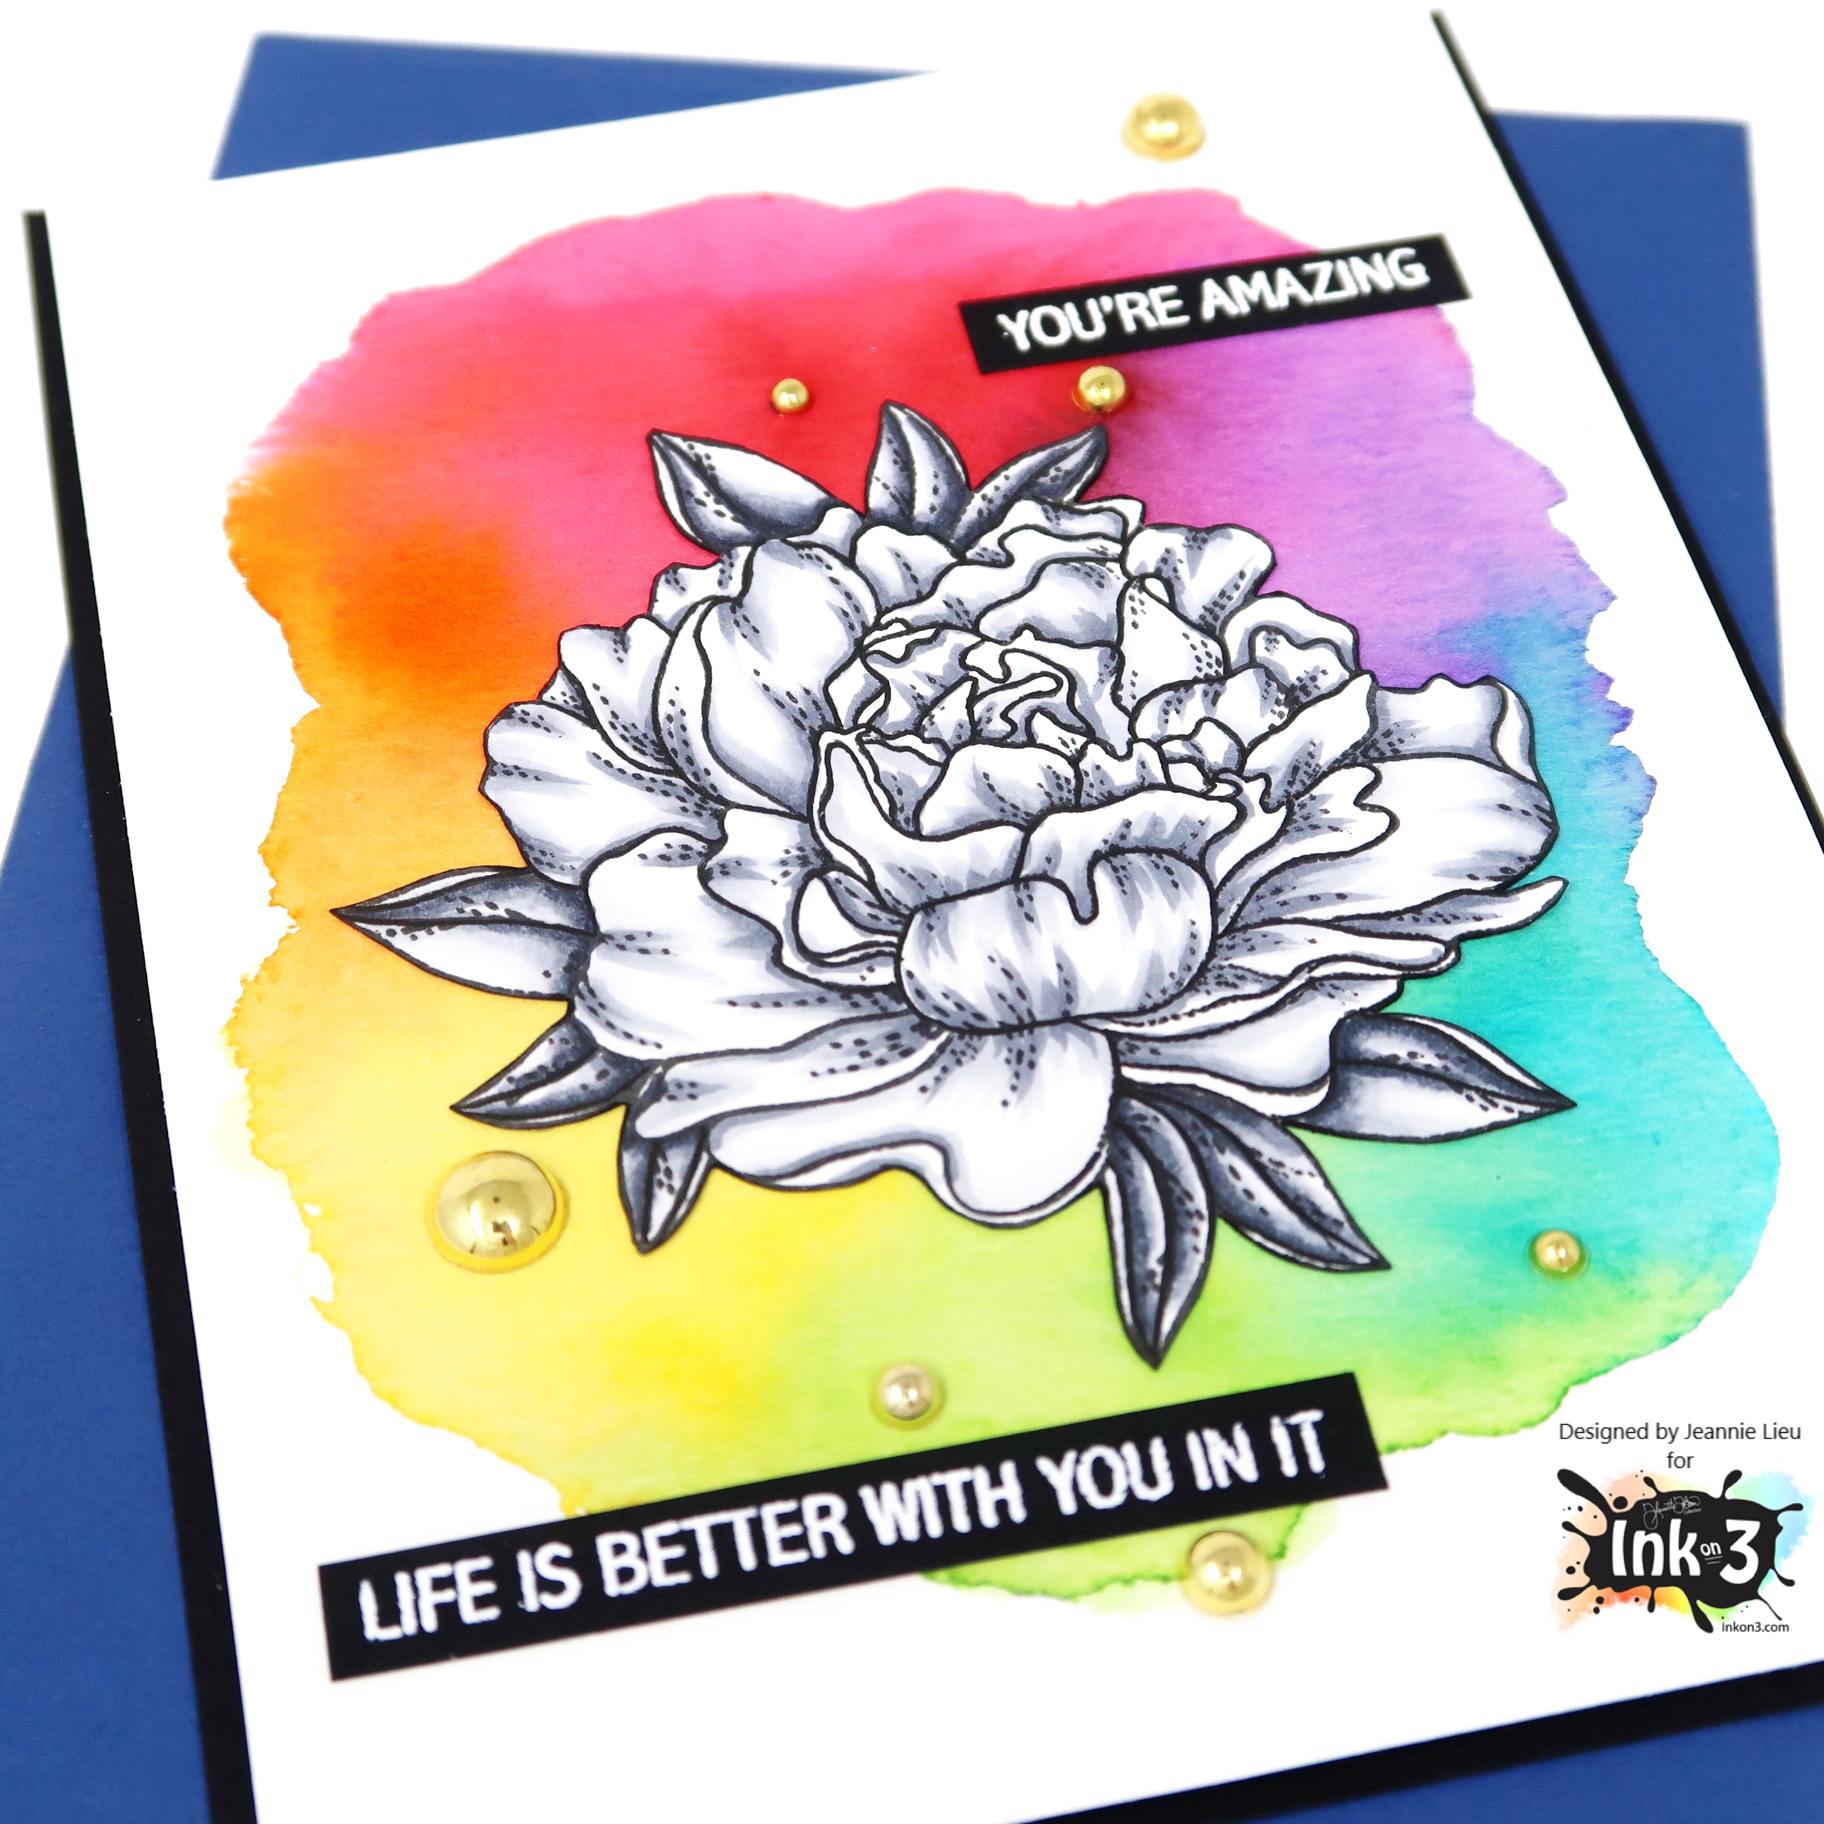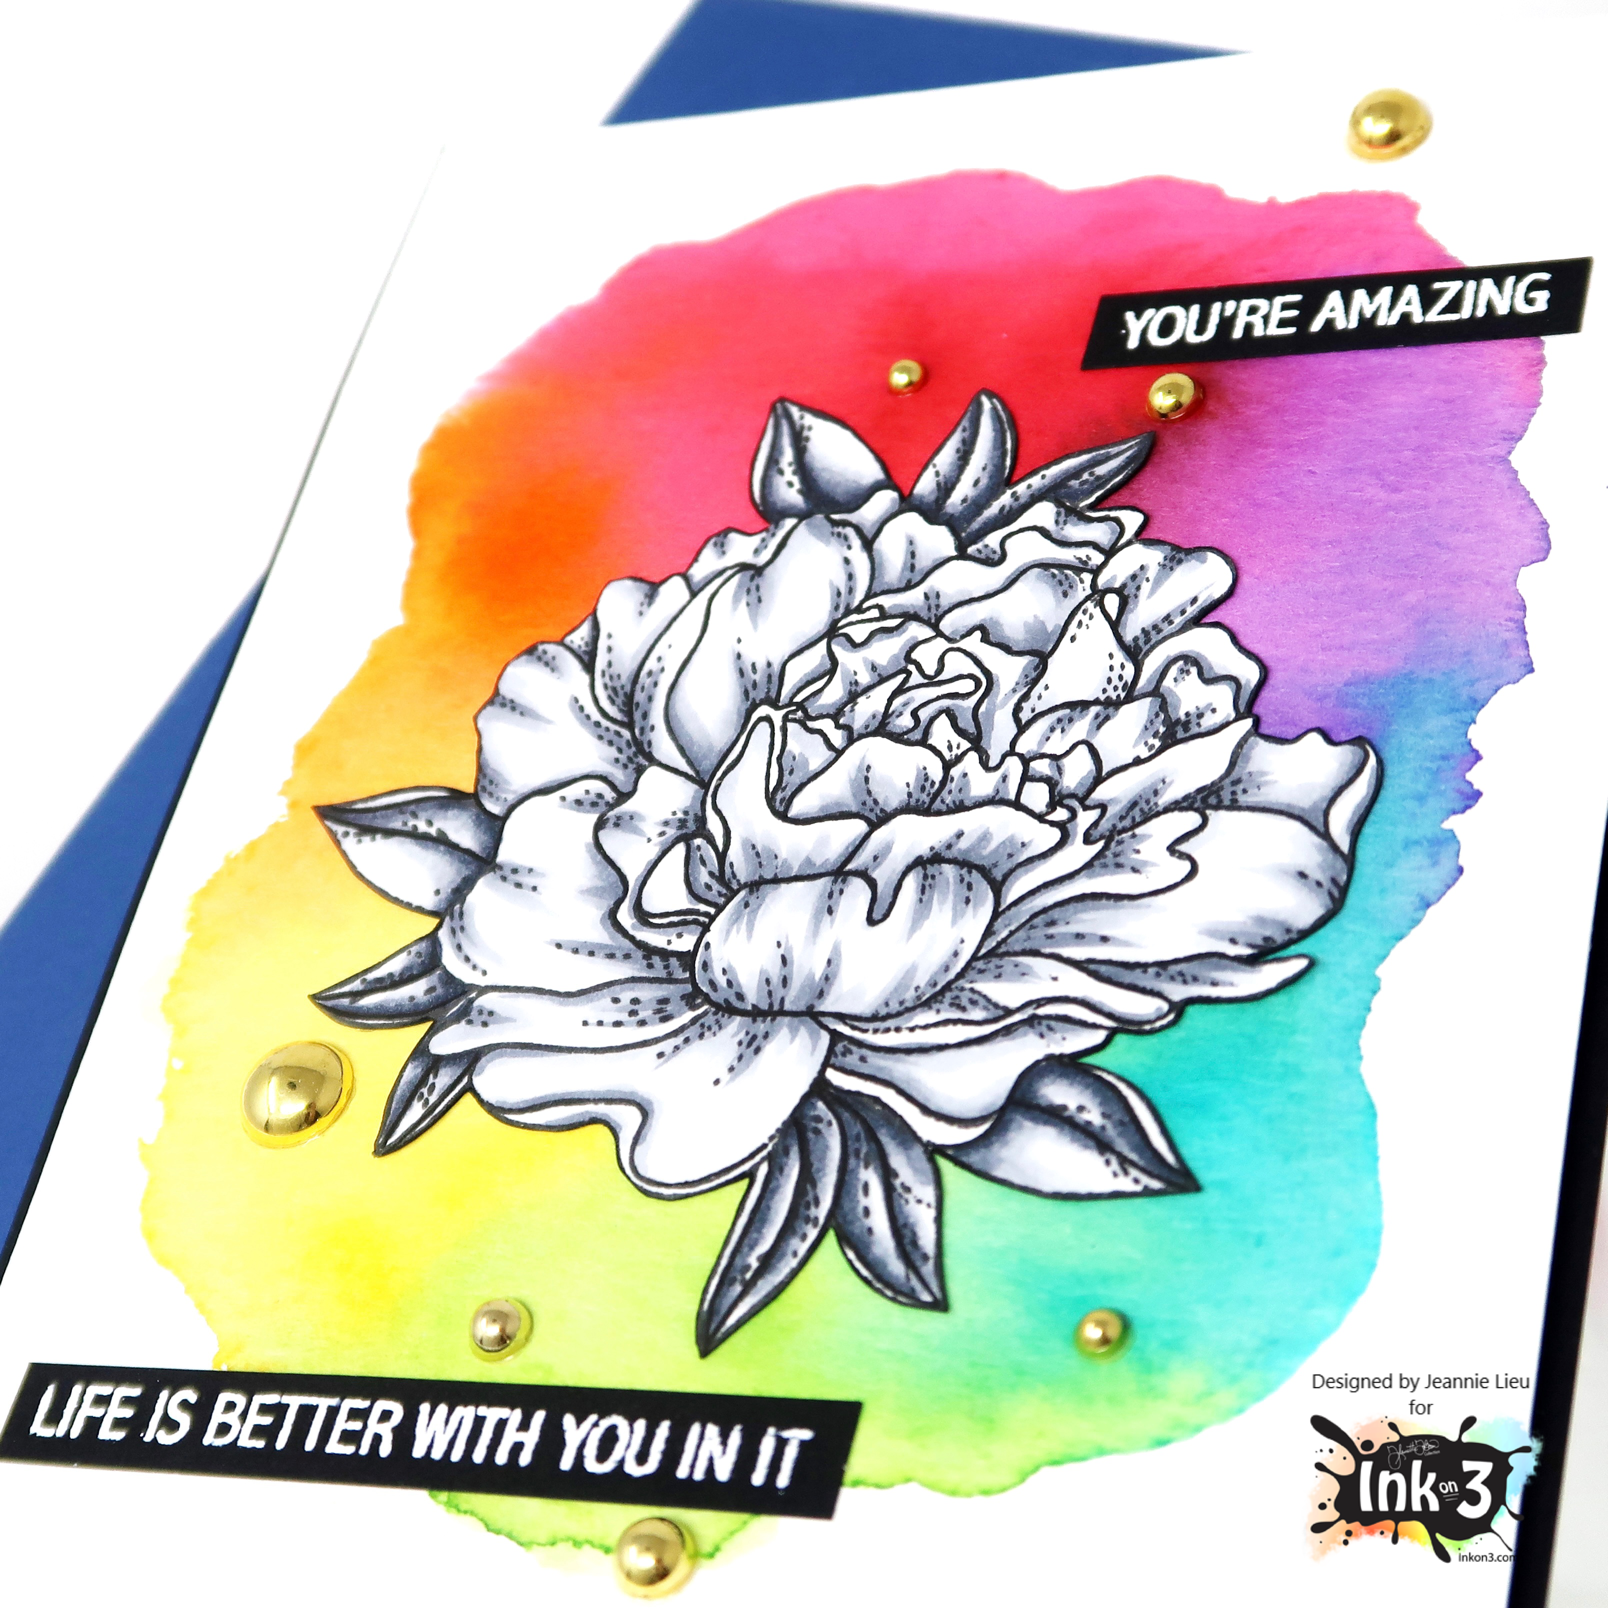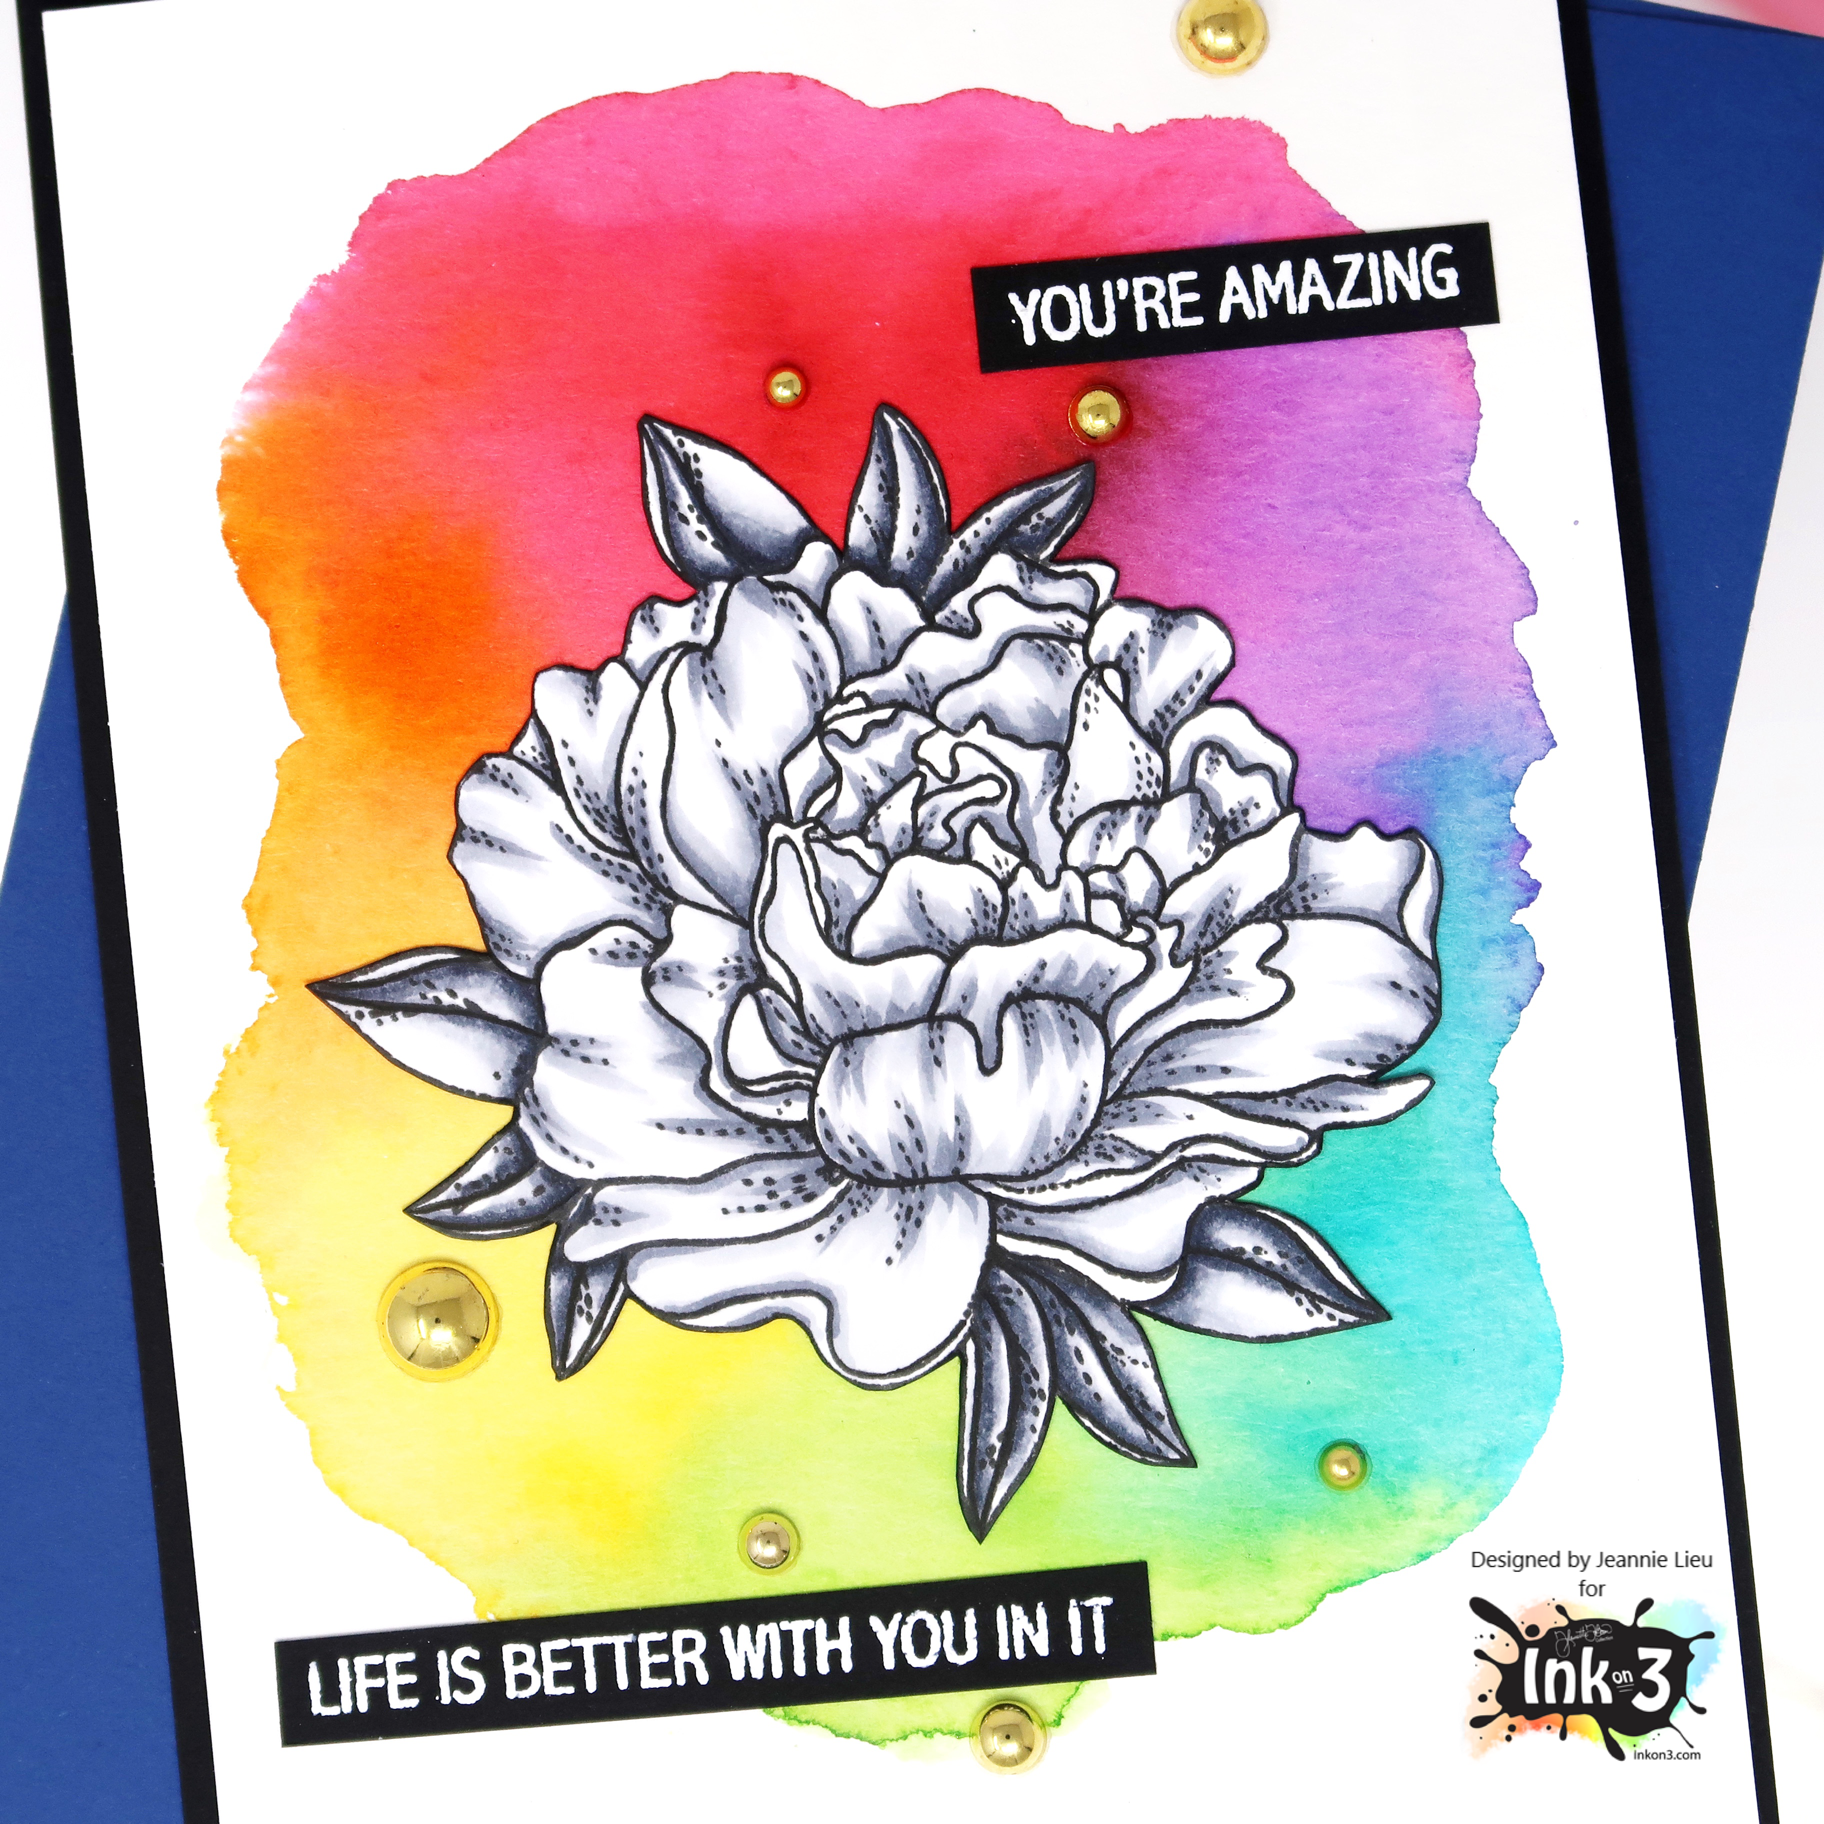
Hi everyone! It’s Jeannie (InsideoutJeans) on the blog today with Trinity Stamps sharing a card I created in collaboration with my crafty friend, Shanna. We decided to pick similar Trinity products to create a card for today. Check out what she created over on her instagram. We used the Summer School stencil along with some alpha dies. I picked my favorite, Graham Cracker Alphabet.
Using the Summer School stencil A, I decided to ink it up the fish using a rainbow array of colors: Sweet Petunia Pink, Marigold Orange, Bee Sting Yellow, Goddess Green and Trinity Teal (all ink colors you can find in the Trinity shop). I wanted to create a full background with it so I shifted it and did it twice. I also trimmed this panel by a quarter of an inch, so it measures at 4 x 5.25.
There are some dolphins in Summer School stencil C so I decided to use Hickory Smoke Distress ink with a bit of Black Soot to add some shading. I decided to fussy cut them out so I can add them later to my card.
Using the same colors for my rainbow array of colors, I took another A2 card panel and inked up the sides of that panel in the same rainbow colors.
To finish off the card, I cut my own custom, punny sentiment using the Graham Cracker Alphabet dies to read “Sea You Soon”. I cut a piece of vellum just so the sentiment can stand out and added the dolphins right on top.
Thanks for stopping by today and I hope you get inspired to create. Come back again soon for more inspiration and ideas! Happy Crafting!
Happy Friday-eve! Today, I’m sharing a card featuring the My Favorite Things’ stamp set named, You’re My Jam.
All my supplies for creating this card will be listed down below (with multiple sources when available) for your curiosity and convenience. Affiliate links used when possible.
I stamped images from the You’re My Jam stamp set from My Favorite Things stamp set using Gina K Obsidian Black ink. Then I colored them up using copic markers (all colors listed down below).
I had this idea in my head and I wanted to create a fun card that kinda reflected our zoom calls of late. For my main card panel, I stamped and heat embossed the little envelope with gold embossing powder which can be found in the Magical Wizards stamp set. Then, I pulled out the Hip to be Square die set, which is a slimline die but I wanted to use it in another way for this A2 card.
Hi everyone! Today, I’m sharing two cards featuring two stamp sets, Gneal and Gnorah along with Gned and Gnina. These two sets are ones that I won from an instagram giveaway and I love the style. These images are pretty large and perfect for no-line coloring.
I stamped boy gnome image from the Gneal and Gnorah stamp set using Memento Tuxedo Black ink (black outline) and Ink on 3 Fadeout Ink (no-line coloring). Then I colored each of the images using the same copic markers but you can see the difference between the final product. Which do you prefer?
For the background, I used a bit of distress ink to ink up the edges, adding a bit of Picked Raspberry. I added the sentiment from the Gned and Gnina set. It’s a very simple card and these images are great if you want to practice your no-line coloring.
Happy Friday everyone! TGIF! I am so excited to share this card with you today — I think it’s one of my favorite cards I’ve made in a really long time. It features some items from the newest kit from Erin Lee Creative and this one is a stunner!
All my supplies for creating this card will be listed down below (with multiple sources when available) for your curiosity and convenience. Affiliate links used when possible.
I had an idea that involved playing with the ever so popular holographic cardstock sold in her store and changing the color of it by using some inks. First, I die cut the rainbow using one of the dies that comes in the Shine Bright kit with holographic cardstock. Then, I used a rainbow array of colors from Ink on 3: Marilyn Red, Marigold Orange, Goddess Green, Peacock Blue and My Jam Purple. I pounced on the color for each rainbow stripe using a blending tool. To trap the color, I added Glossy Accents on top of each stripe separately and let them dry. Not only does it trap the color, it adds dimension to each of the rainbow stripes.
I went ahead and used that same Rainbow die to cut out the clouds out of white cardstock. I used some copic markers to add a bit of dimension to them.Also, in the kit, it has a standalone die and shadow for the No Bad Days sentiment. I cut out the words from holographic cardstock and the shadow from vellum.
For my background panel, I used one of the sun ray stencils in the kit. There’s two that can be used to layer on top of each other so you’d have two different rays of colors. For my card, I decided only to use one with Ink on 3’s Liquid Pixie dust on black cardstock. Since it’s on dark cardstock, you won’t see it until it hits the light and adds that extra bling to any card.
I absolutely love this card and the kit that I used to create it. It’s so fun and I think it’s totally worth it! I’ll be sharing additional ideas in the coming weeks using this kit as well. I’m also participating in the Shine Bright instagram hop so if you want to see more wonderful ideas, please stop by here.
Thanks for stopping by! Happy Crafting!
→ SUPPLIES USED ←
Some products are provided by manufacturers for review and use. Affiliate links may be used at no cost to you.
All my supplies for creating this card will be listed down below (with multiple sources when available) for your curiosity and convenience. Affiliate links used when possible.
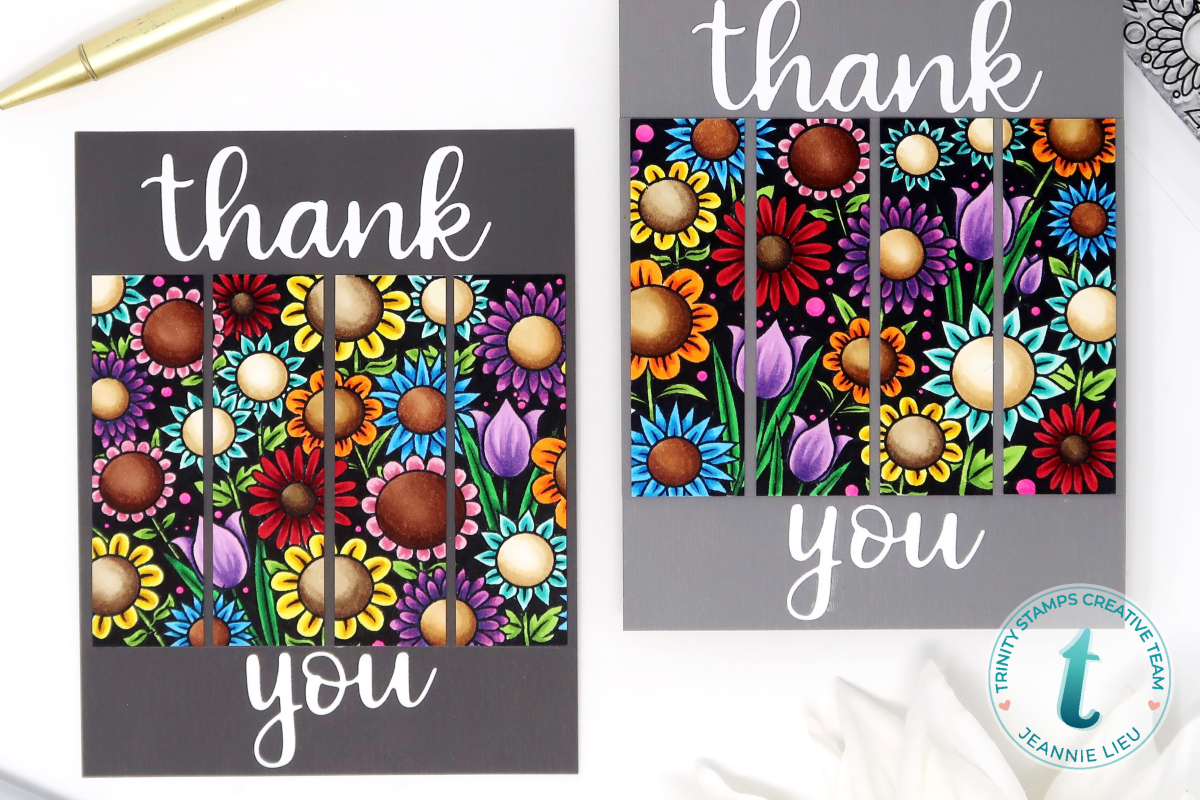
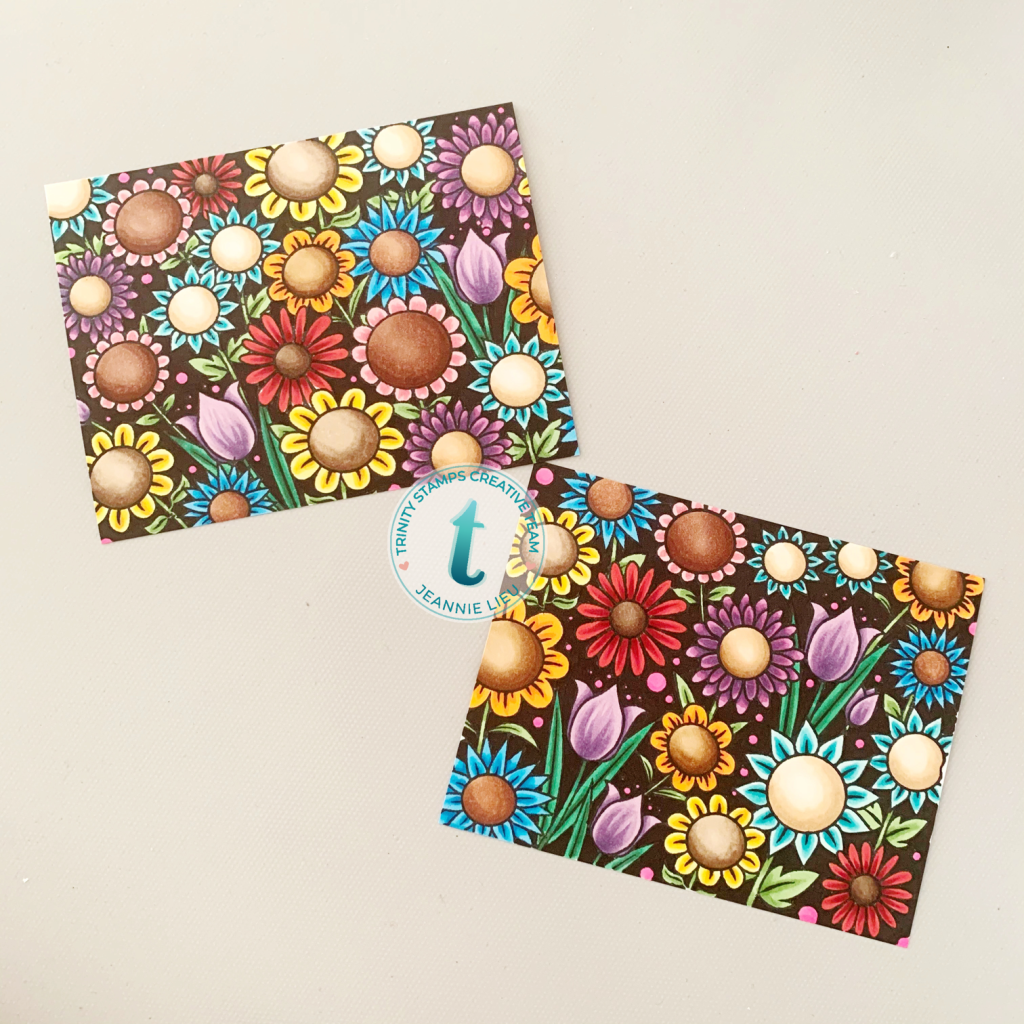
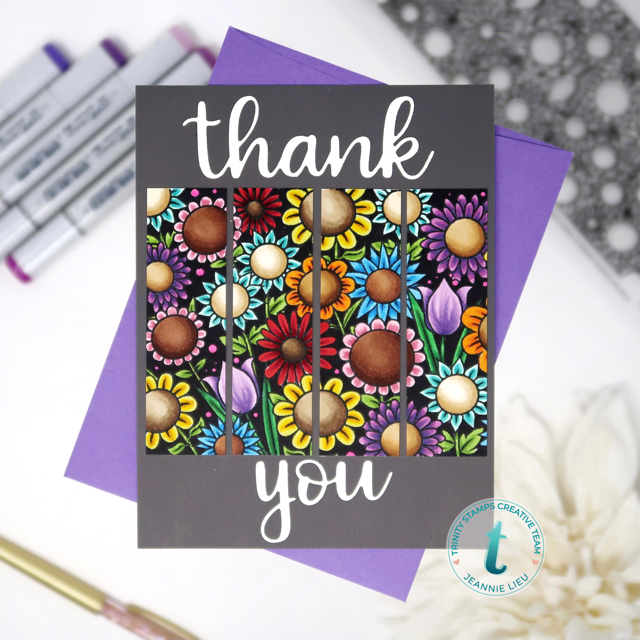
For my main card panel, I used those cut strips and trimmed them down even further and adhered them in a easy pattern. For my sentiments, I wanted to use a dark grey cardstock so it would help the sentiments pop. I also wanted to have a very subtle design on it so I decided to use Trinity Stamps A2 Quilted Coverplate die. The die cuts a quilted pattern and leaves empty the area of intersection (because there are coordinating stencils to go with it). I decide to not use the coordinating stencils and replaced them with a variety of embellishments to add a bit of bling to the card.
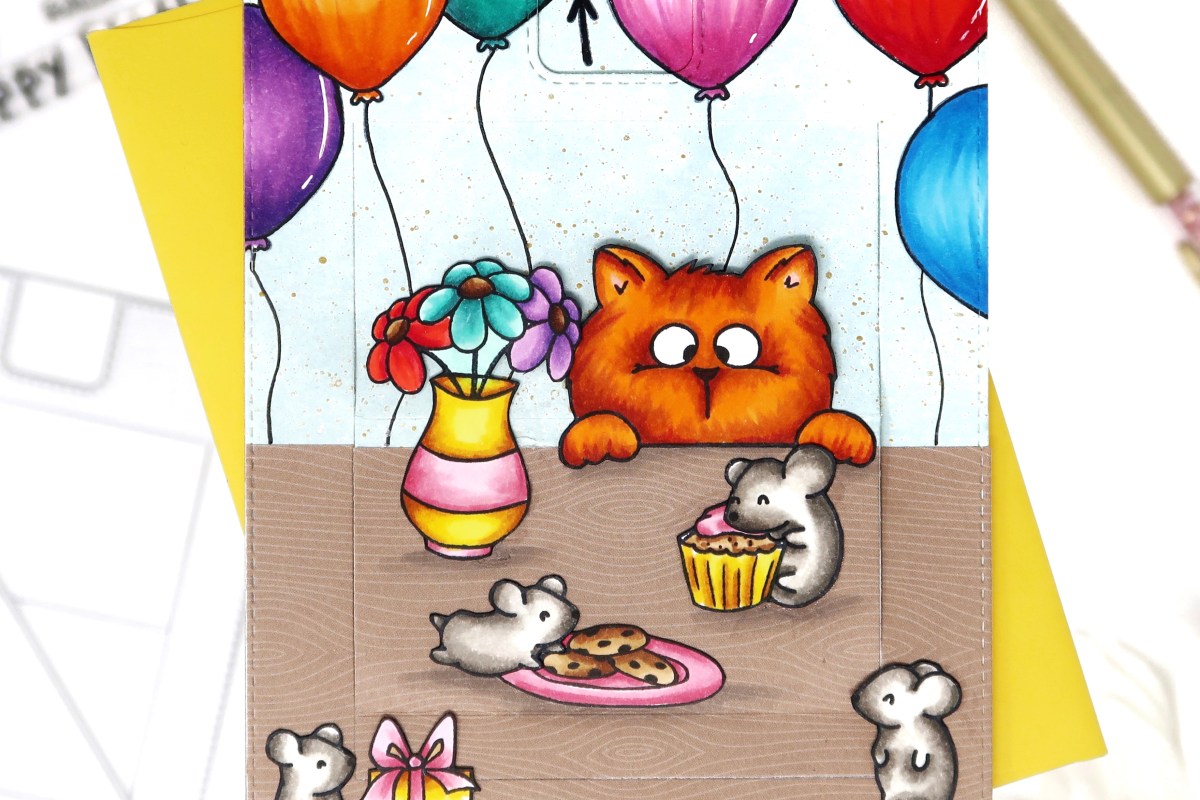
I just love how these turned out and honestly am so excited that I found this crafty company. I can’t wait to see their future products!
Thanks for stopping by! Happy Crafting!
→ SUPPLIES USED ←
Some products are provided by manufacturers for review and use. Affiliate links may be used at no cost to you.
Hi everyone! Ok, I’ve been really bad with keeping up with doing blog posts but I’m trying to get back into it.
Today, I’m really excited to be a guest designer for i-crafter today. I’m so grateful to have the opportunity to share my creations with you! For today’s blog post, I actually ended up creating three different cards showing off three different designs using the dies from the Box Pops, Flower Add On set. The possibilities are really endless!
YouTube process video; supply list used for this proect is listed at end of blog.
For my first card, I used the leafy die, which was so perfect for a simple frame design. I quickly used watercolors for the background and added some splatter. While die cutting the leafy die, I also took the interior bits and ink blended them with similar colors and did some die inlay.
To finish off this card, I used the “hello” sentiment from the Hello Flower die set in black. The leafy die cuts really make that sentiment pop!
For my second card, I thought I would use this really pretty, intricate floral die to create a circular design. Once I die cut 8 of these florals, I inked them up quickly. For the sentiment, I used the sentiment from the Happy Birthday Wiper Insert and inked them up using the same colors for the florals while creating an ombre effect.
To really have the florals pop, I put them up on kraft cardstock and thought they colors went so well together. The coordinating sentiment really tied together the entire card.
For my third card, I decided to use a slimline design and again only used one die for this particular card.
I took some watercolors and quickly created a rainbow background and placed each die cut in each color section.
This is one of those designs that can be quickly created for a simple and elegant card. To finish off this card, I used the smaller hello in the Flip Card Dashed Circle die set and actually used a gold pen to give it a bit of elegance.
I really loved how all these cards turned and hopefully, these examples gave you some ideas for the endless possibilities of this Box Pops, Flower Add On die set.
Thanks for stopping by and I hope you have a crafty day!
Welcome to the weekend crafty friends! Today, I’m sharing a card featuring stamp set named, ___.
All my supplies for creating this card will be listed down below (with multiple sources when available) for your curiosity and convenience. Affiliate links used when possible.
Using Lawn Fawn’s Stitched Frames, I created a shaker case and popped it up on two layers of foam so I could fit real coffee beans in the card. Once I added the beans, I closed it up and if you could only smell this card! Any coffee lover would adore it!
Thanks for stopping by! Happy Crafting!
→ SUPPLIES USED ← Some products are provided by manufacturers for review and use. Affiliate links may be used at no cost to you.
Hi crafty friends! It’s been awhile since I’ve blogged a snippet of my cards. Today, I’m sharing a card featuring stamp set named,Trinity Stamps’ With Sympathy. Sympathy cards are always the hardest to make but I wanted something very simple.
I wanted to create some texture with alcohol inks. I pulled out the the Trinity Stamps Slimline Stripes stencil along with Texture Paste on yupo paper. Once the paste was dry, I added a few colors of alcohol inks on it, mainly some greens and yellows.
I stamped main image and sentiments from the With Sympathy stamp set using Versamark ink on vellum paper. Using the coordinating dies, I cut out the three images and then adding it on the main background. It’s a simple card but easy to put together and elegant.
Thanks for stopping by and I hope you got some inspiration to create! Happy Crafting!
→ SUPPLIES USED ← Some products are provided by manufacturers for review and use. Affiliate links may be used at no cost to you.
Hi everyone! Today, I’m sharing a card featuring some of the images from stamp set in Erin Lee Creative’s Coffee Lover kit along with the Barn Wood Planks die cut to create a background from Honey Bee Stamps.
I stamped aerial view of a girl drinking coffee from the Coffee Lover stamp set using Memento Tuxedo black ink. Then I colored them up using copic markers. For the background, I used the Barn Wood Planks die. I wanted to arrange them so it would look like a table she was sitting at. I used Walnut Stain distress ink along with Ground Espresso distress ink to add a bit of dimension to the planks. Once I had everything arranged, I wanted to add the sentiment right on top but because of the embossed texture of the wood, I used Versafine ink to get the clearest image possible.
Thanks for stopping by! Happy Crafting!
→ SUPPLIES USED ← Some products are provided by manufacturers for review and use. Affiliate links may be used at no cost to you.
Hi everyone! Today, I’m sharing a card featuring stamp set named Snow Buddies along with the Snow Globe Shaker A2 die to create a fun winter card. I know Christmas is over, but winter has just started and I really wanted to make non-Christmas cards.
I stamped images from the Snow Buddies using Ink on 3’s Fadeout ink. Using copic markers, I colored up the snowman and background in a no-line coloring style. I cut out the main Snow Globe Shaker A2 using Holographic cardstock from Erin Lee Creative. It is SO pretty!
For the bottom portion of the snowglobe, I cut it out with white cardstock and colored it up with copic markers. I stamped the sentiment using Versamark ink with the retired sentiment from My Favorite Things and heat embossed with white embossing powder. To finish off the card, I just popped it on an A2 black card base.
Thanks for stopping by! Happy Crafting!
→ SUPPLIES USED ← Some products are provided by manufacturers for review and use. Affiliate links may be used at no cost to you.
Happy Friday-eve! Today, I’m excited to join in on the Erin Lee Creative blog hop, to share a card using the latest kit called the Coffee Lover Kit. It’s an adorable set for any coffee lover and it’s such a versatile one. PLUS, it’s on sale!
PRIZES: 2 lucky commenters will win the Coffee Lovers Kit. Winners will be announced on the ELC blog Monday, December 14. Comment on everyone’s blog or IG for a greater chance to win!
Today, I focused using one of the add on dies called Coffee Cup. It’s such a simple die but can be such a fun one as I used it for a bright and colorful, rainbow card.
All my supplies for creating this card will be listed down below (with multiple sources when available) for your curiosity and convenience. Affiliate links used when possible.
I barely did any stamping for this card, only for the sentiment! I die cut five different cups for this card. I used kraft cardstock and brown cardstock for the top portion of this Cup Heart Die. Then I went ahead and die cut the coffee cups using white cardstock so I could customize with colors I wanted, using Ink on 3’s Atelier inks: Trinity Teal, My Jam Purple, Goddess Green, Sweet Petunia Pink and Peacock Blue. I used Twiggy Brown for the table and then Bee Sting Yellow for the background.
By staggering all the coffee cups, I was able to squeeze in five of these cute cups. I stamped the sentiment using Blackout ink and popped it above the coffee cups.