Do you like playing with textures? The 3d embossing folder steps in where I normally would go with white cardstock or pattern paper. The possibilities are endless!
All my supplies for creating this card will be listed down below (with multiple sources when available) for your curiosity and convenience. Affiliate links used when possible.
Sometimes, I can’t just stick with one thing — especially when a new release has a collection of items that just go so well together!
All my supplies for creating this card will be listed down below (with multiple sources when available) for your curiosity and convenience. Affiliate links used when possible.
All my supplies for creating this card will be listed down below (with multiple sources when available) for your curiosity and convenience. Affiliate links used when possible.
I couldn’t resist using my markers again to accentuate the details on the 3D embossing folder. I love how it just adds that extra dimension!
All my supplies for creating this card will be listed down below (with multiple sources when available) for your curiosity and convenience. Affiliate links used when possible.
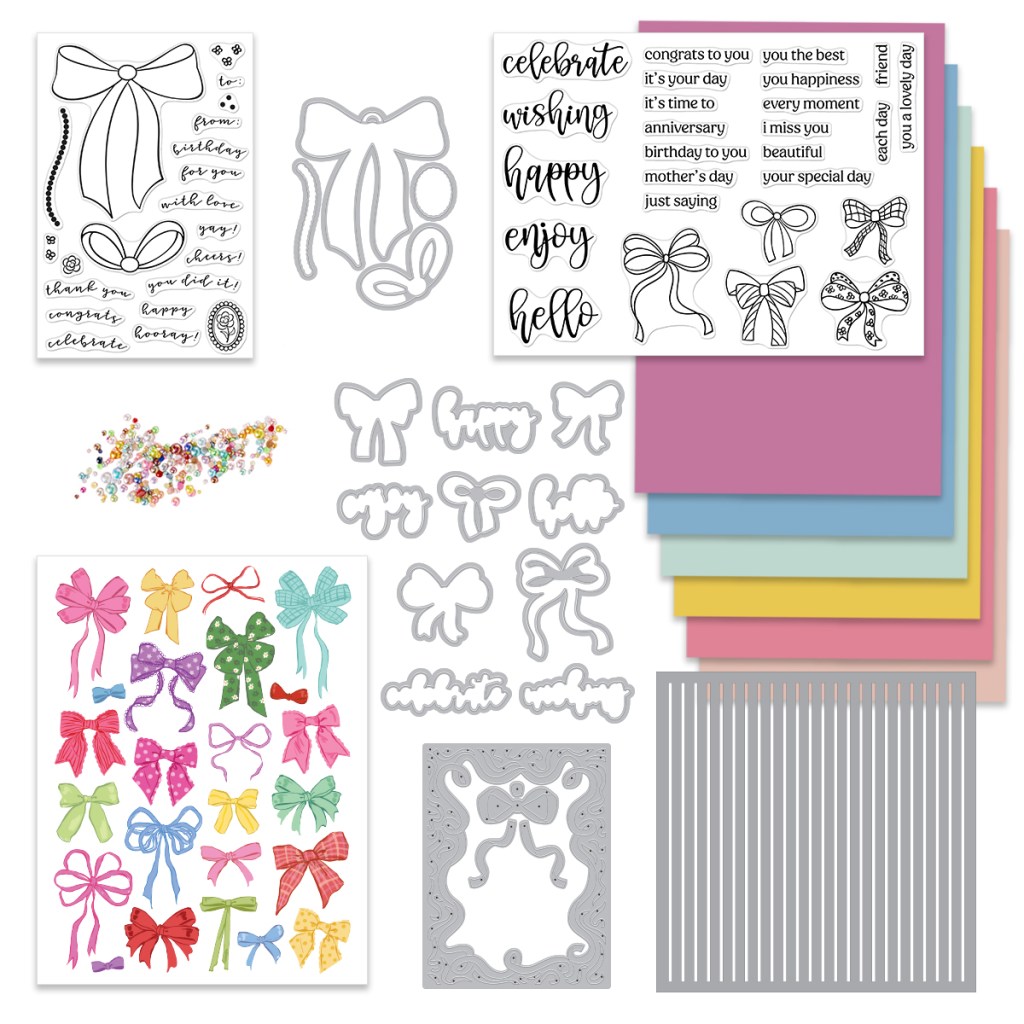
6 Sheets of Cardstock, 5.5″ x 8.5″ (Bellini, Tutu, Beeswax, Mint, Cascade, Orchid)
Pastel Pearl Embellishments
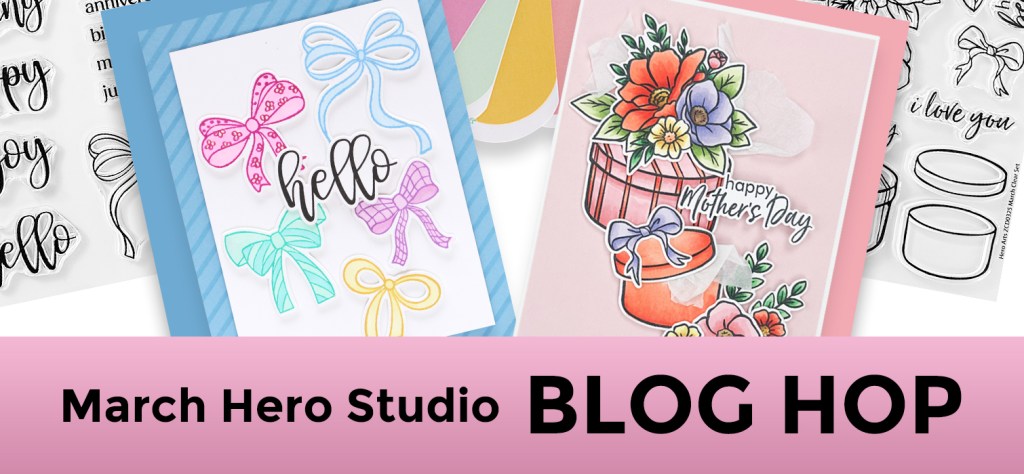
There’s a ton of inspiration and the full blog lineup can be found on the Hero Arts blog. You should be coming from Jennifer Kotas‘s blog and your next stop will be Charlene Madrid. The full blog list will also be updated below!
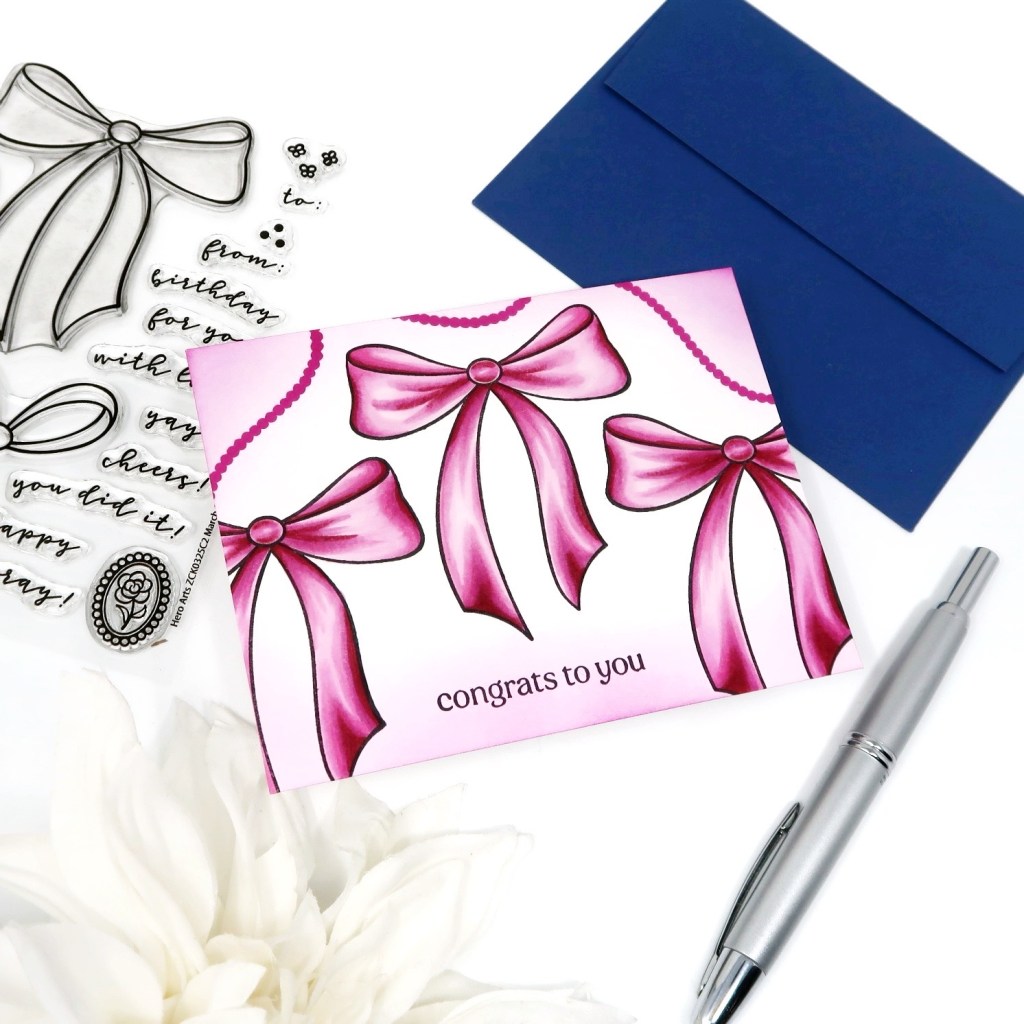
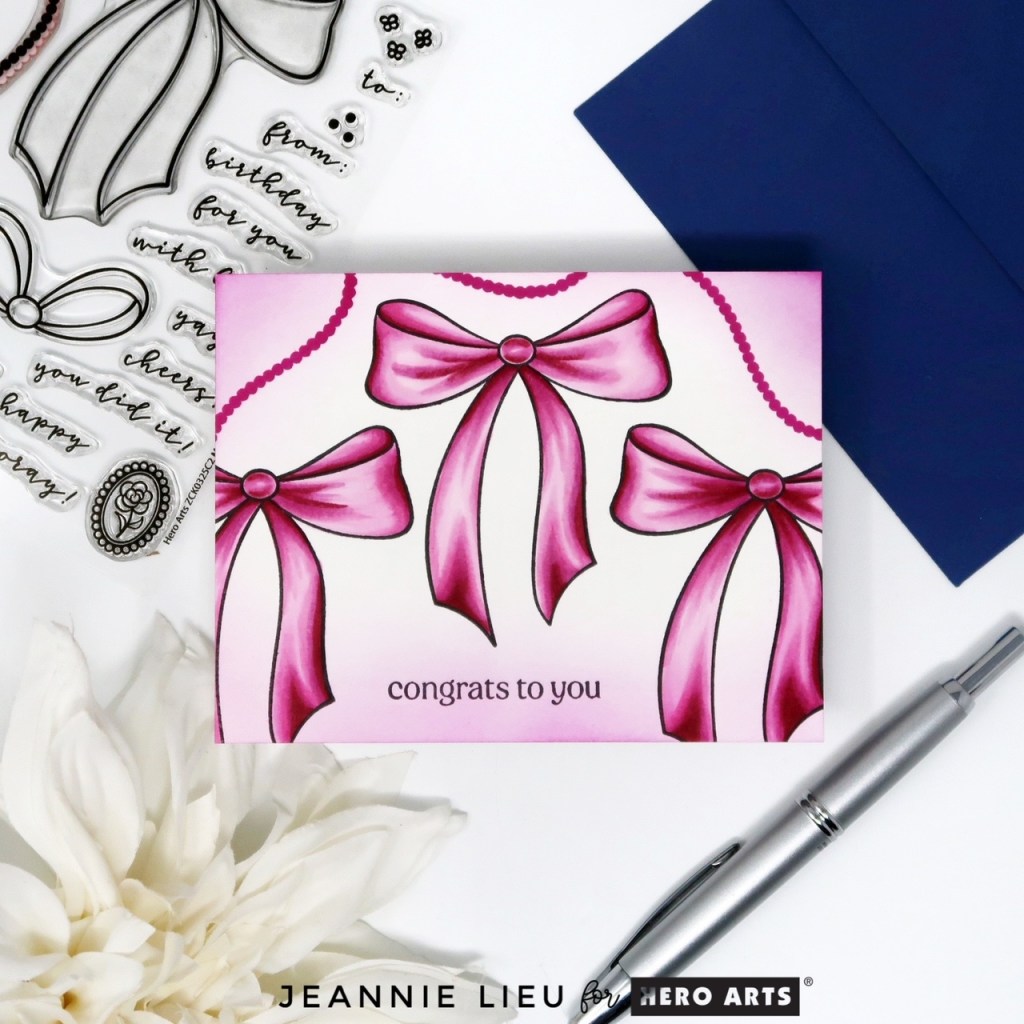
The first card focuses on the March Card Kit of the Month. This one is a pretty simple one. I stamped the large bow three time using Intens-ified Black Ink across my card panel. I colored it in with alcohol markers and then used the little pearl embellishments stamped with Ultra Pink core ink at the top of the card panel. I also used that same Ultra Pink core ink with a Blending Brush to add color to the edges of the card. To finish off this card, I stamped one of the sentiments at the bottom with Intens-ified Black Ink.
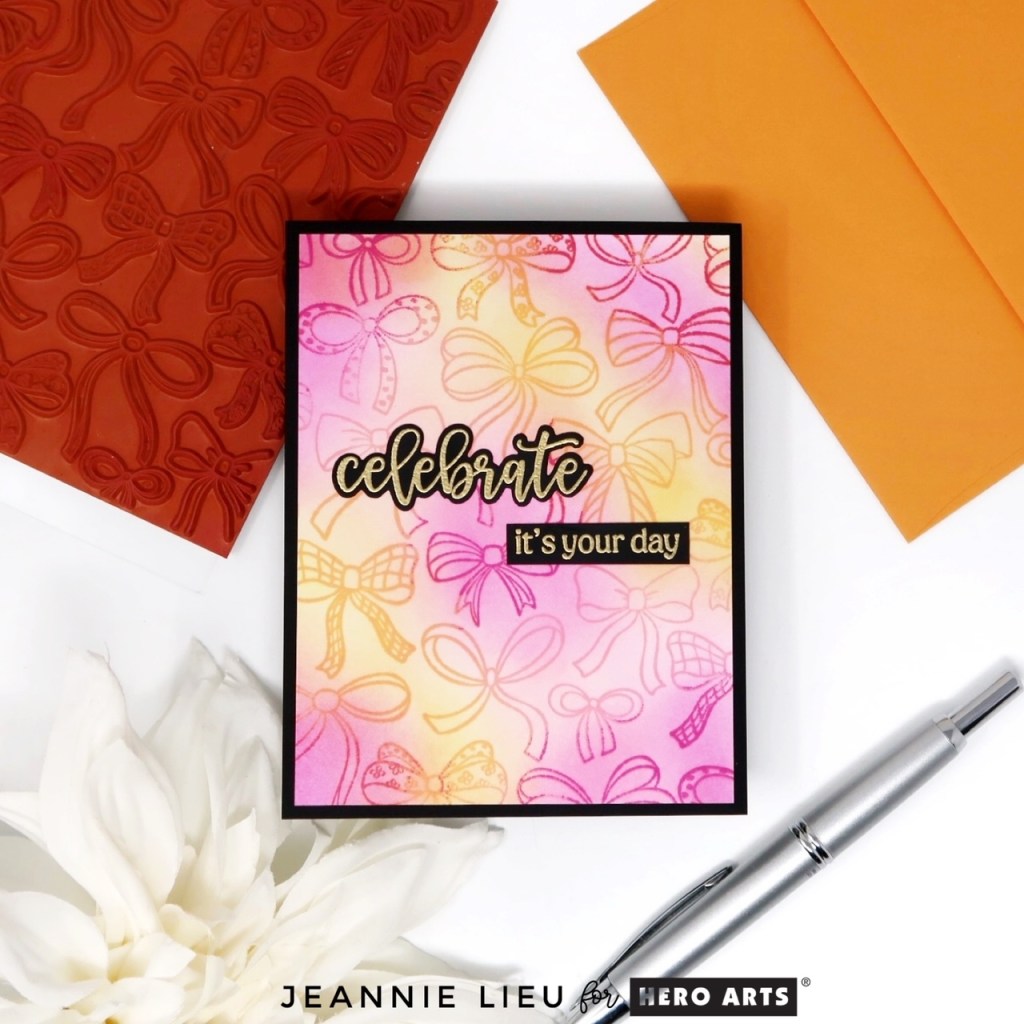
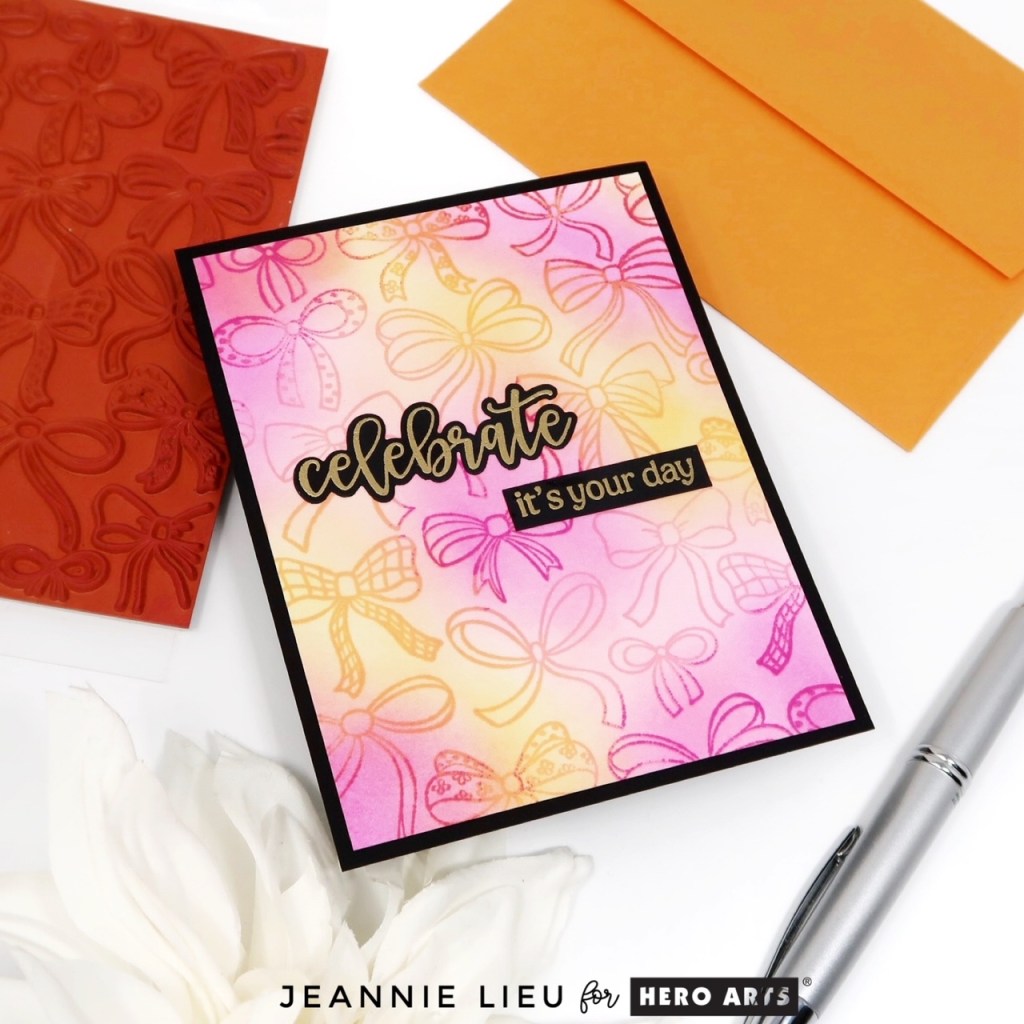
My second project focuses on the Cling Stamp of the Month, Bows. I wanted something colorful and pretty — so I picked some pinks and a yellow. I inked up the Cling Stamp of the Month with Butter Bar, Cotton Candy, and Ultra Pink and I didn’t mind if the inks overlapped. Once it was stamped, I used the same inks with a Blending Brush to add extra color. I matched the colors to the stamped bows. For the sentiment, I pulled the sentiments with the March Card Kit of the Month, stamping with Clear Embossing & Watermark Ink and Gold Embossing Powder on Pitch Black cardstock. It was the perfect sentiment to match the background and I also decided to mat my card panel to finish of the card and pull it all together.
Thanks for stopping by today and I hope you enjoyed the two cards I shared today using some of the new Hero Studio collection. Hope you were inspired to create!
Giveaway:
Hero Arts will give away a $50 gift card, drawn from the comments left across the hop. Enter by Saturday, March 8 at 11:59pm PST, and the winner will be announced on the Hero Arts blog the following week. Leave a comment on all stops for more chances to win!
I created this scene with no masking — I just didn’t want to. I also didn’t want to create masks so I ended up coloring the entire scene and as a result, I decided only to create this scene at the top portion of the card. Less coloring — cuter and compact scene.
All my supplies for creating this card will be listed down below (with multiple sources when available) for your curiosity and convenience. Affiliate links used when possible.
Welcome to Pretty Pink Posh‘s February 2025 Release Blog Hop! Be sure to check out the latest release from Pretty Pink Posh. Before we jump into my project for the hop, there’s a total of four $30 gift certificates up for grabs (one winner each day) for this 4 day blog hop! Winners will be picked randomly along the blog hop. Comments must be left by 11:59 PM PST on 3/4/2025. Winners will be announced on the PPP blog.
Hi friends! There have been so many amazing projects already shared in the past day of the blog hop and there’s so much inspiration today as well! Be sure to check it all out and today’s lineup!
For today, I’m sharing this card where I wanted a few layers to the card. First, I wanted to have a fun background that isn’t too bold. Then I wanted to use the Scallop Flag Tag dies as an anchor point for the images from the Birthday Cats & Dogs stamp set.
I wanted to play with a fun color palette for this card, so I wanted to mix blue and pink. With the stenciling, I thought I’d get purple by mixing blue and pink but it was more pink but that’s ok! I just moved on and went with it.
I love the Scallop Flag Tag dies and it’s a great way to anchor images to create a little scene.
To finish this card off, I used two sentiments from this set. One that was the bigger one and then the small one as a supplement.
Be sure to stop by the previous days of inspiration for the Pretty Pink Posh blog!
I love an easy sky background — I did an easy pastel sky using blending brushes. It is the perfect background for this flying dino. I love how it turned out!
All my supplies for creating this card will be listed down below (with multiple sources when available) for your curiosity and convenience. Affiliate links used when possible.
I love stencils because you can use them in so many ways! Here I wanted to use it for a split design and if you ink up the entire 6×6 space, you can use it for two cards!
All my supplies for creating this card will be listed down below (with multiple sources when available) for your curiosity and convenience. Affiliate links used when possible.
Gotta love a dirty martini — these die cuts were easy to put together and honestly, you could make them into whatever favorite drink you want. Plus with any alpha set, you can create your own sentiment as well!
All my supplies for creating this card will be listed down below (with multiple sources when available) for your curiosity and convenience. Affiliate links used when possible.
All my supplies for creating this card will be listed down below (with multiple sources when available) for your curiosity and convenience. Affiliate links used when possible.
Everyone loves to use pink or blue for baby cards — so today, I picked blue!
All my supplies for creating this card will be listed down below (with multiple sources when available) for your curiosity and convenience. Affiliate links used when possible.