All my supplies for creating this card will be listed down below (with multiple sources when available) for your curiosity and convenience. Affiliate links used when possible.
All my supplies for creating this card will be listed down below (with multiple sources when available) for your curiosity and convenience. Affiliate links used when possible.
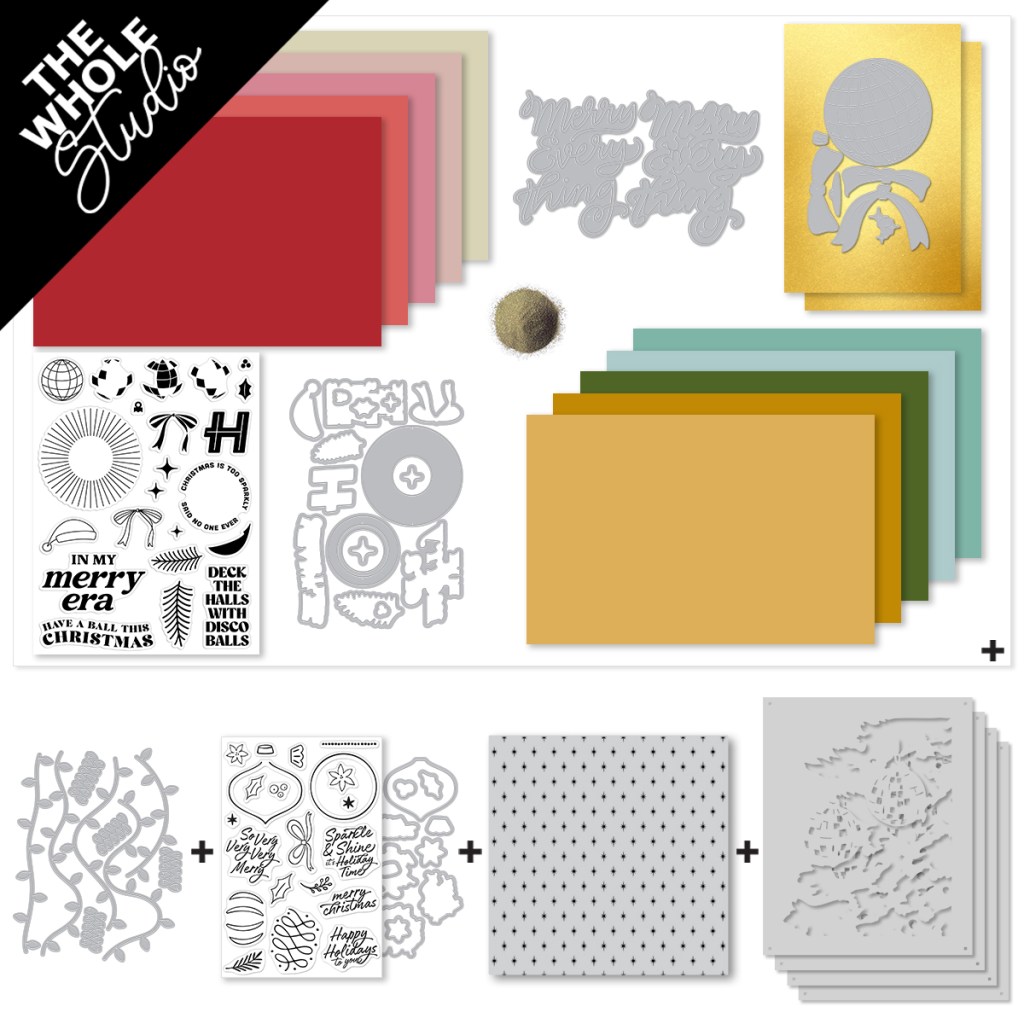
10 Sheets of Cardstock- 1 of each color, 5.5″ x 8.5″ (Poppy, Dahlia, Tutu, Blush, Alabaster, Beeswax, Tuscan, Fern, Seaside, Waterfall)
Two Sheets of Gold Matte Paper, 5.5″ x 8.5″
There’s a ton of inspiration and the full blog lineup can be found on the Hero Arts blog. You should be coming from Jennifer Kotas‘s blog and your next stop will be Charlene Madrid. The full blog list will also be updated below.
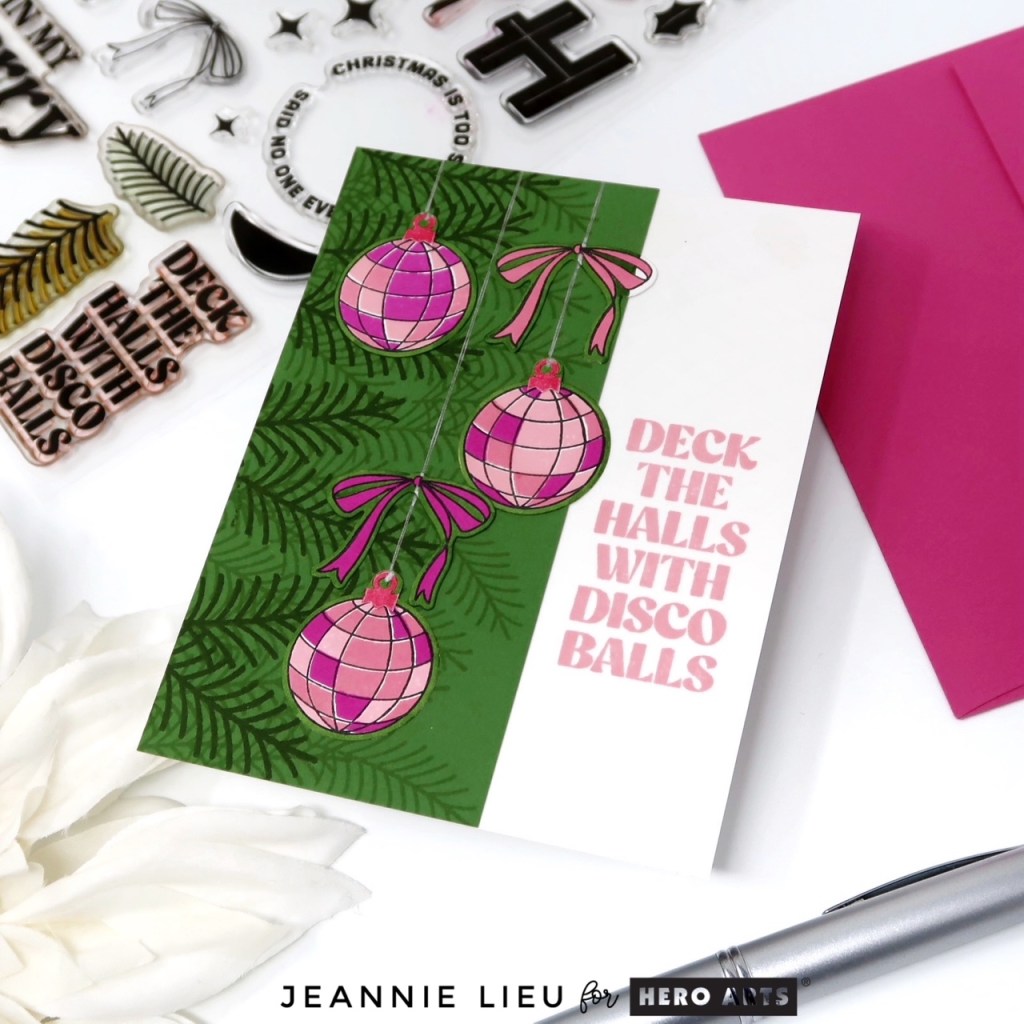
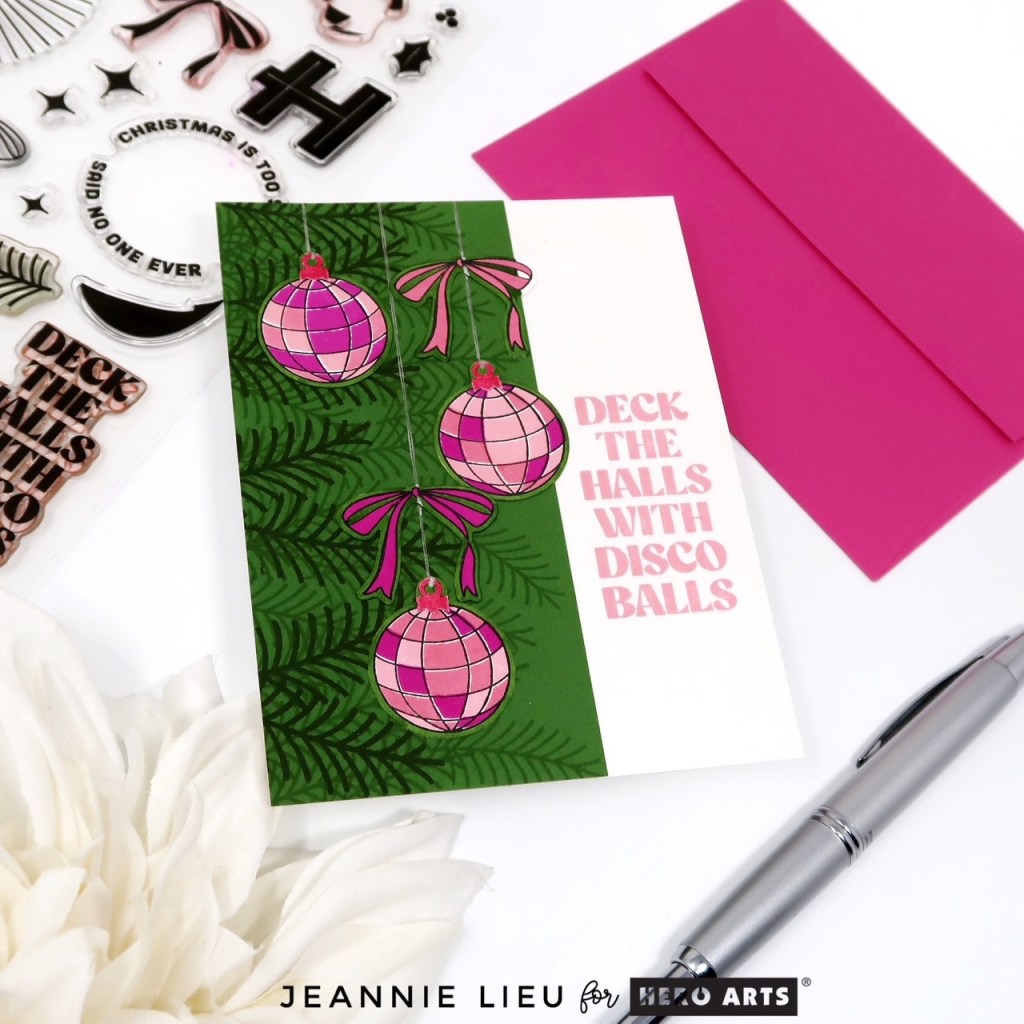
My first project focuses on the Card Kit of the Month. I wanted to use the layering disco ornaments in the stamp set, it’s fun because you can stamp all the parts and essentially coloring the entire ornament in. I decided to go with monotone colors of pink using Cotton Candy, Ultra Pink and Azalea and I also used Crimson for the ornament holder. It was so fun and I also stamped matching bows.
For my card panel itself, I thought it would be fun to split the panel, and add Fern cardstock to the left hand side and I stamped the pine tree leaves with Moss and Forever Green core inks for an additional monotone look. For the right hand side, I stamped the sentiment with Cotton Candy ink to pull it all together. To finish off the card with an additional touch, I used a sparkly silver pen to create the ornament string. I love the untraditional holiday color combo of pink and green!
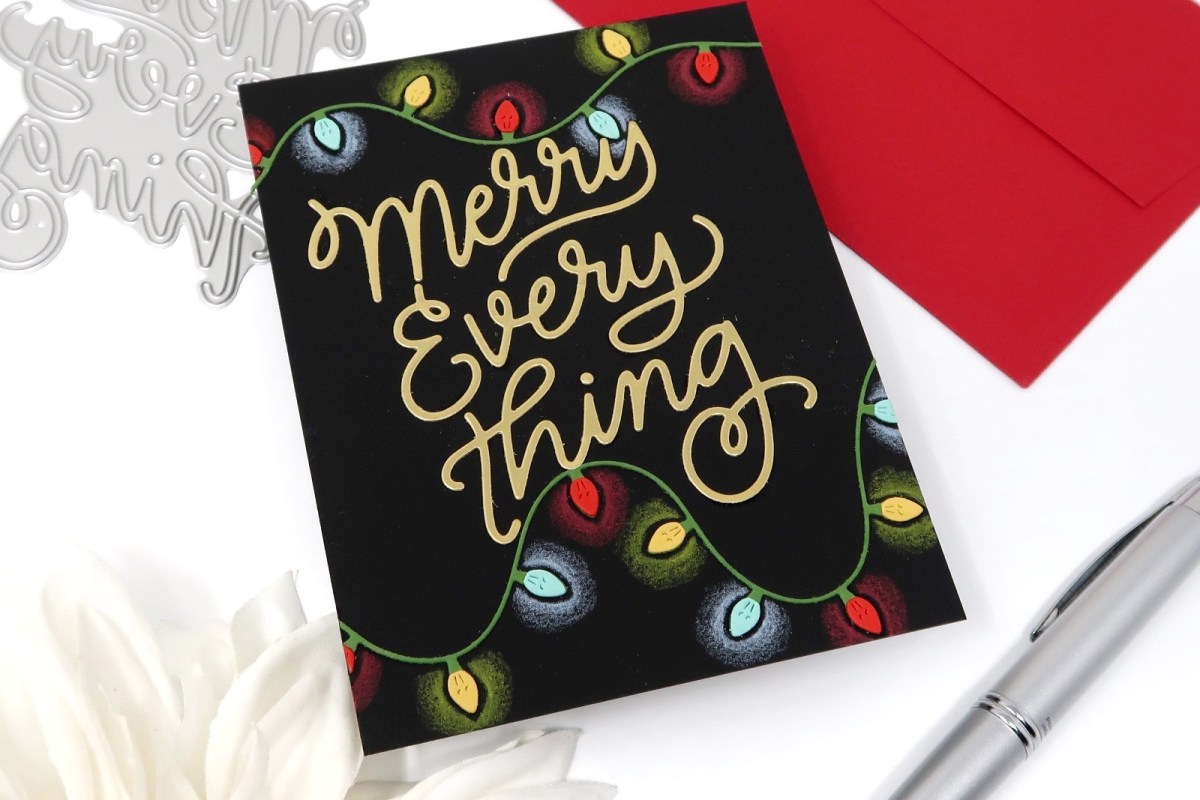
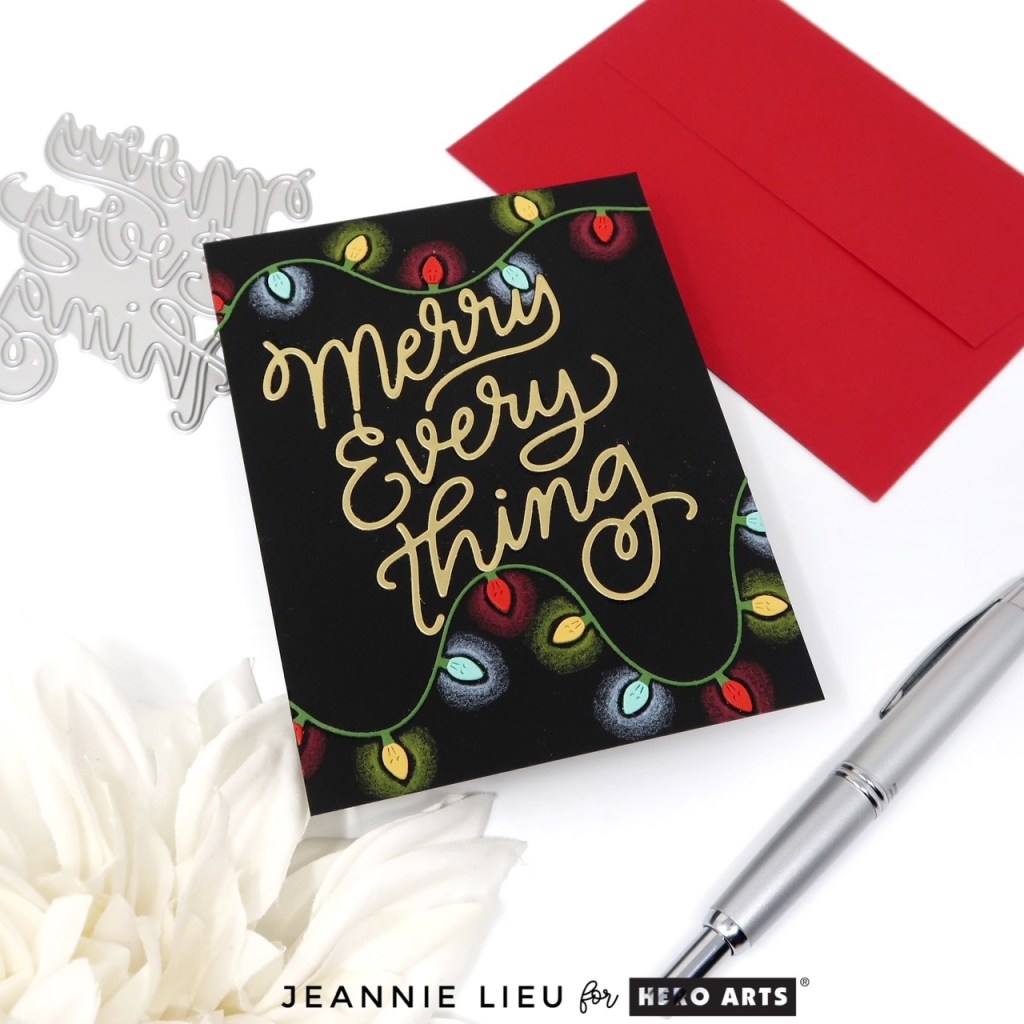
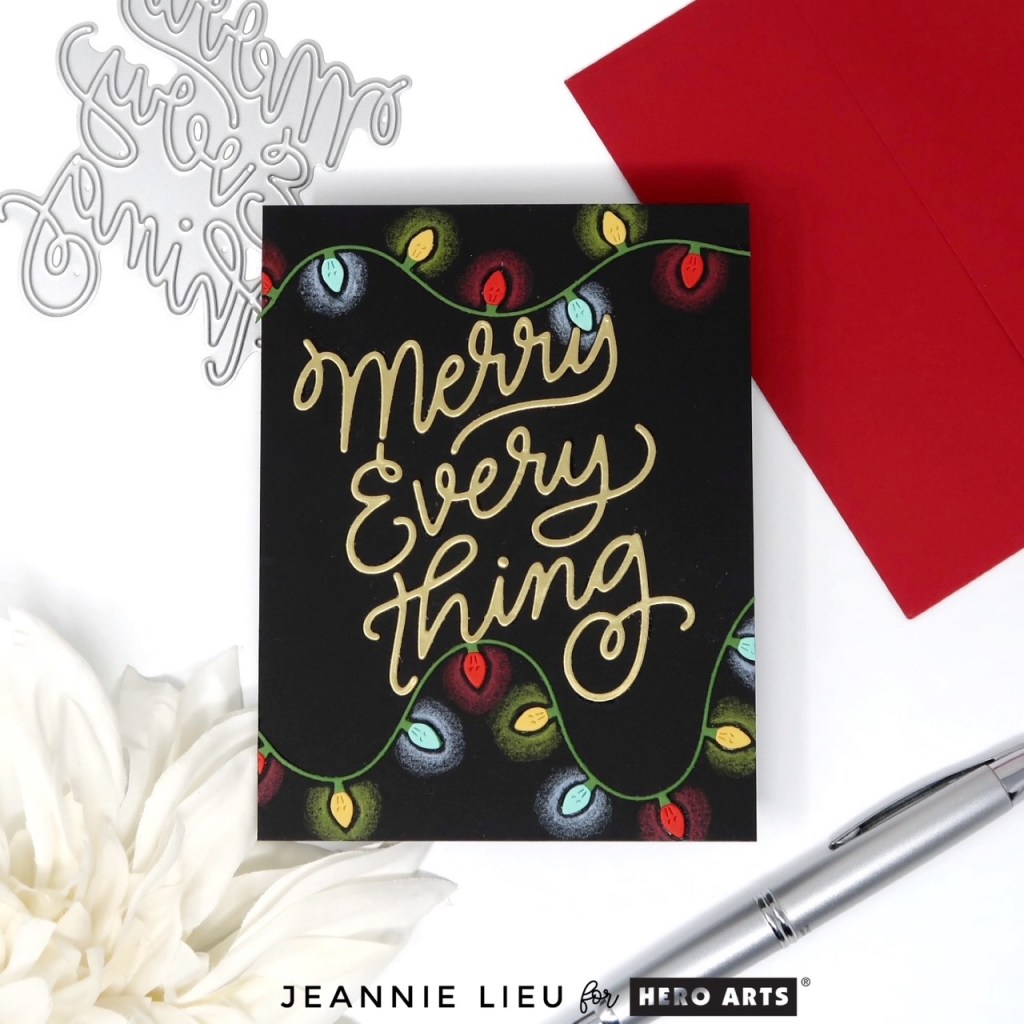
The second card focuses on the October Die Set of the Month. I love that this is a set full of lights, and it’s the perfect accompaniment for any holiday card. I decided to pair the lights with the FREE Merry Everything die set that you receive with the Whole Studio. I chose to cut the Die Set of the Month using a variety of the cardstocks included in the Card Kit of the Month: Fern, Beeswax, Seaside, and Poppy. For the Merry Everything die, I used the gold matte cardstock found in the Card Kit of the Month.
Once I die cut all the items and place them together, I decided to pull out my colored pencils to add a little something extra to the lights so they look like they glow. I think it’s a fun look to the card and adds that extra something special to the card.
Thanks for stopping by today and I hope you enjoyed the two cards I shared today using some of the new Hero Studio collection. Hope you were inspired to create!
Giveaway Hero Arts will give away a $50 gift card, drawn from the comments left across the hop. Enter by Sunday, October 5th at 11:59pm PT, and the winner will be announced on the Hero Arts blog the following week. Leave a comment on all stops for more chances to win!
All my supplies for creating this card will be listed down below (with multiple sources when available) for your curiosity and convenience. Affiliate links used when possible.
All my supplies for creating this card will be listed down below (with multiple sources when available) for your curiosity and convenience. Affiliate links used when possible.
All my supplies for creating this card will be listed down below (with multiple sources when available) for your curiosity and convenience. Affiliate links used when possible.
All my supplies for creating this card will be listed down below (with multiple sources when available) for your curiosity and convenience. Affiliate links used when possible.
All my supplies for creating this card will be listed down below (with multiple sources when available) for your curiosity and convenience. Affiliate links used when possible.
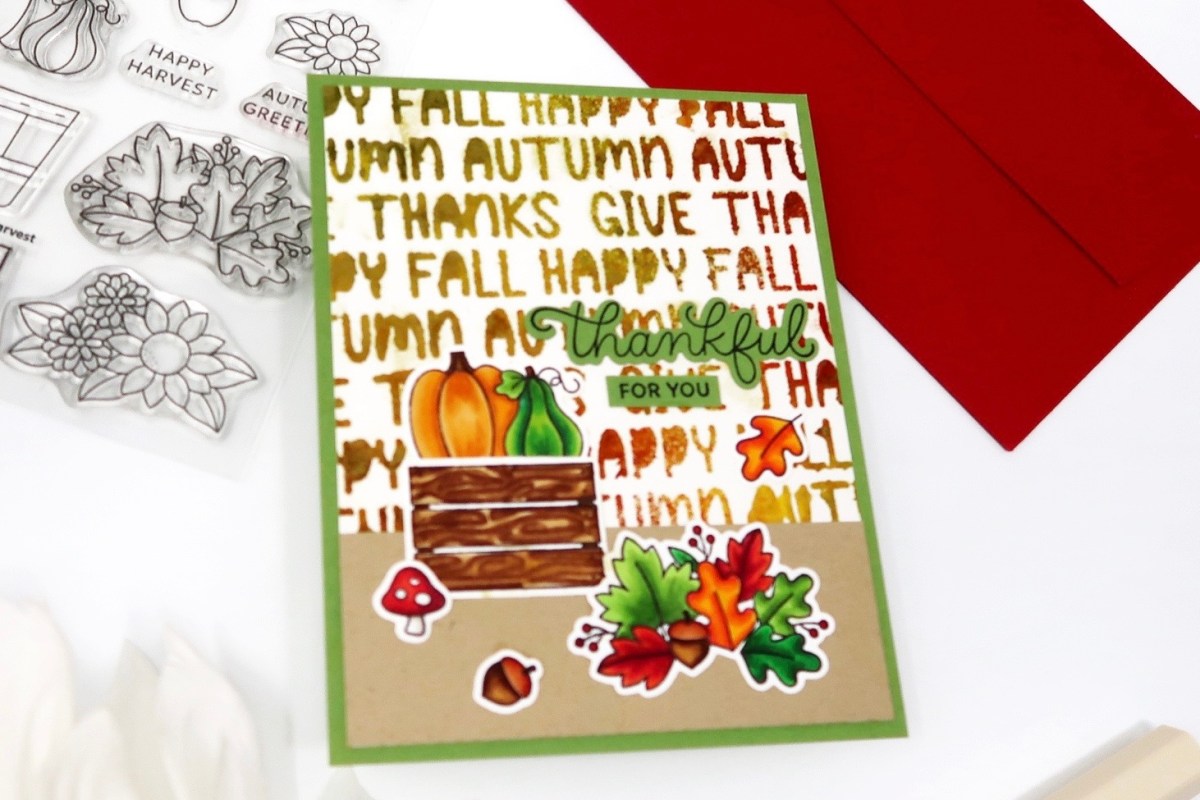
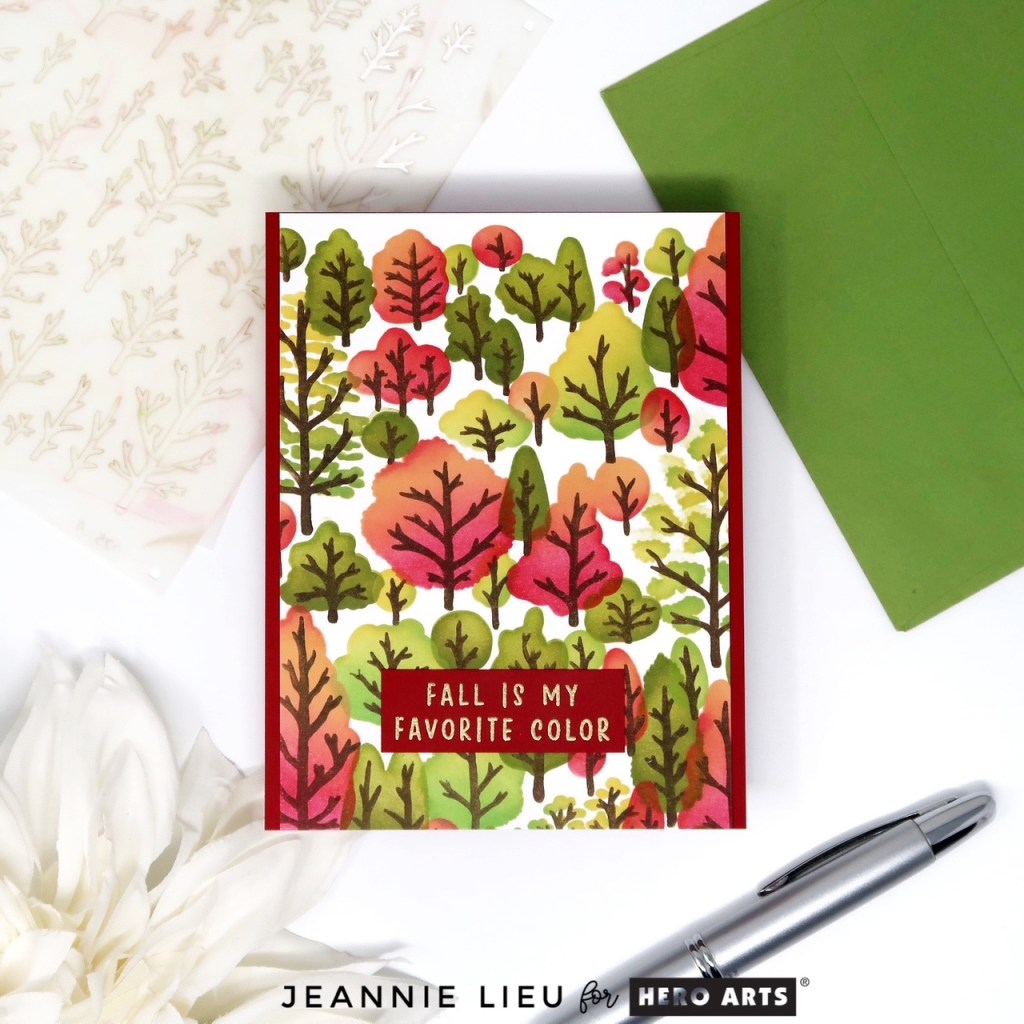
I love when the trees start to change and you see the peeks of yellow, red, and green. It’s my favorite part of fall, especially the red leaves! I was super happy to see this Layering Stencils set for this month of Hero Studio!
It was really fun to create this and I just used a bunch of ink. I also wanted to create a bit of dimension too so I actually used two colors per layer!
First, I used Moss and Forever Green core inks. I kept the lighter color on top of the trees and then ink blended the darker color at the bottom portion. Next, I used Spicy Mustard with Fresh Lawn doing the same thing as the first layer. For the last tree layer, I used Papaya and Crimson — my favorite color for changing leaves!
For my last layer, I stuck with one color: Espresso! It all comes together so easily and I just love love love how it looks!
All my supplies for creating this card will be listed down below (with multiple sources when available) for your curiosity and convenience. Affiliate links used when possible.
Look at all the little details of a rubber stamp — it made making this card so easy and kinda provides a cheat code for shading!
All my supplies for creating this card will be listed down below (with multiple sources when available) for your curiosity and convenience. Affiliate links used when possible.
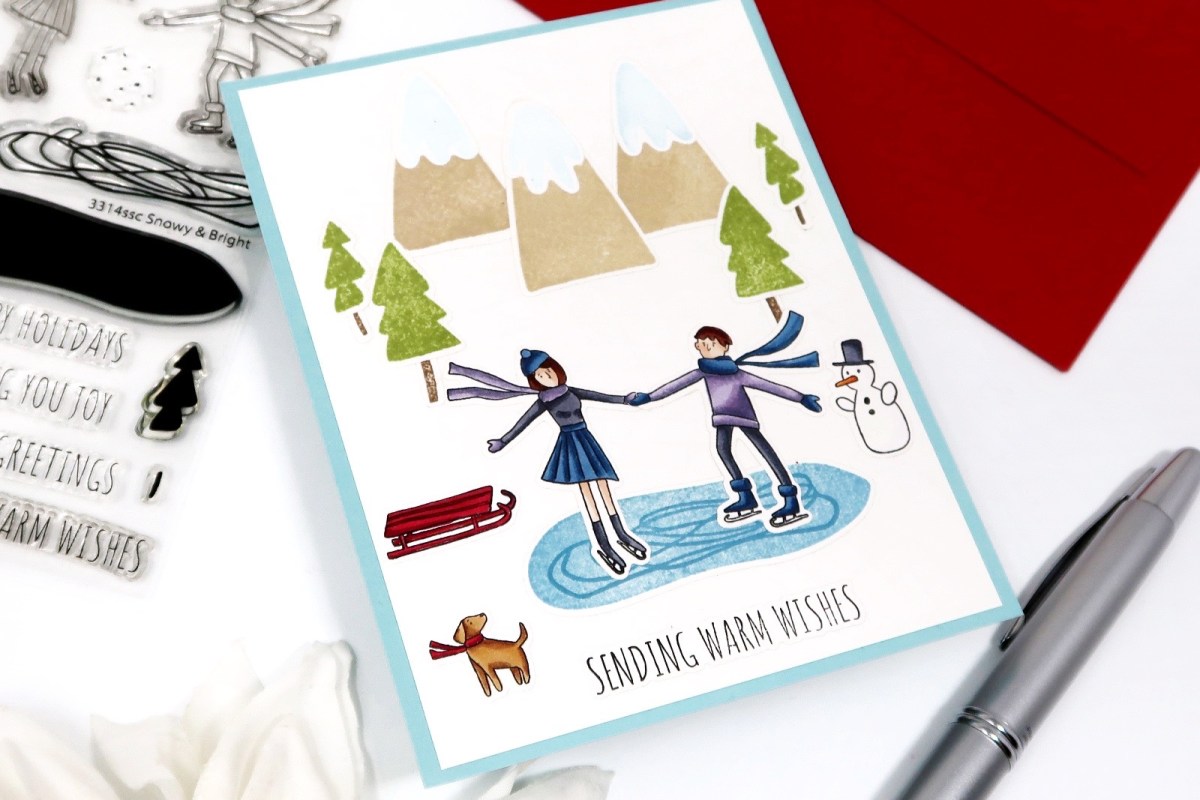
I love a cozy winter scene and this is the perfect set for it. You can use it for the holidays or just for winter.
All my supplies for creating this card will be listed down below (with multiple sources when available) for your curiosity and convenience. Affiliate links used when possible.
Remember — these collabs are limited and once they are gone, they are gone. If you like it, pick it up! I think this set is pretty cute and you definitely can use it for summer but also alternate the colors of the ice cream to match the season!
All my supplies for creating this card will be listed down below (with multiple sources when available) for your curiosity and convenience. Affiliate links used when possible.