Stamping crisp images is very important to me — it just looks nicer and more professional. However, this is one of the exceptions — where you ink up your images using distress oxide inks. This type of ink is water reactive and before stamping it, I’ll spritz it with water and then stamp! It provides such a cool look.
All my supplies for creating this card will be listed down below (with multiple sources when available) for your curiosity and convenience. Affiliate links used when possible.
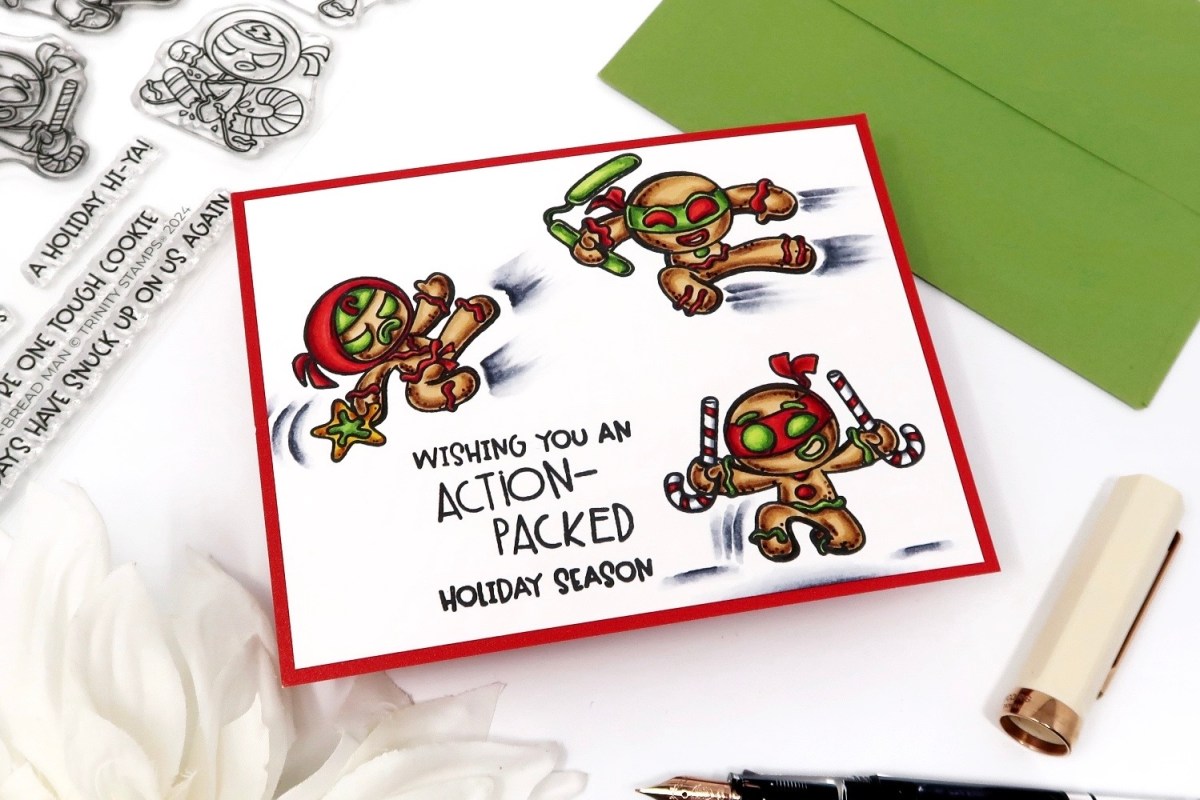
These ninjas are obviously ready for action and I wanted to try adding little lines that depict movement. I experimented and hopefully, it comes through on this card. It’s super cute, and I think you can change out the colors easily to match your recipient’s favorite colors!
All my supplies for creating this card will be listed down below (with multiple sources when available) for your curiosity and convenience. Affiliate links used when possible.
Sometimes, within a release, I want to mix and match all the sets. It’s the best way to use your sets because you have more flexibility than just sticking with one set only.
All my supplies for creating this card will be listed down below (with multiple sources when available) for your curiosity and convenience. Affiliate links used when possible.
A little ink blending goes a long way and just adding a bit of black distress ink around the edges really finishes things off!
All my supplies for creating this card will be listed down below (with multiple sources when available) for your curiosity and convenience. Affiliate links used when possible.
This stamp set is perfect for a little fall scene — so many ways to use the images… all of them or even maybe one!
All my supplies for creating this card will be listed down below (with multiple sources when available) for your curiosity and convenience. Affiliate links used when possible.
Easy cards are quicker than you think — using a bold stamped image is the best!
All my supplies for creating this card will be listed down below (with multiple sources when available) for your curiosity and convenience. Affiliate links used when possible.
I love silhouettes — when there’s die cuts that make it easy (using black cardstock), it makes it so easy!
All my supplies for creating this card will be listed down below (with multiple sources when available) for your curiosity and convenience. Affiliate links used when possible.
You can always use your die cuts as windows — that’s what I did here with the Bat Shaker dies. It make the perfect fun windows for a Halloween card.
All my supplies for creating this card will be listed down below (with multiple sources when available) for your curiosity and convenience. Affiliate links used when possible.
Let’s start by taking a closer look at the October Card Kit of the Month.
Includes:
CK1024C Clear Stamp Set, 6” x 8”
CK1024D 16 Coordinating Dies & 1 Hole Punch Die
1 Window Die
Holiday Treats Words Cling, 6″x 6″
Washi Sticker Pack, 22 Pieces
Embossing Ink Cube
5 sheets each, Kraft, White & Red Cardstock, 5.5″ x 8.5″
Gold Embossing Powder, 1/2 oz.
White Embossing Powder, 1/2 oz.
Peppermint Embellishments
<CARD KIT PHOTO>
There’s a ton of inspiration and the full blog lineup can be found on the Hero Arts blog. You should be coming from Jennifer Kotas‘s blog and your next stop will be Ilina Crouse. The full blog list will be updated below!
I have two cards to share with you today featuring this month’s kit and one of the Extraordinary Extras.
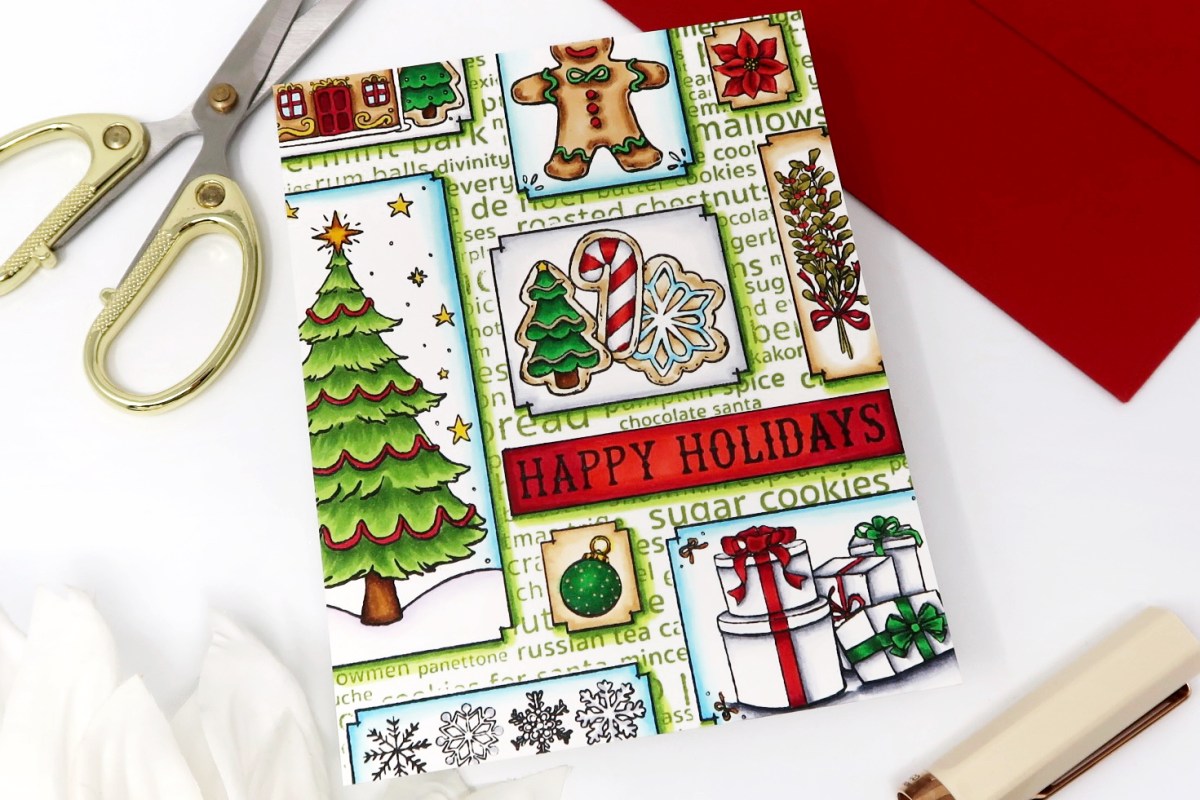
The first card focuses on the Card Kit of the Month. This was a really fun stamp set where I wanted to use all the images from the main stamp set and I did just that! I went ahead and arranged almost all the images onto a card panel along with one of the sentiments. I stamped my card panel with Intens-ified Black Ink. You definitely can use the coordinating die cuts in the set but I chose to stamp and mask off the images. I wanted to use the Holiday Treats Cling to stamp the background behind all the images. I stamped that with Moss ink. Then all I needed to do was color it up!
My second project focuses on the Cling Stamp of the Month, which I paired with an older stamp set called Winter Town Cheer Stamps. Admittedly, this cling stamp has a lot going on, however, I really didn’t want to color up every last bit — imagine how many markers I would be using! I decided to first create a holiday rainbow card panel. The colors include Red, Orange, Yellow and Green, and I pulled out the cardstocks Kiwi, Canary, Papaya, and Cherry. I trimmed down some strips and adhered them to an A2 card panel. Then I went ahead an stamped the Cling Stamp with Intens-ified Black Ink. I used coordinating alcohol markers to color in the background, but made sure they were just a TAD darker so the images would pop. To finish off the card, I stamped and heat embossed the sentiment from Winter Town Cheer on Pitch Black Cardstock using White Embossing Powder.
Thanks for stopping by today and I hope you enjoyed the two cards I shared today using some of the new Hero Studio collection. Hope you were inspired to create!
ONE MORE THING!
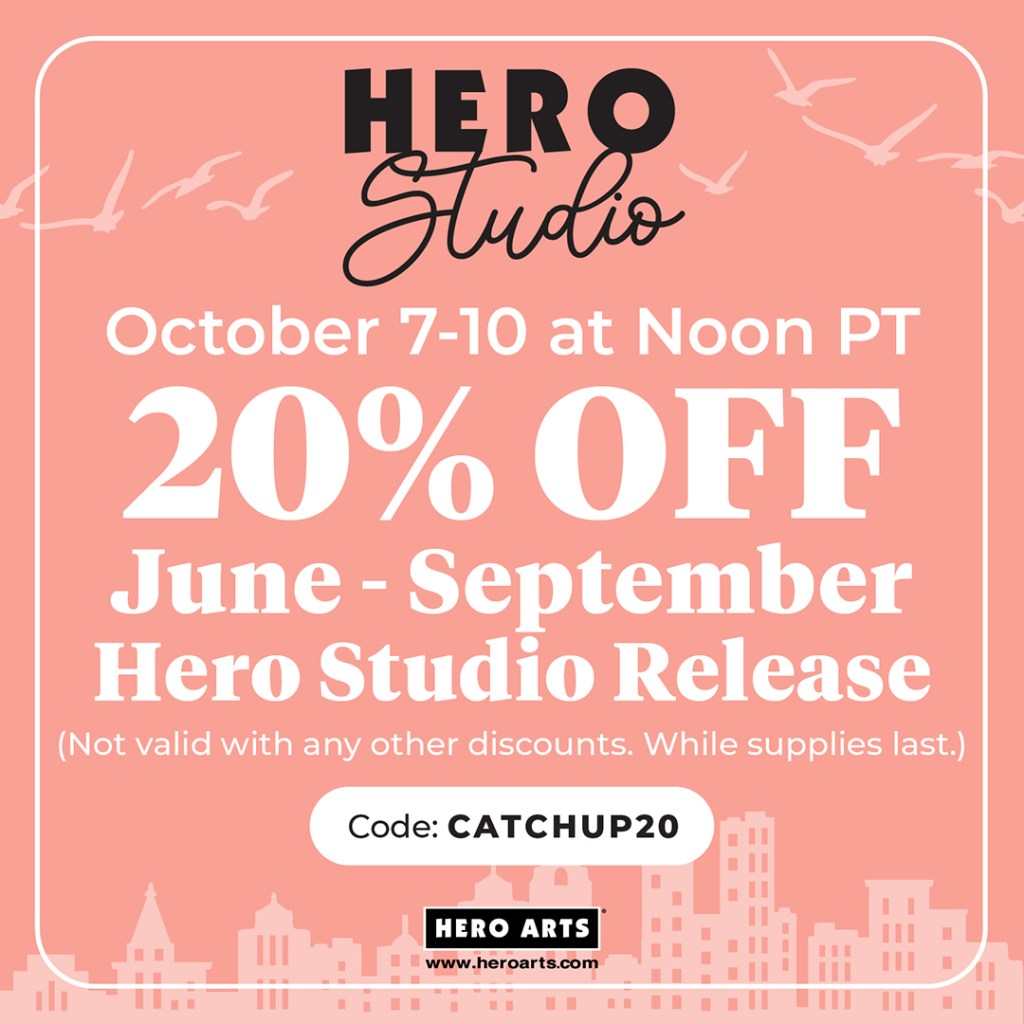
Did you miss out on the previous releases? Or waiting for a Black Friday sale — wait no more! Use “CATCHUP20” for 20% off previous Hero Studio releases!
Giveaway:
Hero Arts will give away a $50 gift card, drawn from the comments left across the hop. Enter by Sunday, October 13th at 11:59pm Pacific, and the winner will be announced on the Hero Arts blog the following week.
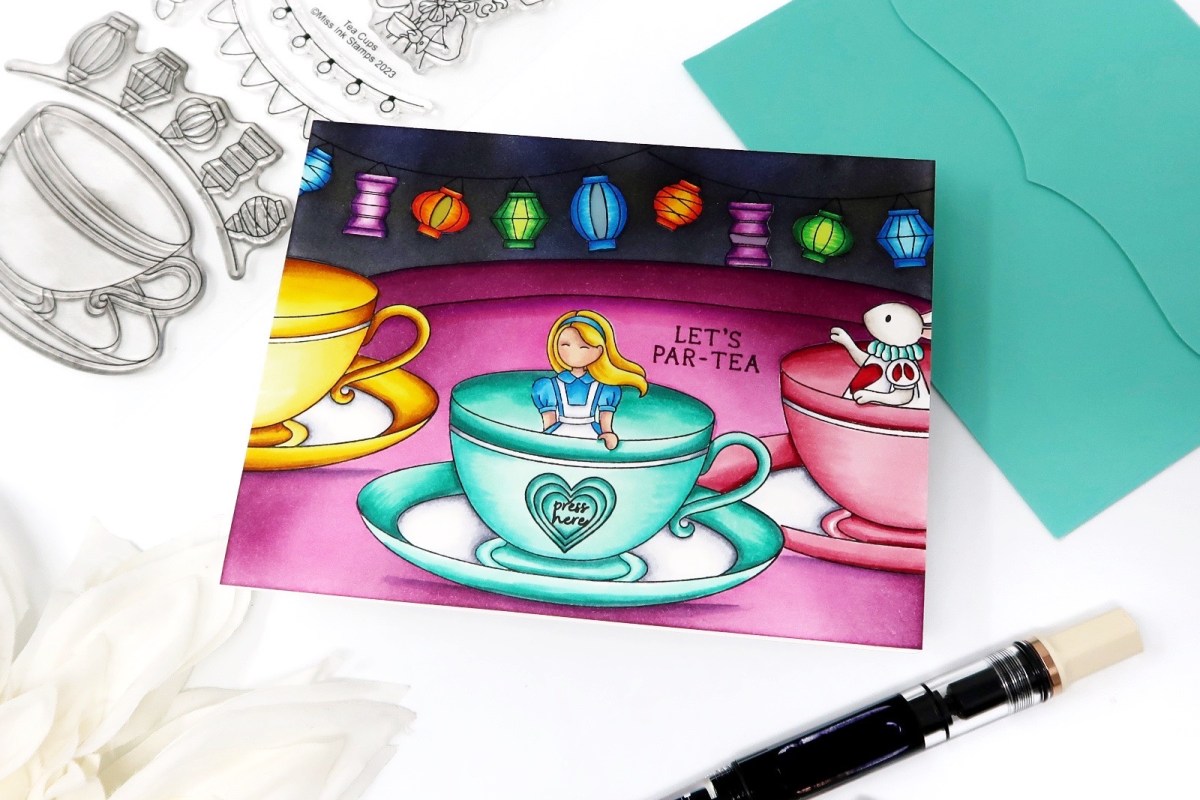
If you’ve been to Disneyland or DisneyWorld, you’ll know exactly which ride inspired this card… it’s one of my favorite rides to go on at dusk or night time. The lights make it so pretty and I think the card is a perfect reflection of that!
All my supplies for creating this card will be listed down below (with multiple sources when available) for your curiosity and convenience. Affiliate links used when possible.
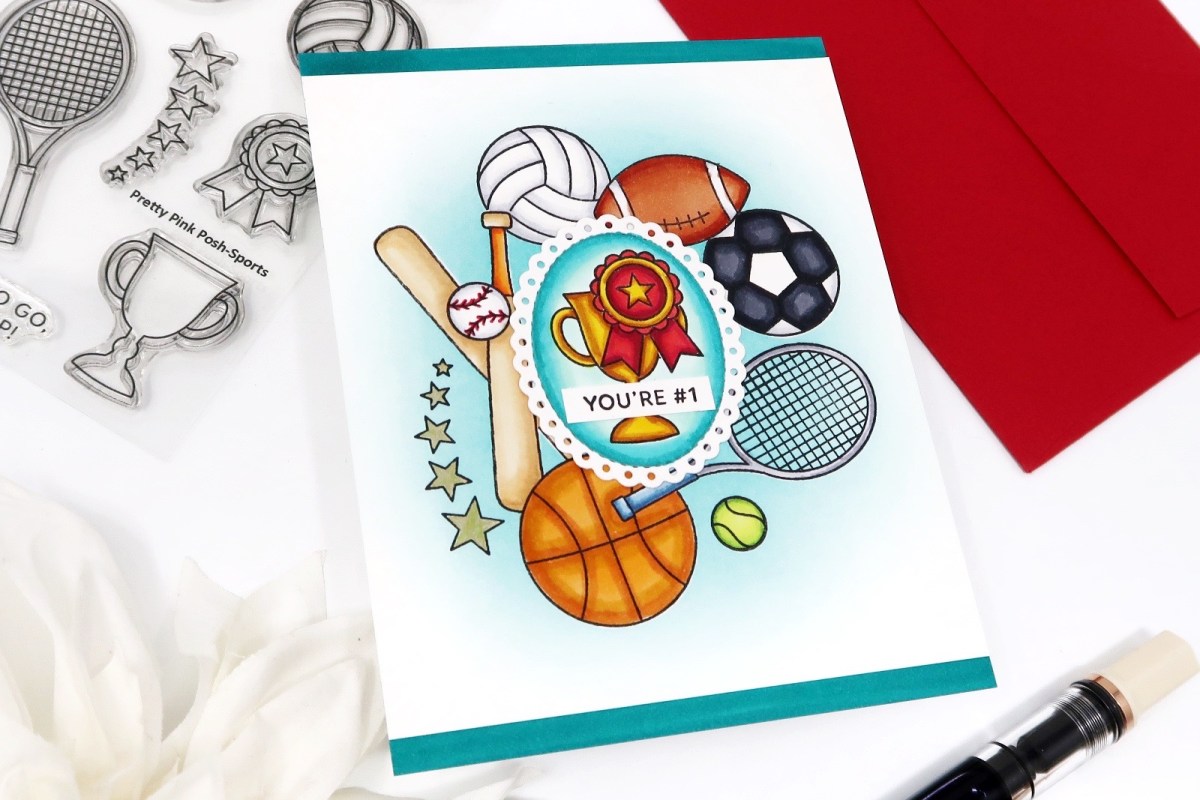
Go sports! Happy Sunday — are you a sports person? I enjoy a ton of sports and honestly, it’s the best background noise for a day of crafting. Unless it’s an incredible game, my attention is always split. This card encompasses all the sports — so it works for many recipients.
All my supplies for creating this card will be listed down below (with multiple sources when available) for your curiosity and convenience. Affiliate links used when possible.
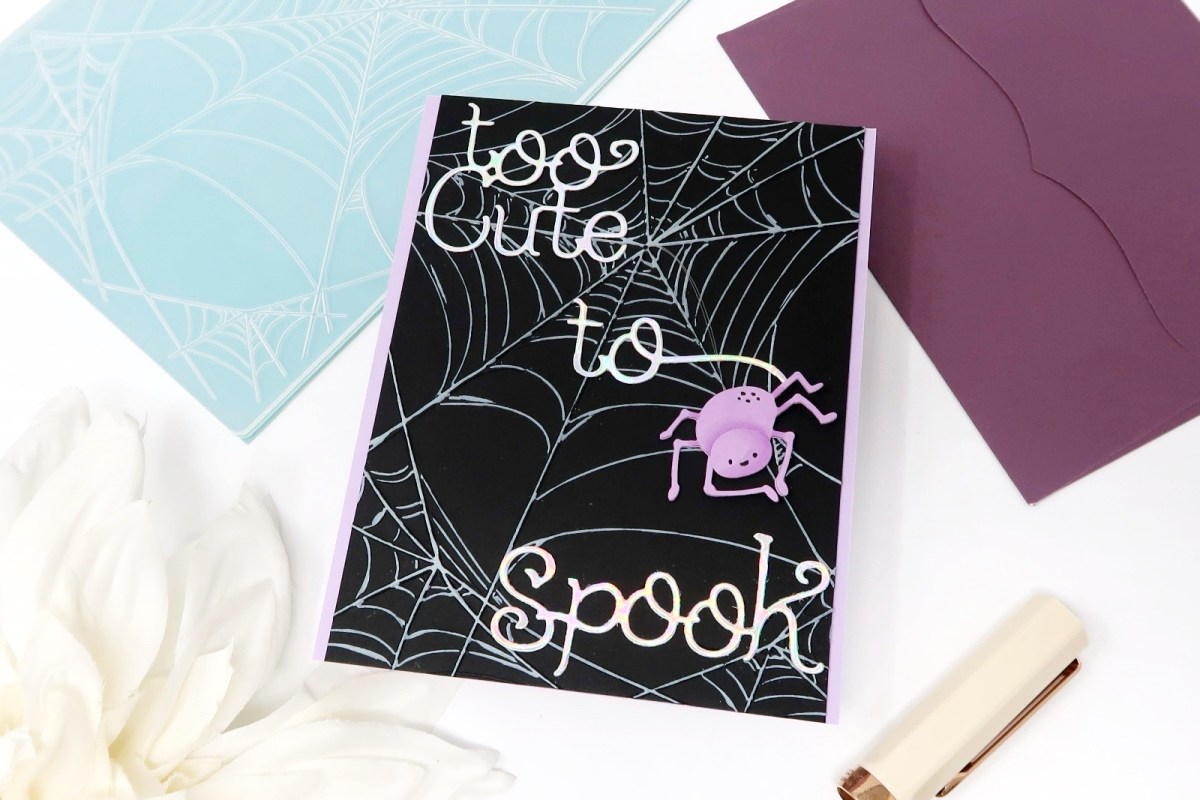
I love to pull out some of my old Halloween tricks — just because it doesn’t get old. I love a moving element and this spider is too cute… it won’t spook you right?
All my supplies for creating this card will be listed down below (with multiple sources when available) for your curiosity and convenience. Affiliate links used when possible.