I usually ink blend an entire background but sometimes, it just doesn’t go with the images. I wanted to focus on these two images that worked perfectly with this funny sentiment and used ink blending to really spotlight the naughty mice. It turned out so cute, didn’t it?
Most of the time my sentiments are the last thing on my cards — but here, I stamped everything all at once to make sure that I have it placed properly. It helps set up where I want to stencil my partial background for a one layered card.
All my supplies for creating this card will be listed down below (with multiple sources when available) for your curiosity and convenience. Affiliate links used when possible.
It’s Stamptember! I’m so excited to be a part of this crafty month that has always intrigued me with the element of surprise all month long — Today’s set features Honey Bee Stamps and a fun wintery set. I’m using it here for a wintery, holiday scene. Remember, if you like this set — grab it as soon as you can, because these sets usually sell out fast and once it’s gone, it’s gone.
All my supplies for creating this card will be listed down below (with multiple sources when available) for your curiosity and convenience. Affiliate links used when possible.
All my supplies for creating this card will be listed down below (with multiple sources when available) for your curiosity and convenience. Affiliate links used when possible.
Hi all — Another easy scene card up on my YouTube channel today. The little girl is so cute and of course, I had to use one of the newest background to give her her own little talk bubble. Check it out and let me know if you’re try focused masking to stretch your supplies.
All my supplies for creating this card will be listed down below (with multiple sources when available) for your curiosity and convenience. Affiliate links used when possible.
Hello! Today is Ink Blot Shop‘s new release and there are some really fun goodies, including the items featured in my YouTube video below!
All my supplies for creating this card will be listed down below (with multiple sources when available) for your curiosity and convenience. Affiliate links used when possible.
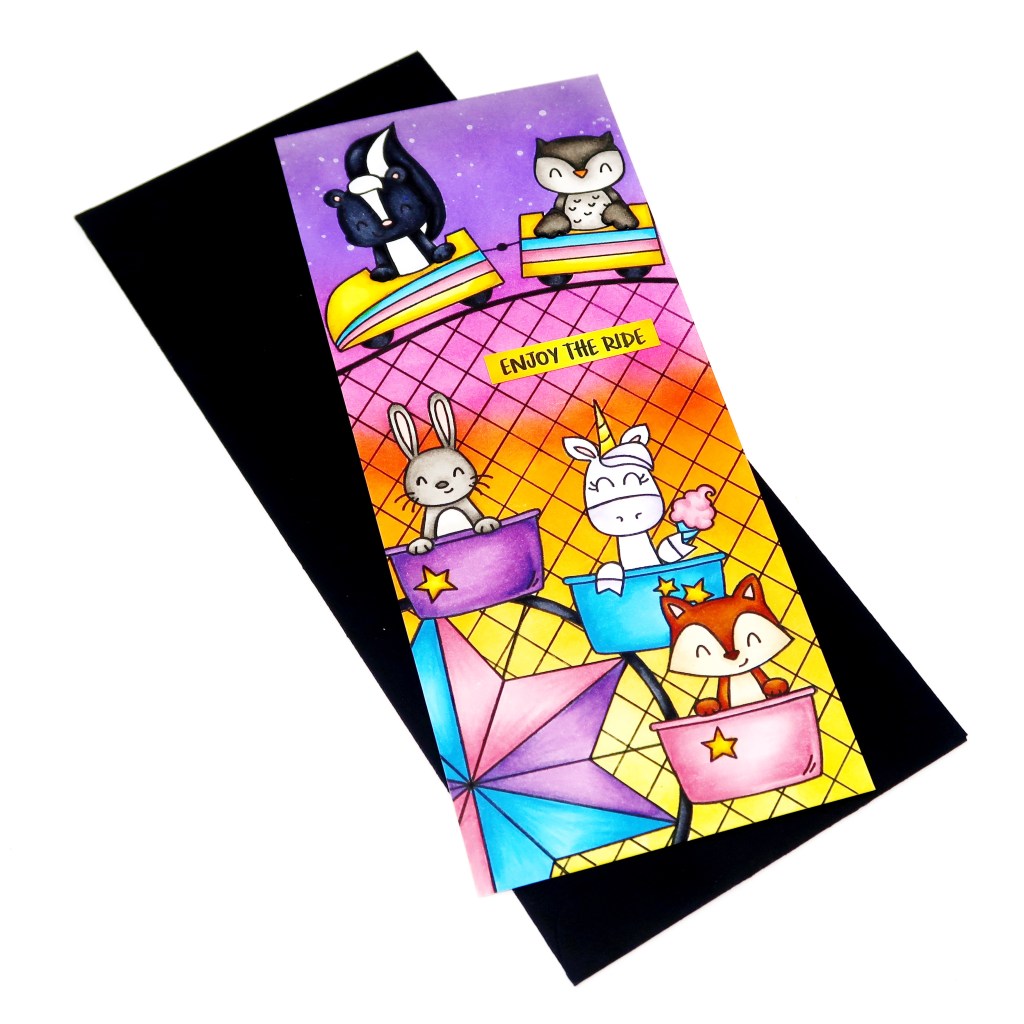
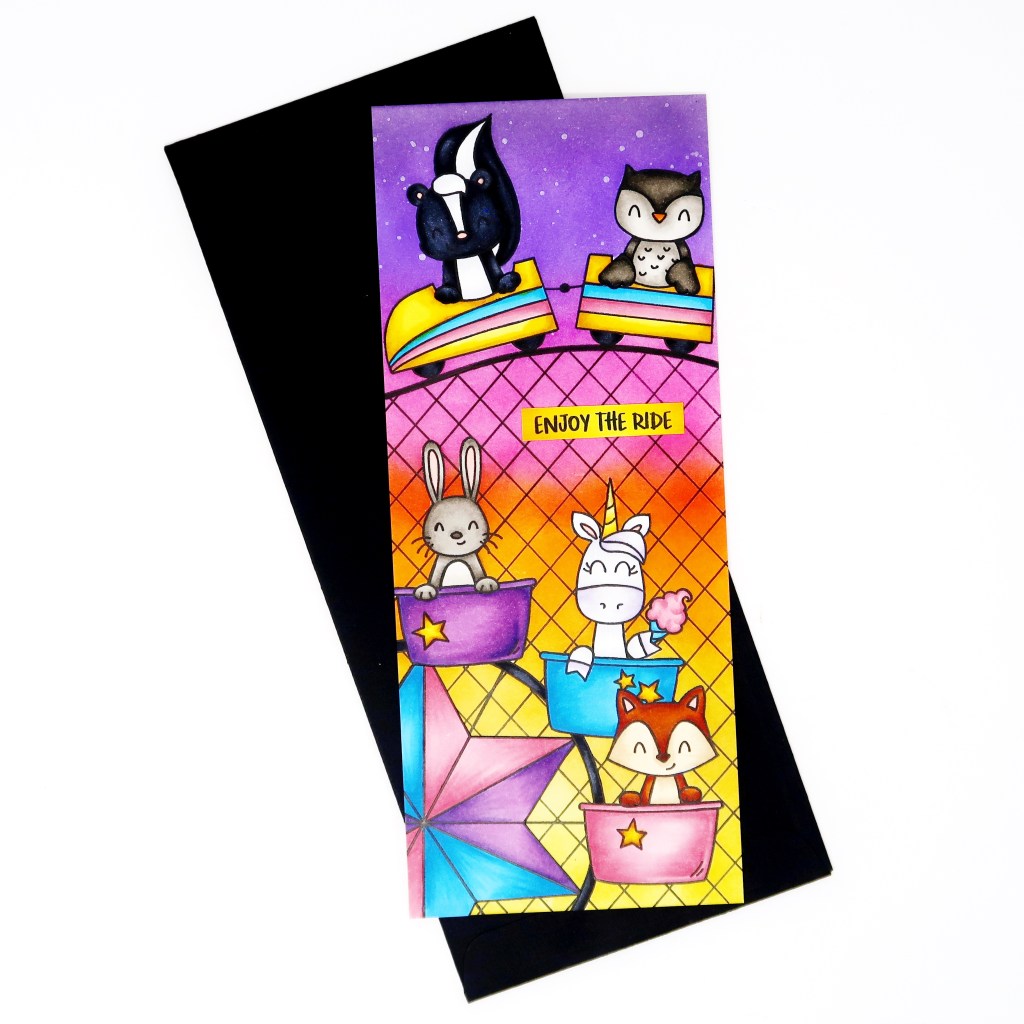
Happy Friday everyone! TGIF! I’m sharing a card featuring a couple of Avery Elle stamp sets named: Peek a Boo Fair, Peek a Boo Coaster, and Peek a Book Camp Wanna Stamp.
[INSERT VIDEO]
All my supplies for creating this card will be listed down below (with multiple sources when available) for your curiosity and convenience. Affiliate links used when possible.
I stamped images and masked images from the three different stamp sets using Memento Ink. Then I colored the critters using copic markers and used distress inks for the background to create a sunset vibe. I added the sentiment by stamping on a piece of copic colored cardstock.
Can you spot the problems I had while creating this card? I point them out in my video and my fixes for them.
Thanks for stopping by! Happy Crafting!
→ SUPPLIES USED ← Some products are provided by manufacturers for review and use. Affiliate links may be used at no cost to you.
Hi crafty friends! Today, I’m participating in a Not 2 Shabby video hop and I’m sharing a card created using all four stamp sets from Not 2 Shabby’s Fall release.
All my supplies for creating this card will be listed down below (with multiple sources when available) for your curiosity and convenience. Affiliate links used when possible.
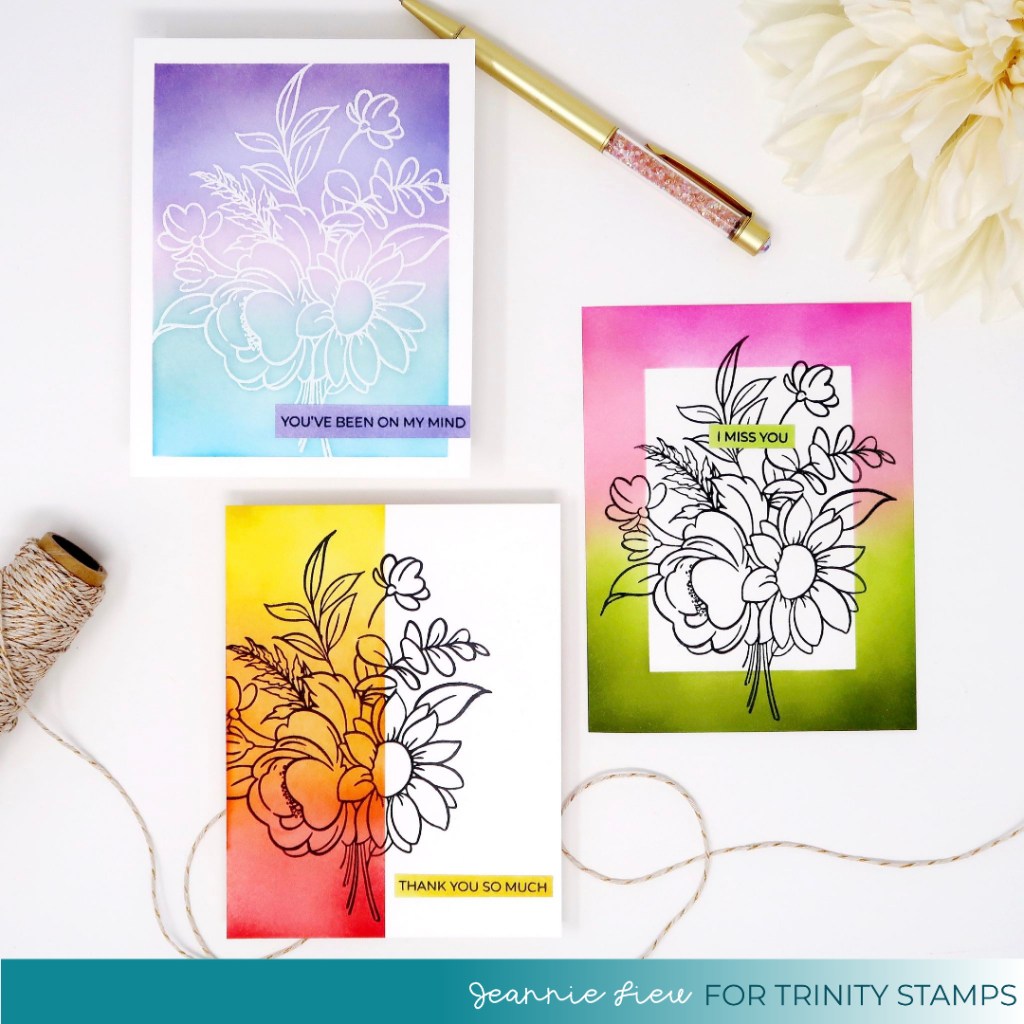
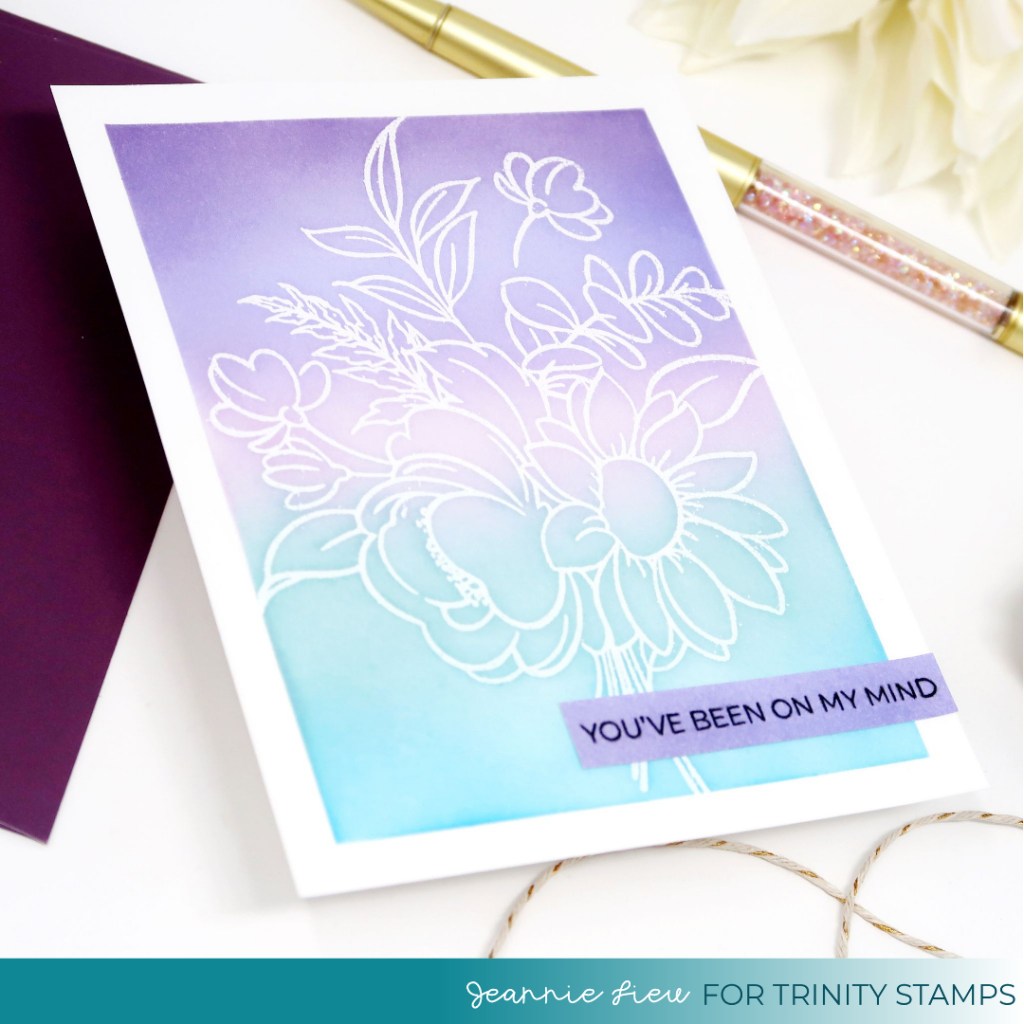
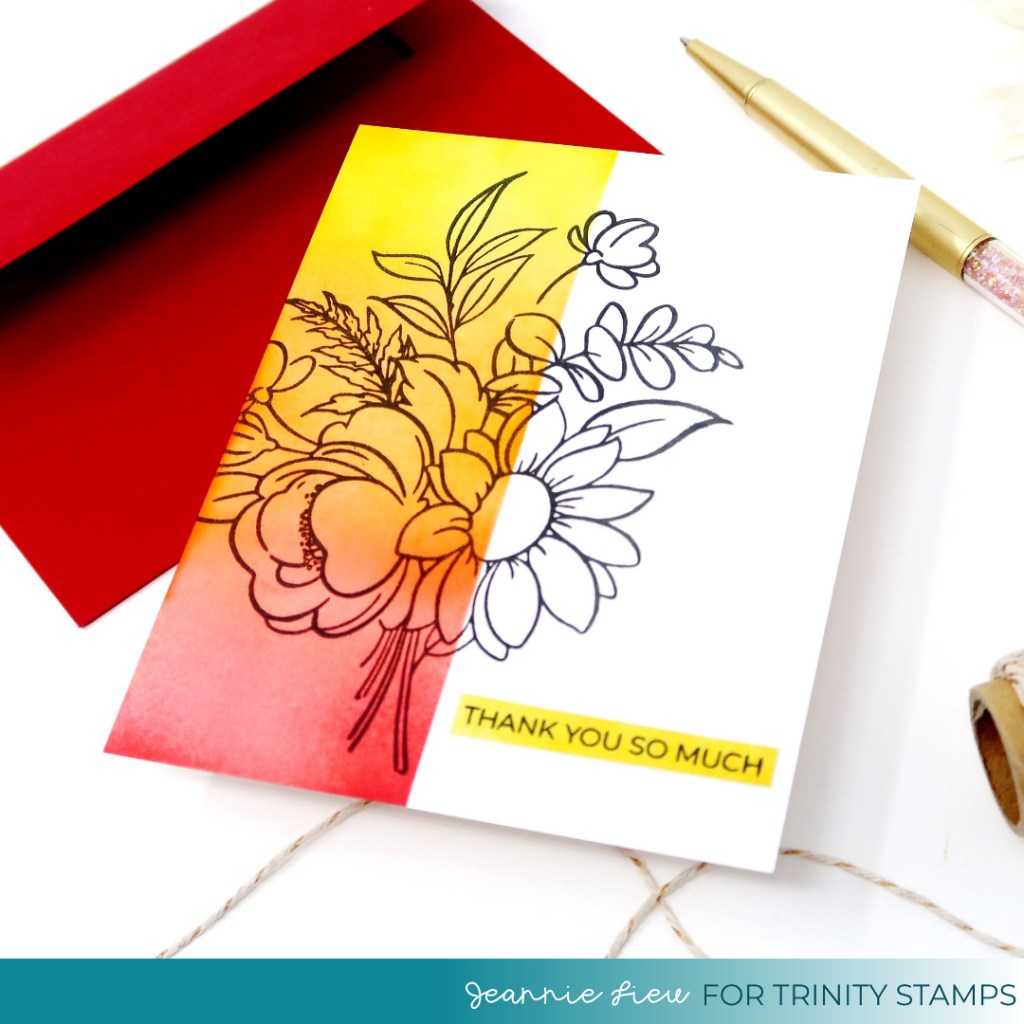
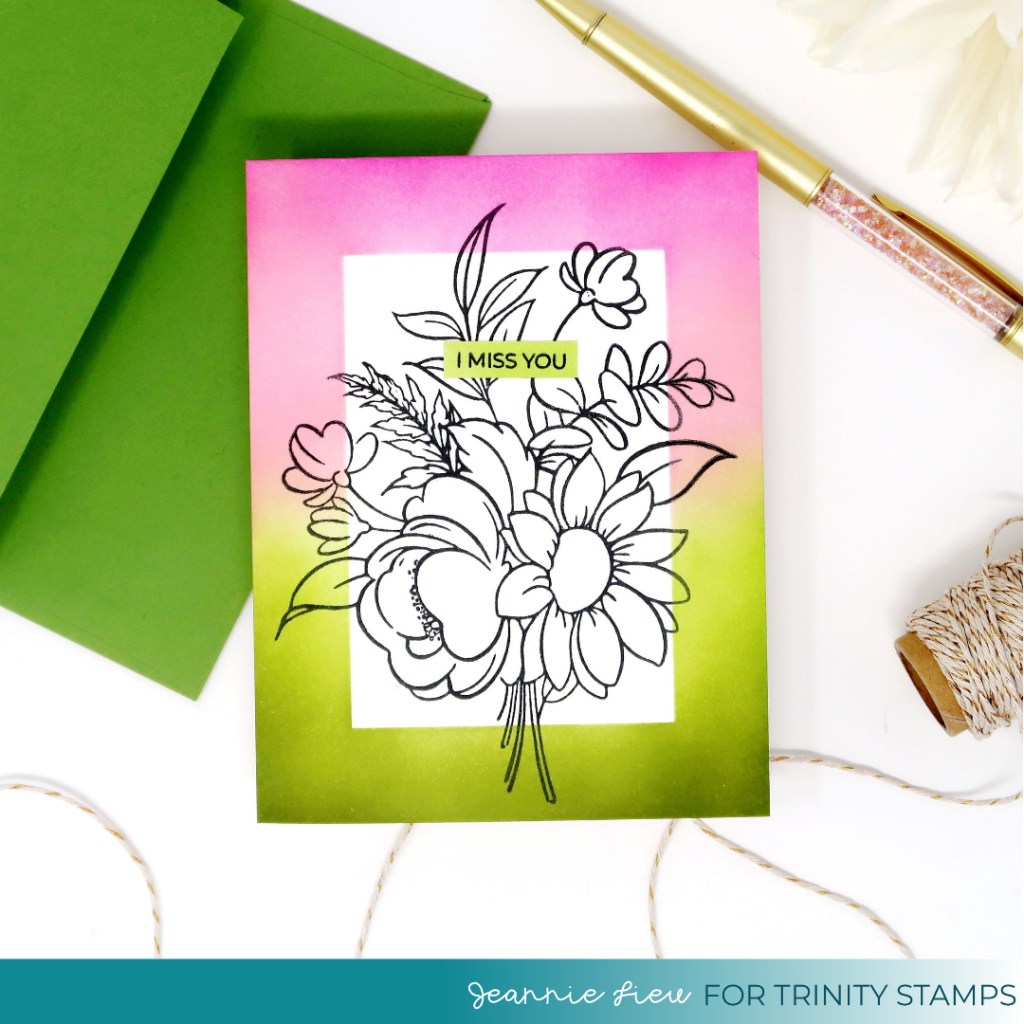
Hi crafty friends! Today, I’m sharing three cards featuring Trinity Stamps’ stamp set named, Blooming Bunch.
All my supplies for creating this card will be listed down below (with multiple sources when available) for your curiosity and convenience. Affiliate links used when possible.
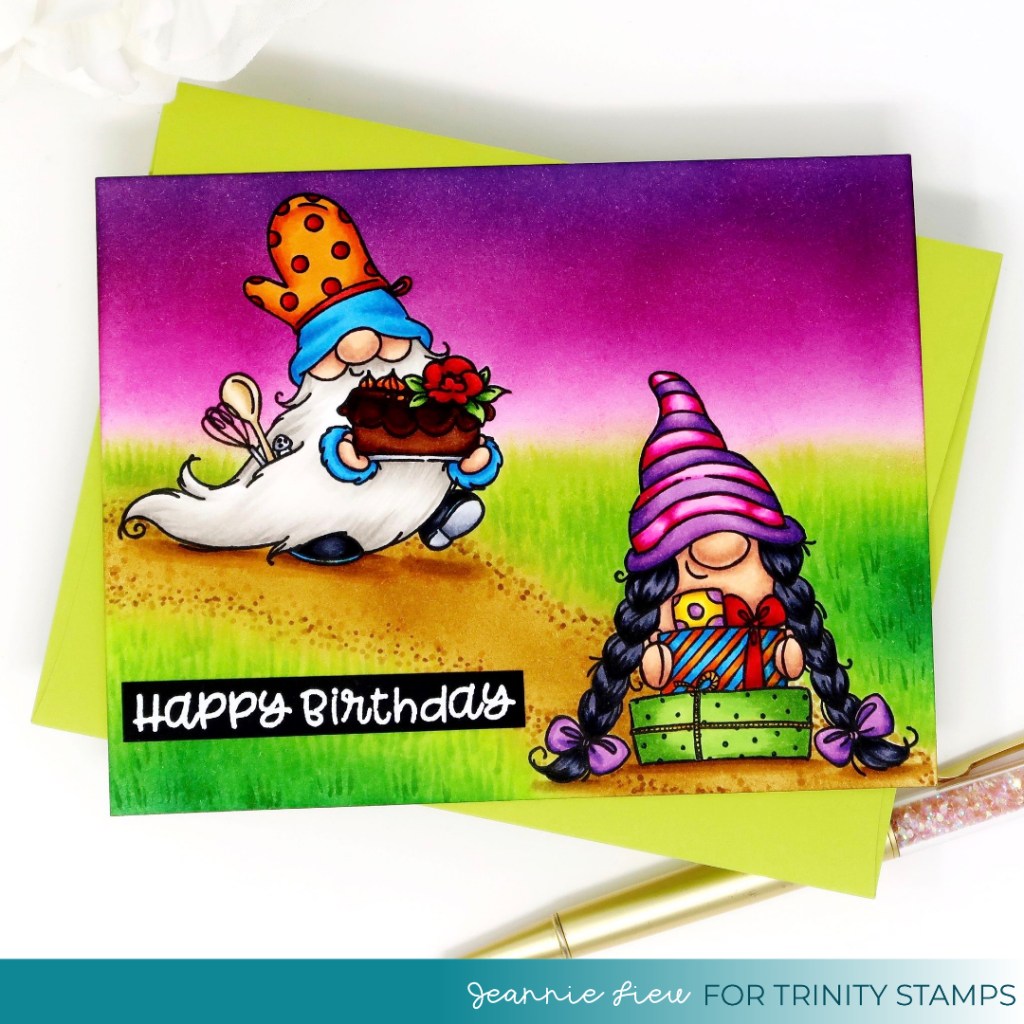
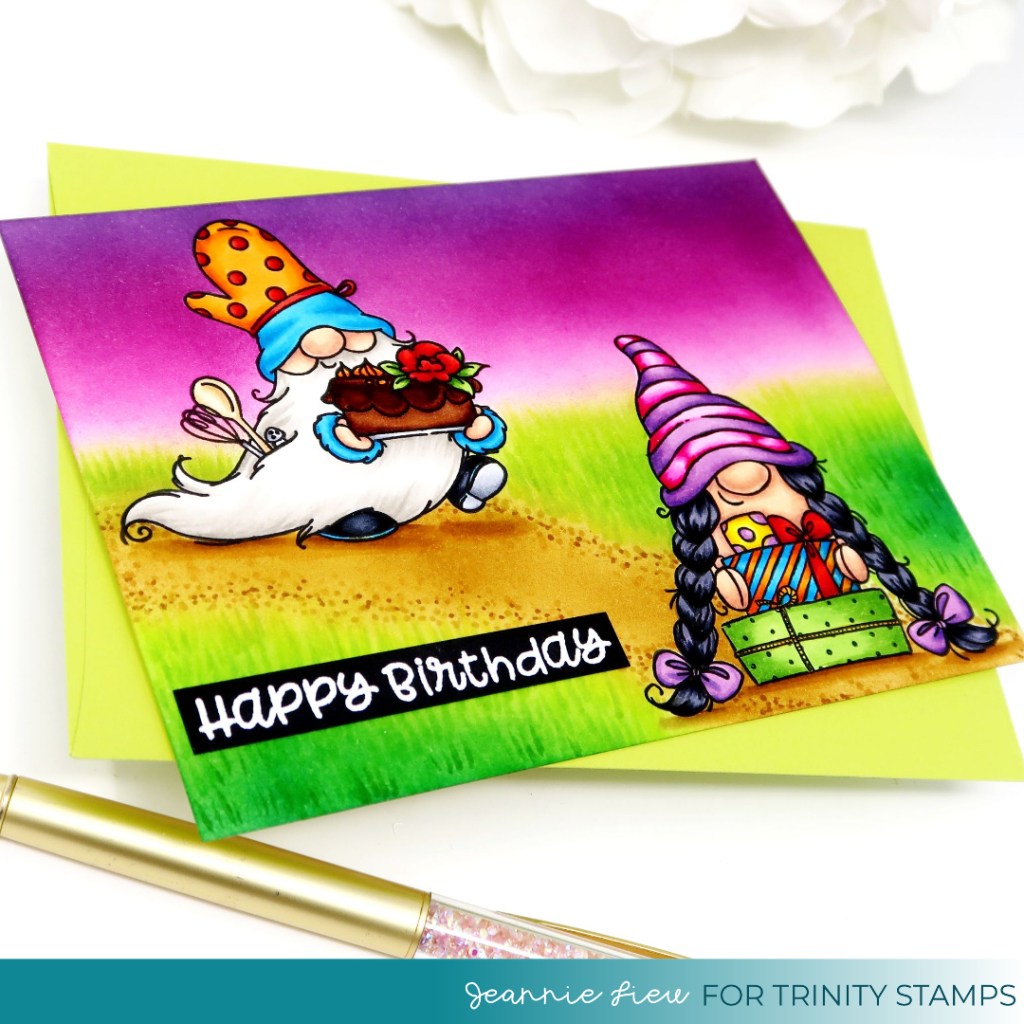
Hi everyone! I’m so excited to share this card with you today as I think it’s just so freaking adorable. I’m using two of the newest stamp sets from Trinity Stamp‘s June Release: Make a Wish and Just For You. They are also celebrating their 2nd birthday and I thought this card was perfect for it!
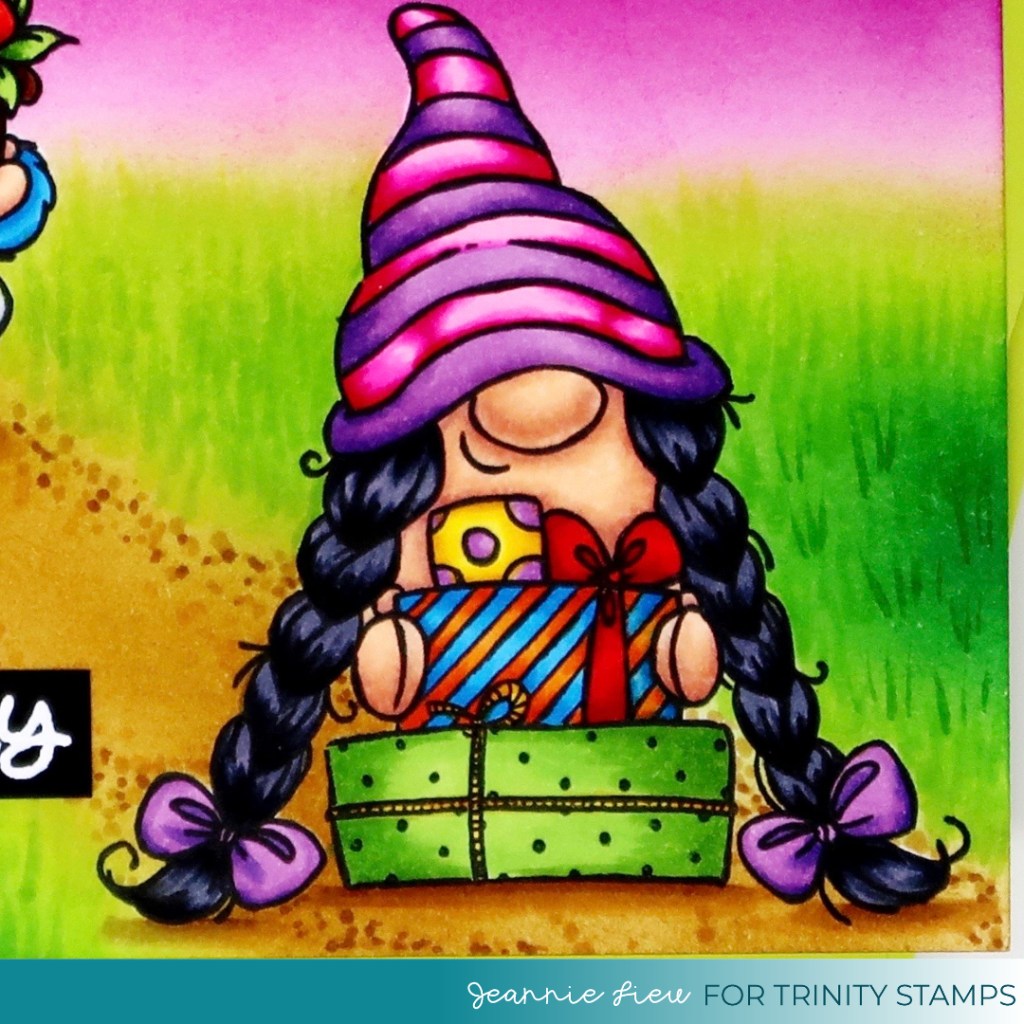
I imagined that the girl gnome from Just for You was sitting with her presents at the bottom of the card and the boy gnome from Make a Wish was walking towards her with a cake.
When I was happy with the background, I removed the Eclipse masking paper and colored the images using copic markers. I also used them to add a bit of texture to the dirt path (by dotting different shades of brown along the edges) and to the grass (adding blades).
To finish off this card with a sentiment, I decided to use the Happy Birthday sentiment from Just for You stamping it using Versamark ink on black cardstock with white embossing powder. I just needed the sentiment to pop among the colorful card.
I hope you get inspired to create! Thanks for stopping by! Come back soon!
→ SUPPLIES USED ← Affiliate links may be used at no cost to you.
I loved these images in the set and wanted to use as many of them as possible without creating a scene card. I also wanted to incorporate rainbow colors within this card to make it just happy and bright.
Here is my process video to show you the details of how this card came to be.
Everything that I’m using to create the card will be listed down below for your curiosity and convenience.
Thanks for stopping by! Happy Crafting!
→ SUPPLIES ← Items marked with an asterisk (*) were provided by a store or the manufacturer. All other items were personally purchased.
Hi everyone! Today I’m sharing a card featuring LDRS Creative’s stamp set named, Boardwalk Mice. I thought it was a perfect card for a fun look into the summer. I know it’s technically still winter, but I’m already thinking of summer!
I stamped out the images using Raven black ink to create a boardwalk scene under the little mice going on an adventure. Although these critters might be a bit tiny, I wanted to cut out masks for them. I used Masking Paper because it’s thicker and I can reuse them.
Once I had everything masked off, I pulled out the new hybrid inks from the new release and I wanted a pretty and soft sky. I chose the colors: Banana Cream Pie, Tangerine Dream, Fandango, and Parisian Purple. I do adore this combination of colors and it makes me so happy!
For right under the boardwalk, I decided to color in a wooden floor to really depict the pier. I just drew in lines and colored with some woodgrain texture. I think it really adds to the look of the scene. Don’t you?
I hope you get inspired to create!
Thanks for stopping by! Come back soon!
→ SUPPLIES USED ← Items marked with an asterisk (*) were provided by a store or the manufacturer for review and use. All other items were personally purchased. Affiliate links may be used at no cost to you.