Sometimes I play with white space and here is an example of that. I focus my ink blending on the left hand side of my card panel. This was particularly a perfect match with one of the newest Trinity releases stamp sets where the images are stacked on top of each other in one image.
All my supplies for creating this card will be listed down below (with multiple sources when available) for your curiosity and convenience. Affiliate links used when possible.
You always can create a mini scene when you have a smaller stamp set or small images. I set it up on the top portion of my card, heat embossed, ink blended, and then added the sentiment along with colored images. It’s an easy layout that you can use with all your sets!
All my supplies for creating this card will be listed down below (with multiple sources when available) for your curiosity and convenience. Affiliate links used when possible.
Kraft cardstock is so underrated — it’s so great for holiday cards and give that cozy vibe, which is perfect for winter. I especially love it when it’s paired with distress oxide inks.
All my supplies for creating this card will be listed down below (with multiple sources when available) for your curiosity and convenience. Affiliate links used when possible.
Here’s a clean and simple card — something I don’t normally do often. Whenever there are snowmen on my card, it makes it easier to keep it simple because everything is already white and I only need to color up the accessories. I still wanted to incorporate colors so I did it with the accessories and the sentiment.
All my supplies for creating this card will be listed down below (with multiple sources when available) for your curiosity and convenience. Affiliate links used when possible.
Christmas Rainbow — Red to Green colors in rainbow order (red, orange, yellow, green) — it works so well! I just added some stenciling and some die cuts for the perfect bright holiday card.
Rainbow colors for Christmas trees — it’s a fun choice and brings a little brightness to a holiday card.
All my supplies for creating this card will be listed down below (with multiple sources when available) for your curiosity and convenience. Affiliate links used when possible.
I don’t use pigment ink often because I prefer dye ink for their quick drying properties but in Honey Bee Stamps’ new release — they have both gold and silver pigment ink! It’s perfect for the holiday cards that I’ll be making and I tested it out with this Holly Jolly background stamp — it works SO well! I was a bit lazy though so I did add clear embossing ink right on top to heat emboss so I could trap the color.
Happy World Cardmaking Day! I’m so excited that Scrapbook.com sent over some products from the newest Tim Hotlz release and I’m super excited to share my cards with you!
When I took a look at the Twig & Stump die set, I was really confused because there were so many pieces — so much so that I thought I got a manufacturer error with extra projects but nope! The cool thing about this die set is that it contains enough dies for you to create FIVE different snowmen!
I set out to do a bunch of die cutting and I started to put my pieces together to form my snowmen. Once I glued down the pieces that I could put together, I set out to create my three cards.
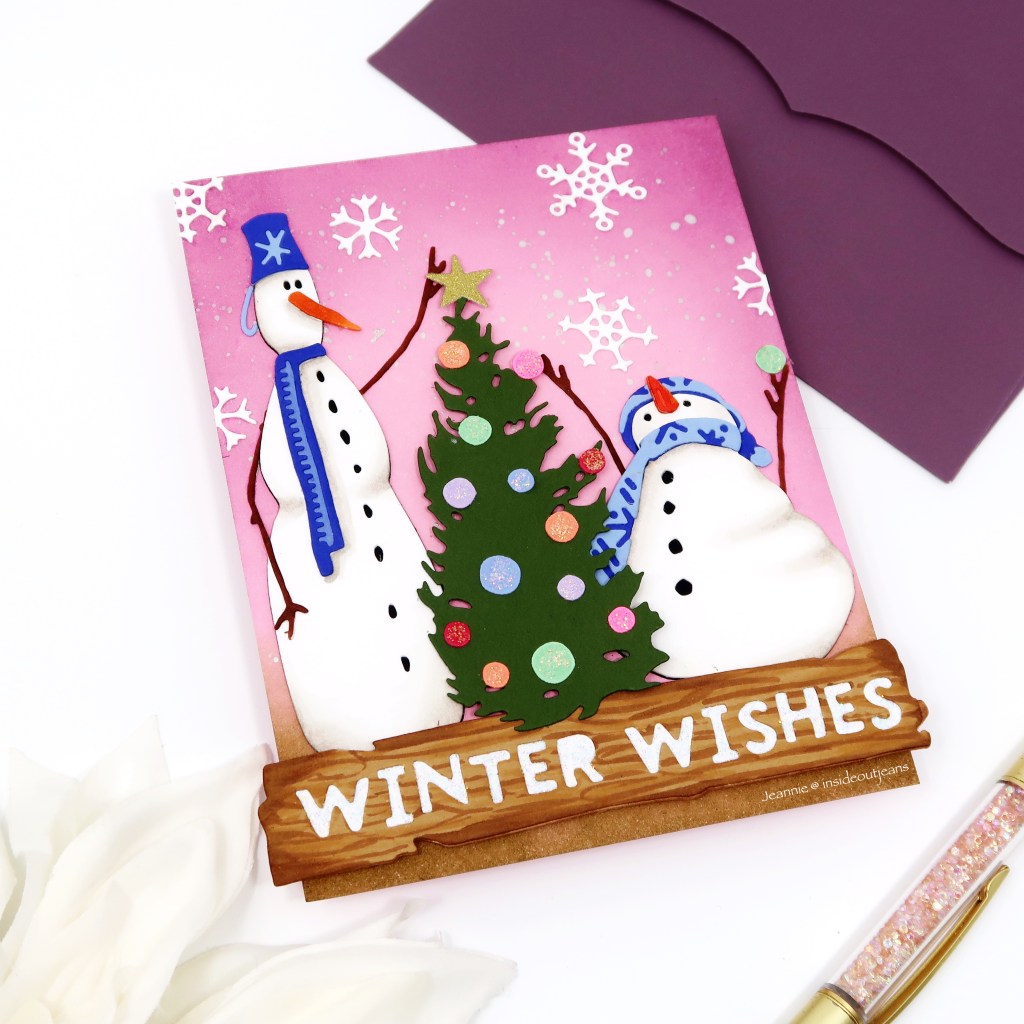
PROJECT #1
Features Sizzix/Tim Holtz’s Twig & Stump along with Scrapbookcom’s Peppermint Paper Pad
For my first card, I really used as many of the dies I put together as I could. For the background, I ink blended the pink cardstock from the Scrapbookcom’s Peppermint paper pad, with Dusty Concord Distress ink and splattered it with Perfect Pearls. For an added touch, I added Diamond Stickles on all the ornaments that went on the tree.
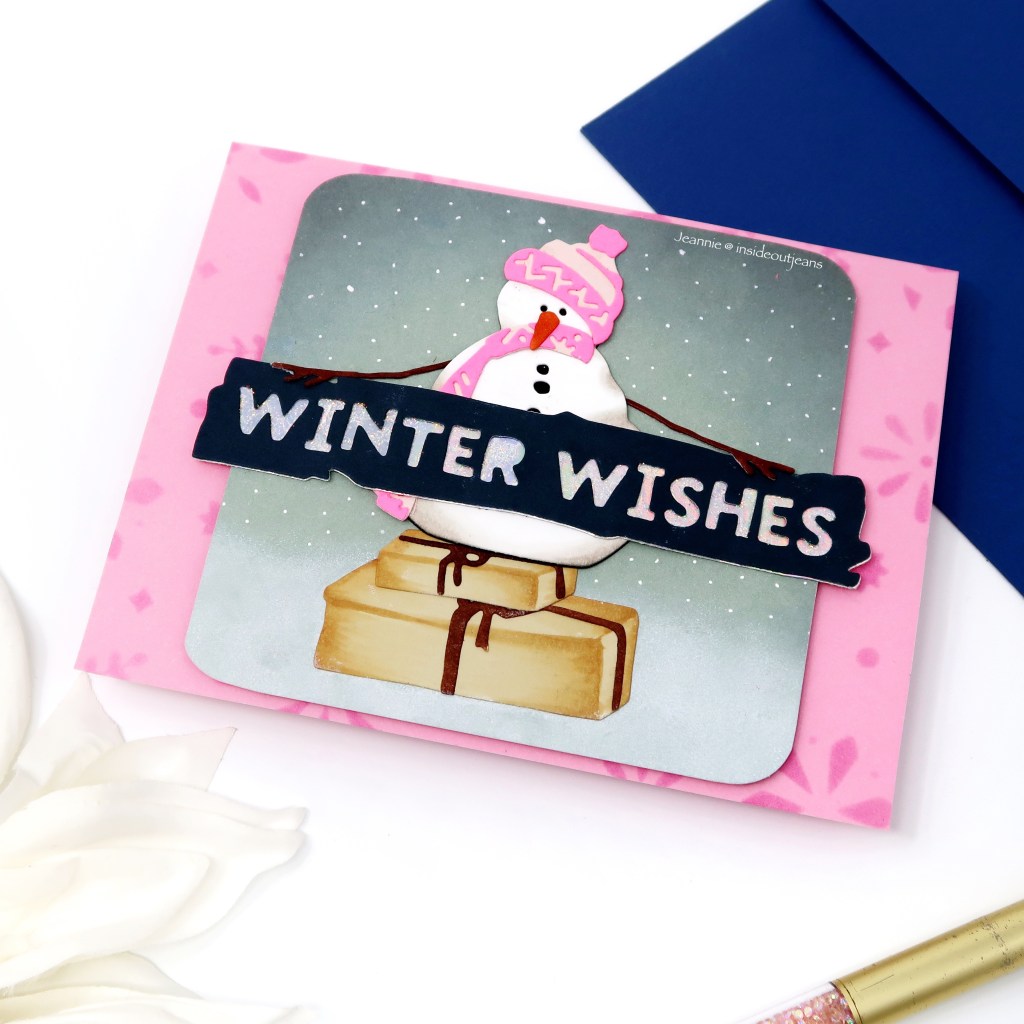
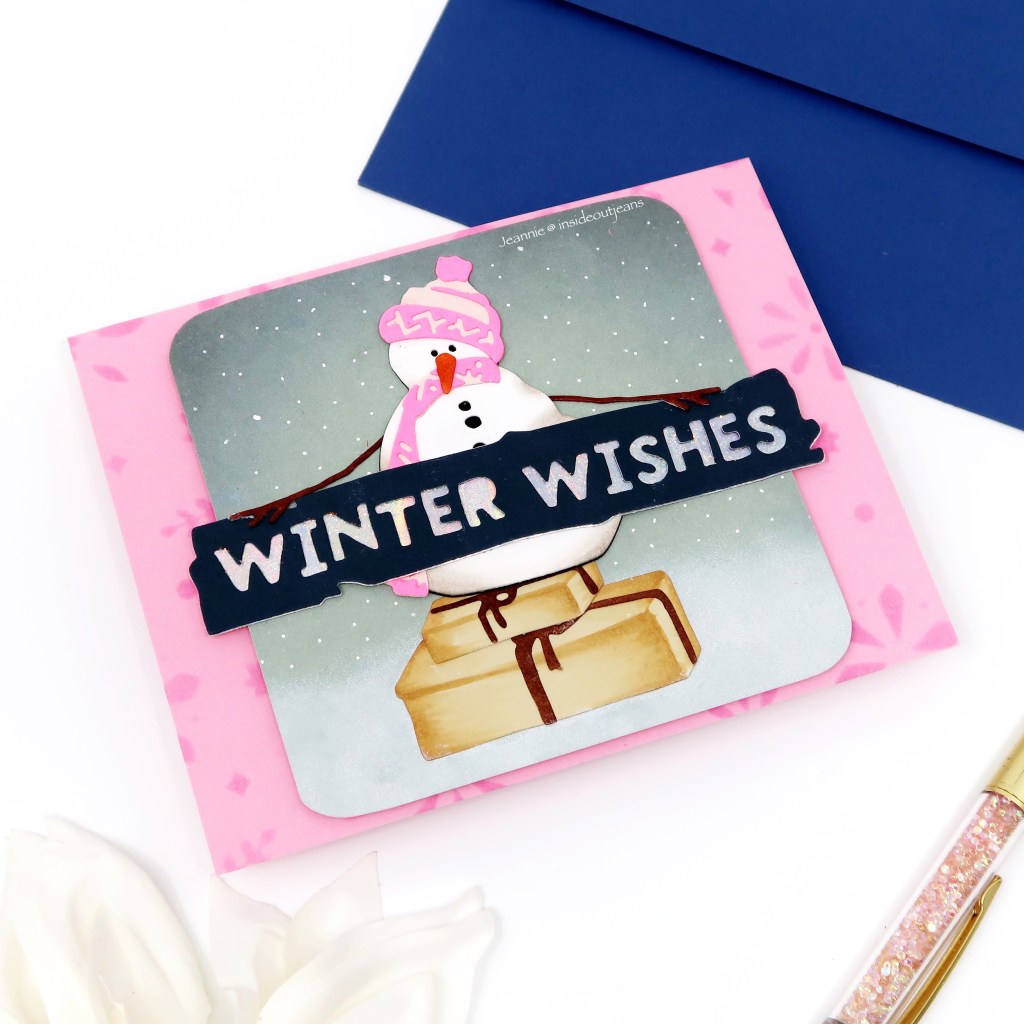
PROJECT #2
Features Sizzix/Tim Holtz’s Twig & Stump along with Scrapbookcom’s Peppermint Paper Pad, Peppermint Winter Stencil
This second card features a third snowman (Stump from the Twig and Stump die set) and he’ll be holding the Winter Wishes sentiment, while standing on a bunch of gifts in the snow. I think it’s super cute and I love how you can use the twig arms for so many different positions. For the background, I used another piece of cardstock from the Peppermint Paper Pad and ink blended around the edges (with Chipped Sapphire & Black Soot) as well as adding white pigment ink at the bottom for a “snow” effect. I decided to trim it down to a square and pop it up on pink cardstock, which I ink blended the Peppermint Winter Stencil to do some tone on tone ink blending.
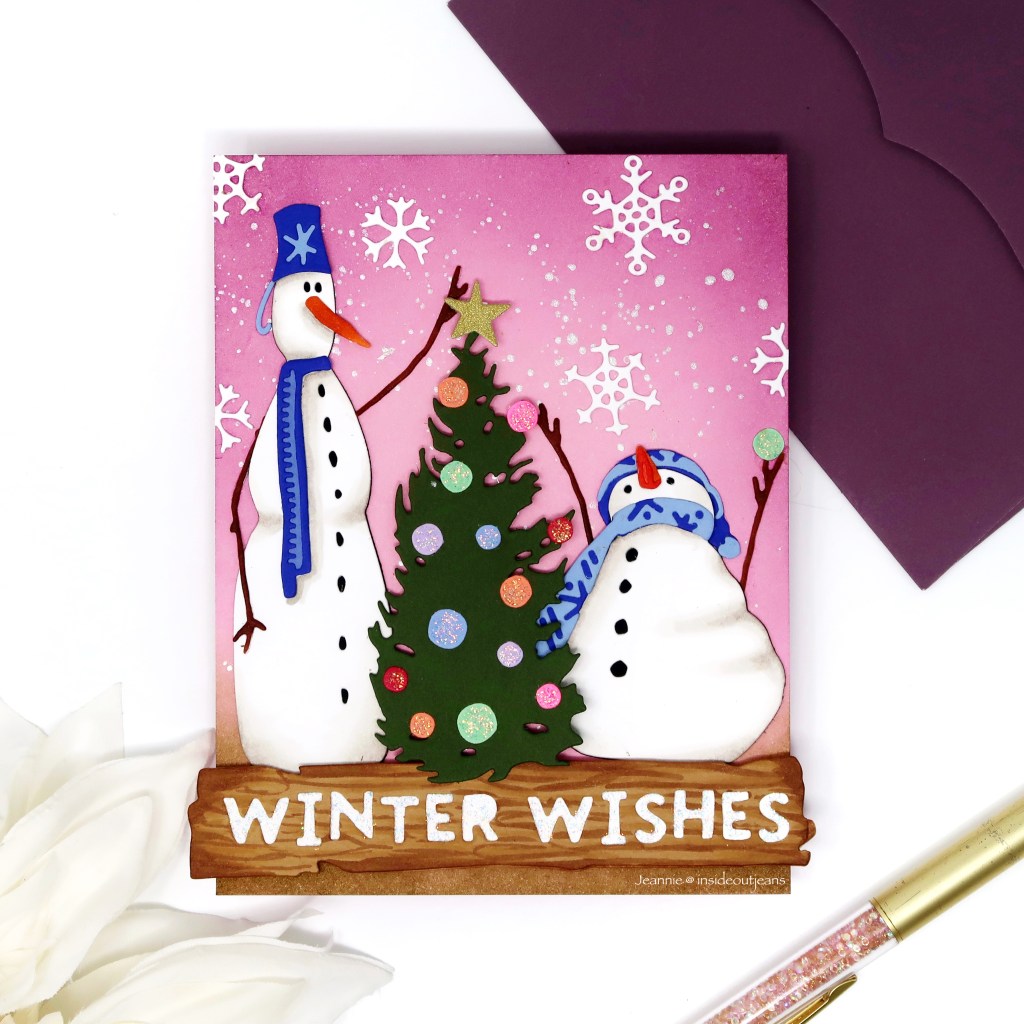
PROJECT #3
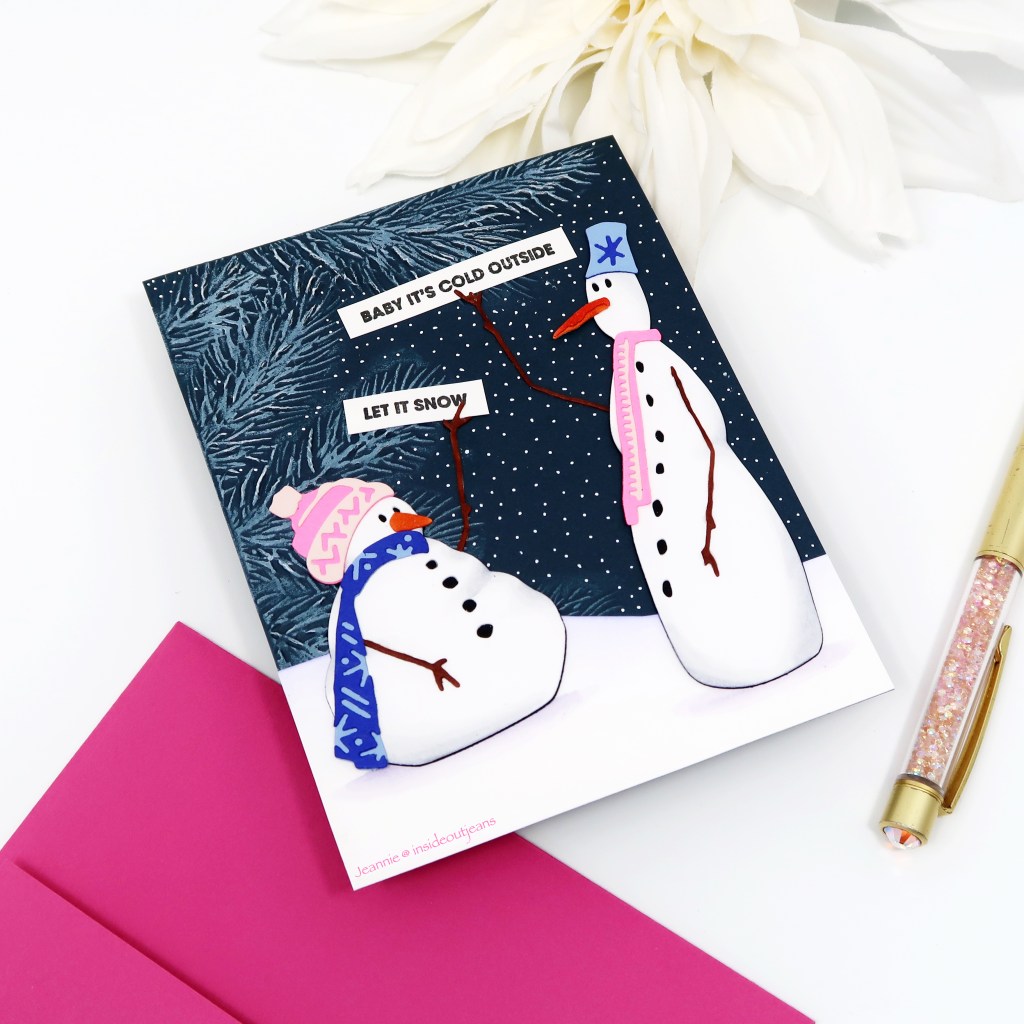
Features Sizzix/Tim Holtz’s Twig & Stump and Pine Branches embossing folder along with Scrapbookcom’s Peppermint Paper Pad
My last card features the last two snowmen from the Twig & Stump die set, which works perfectly because they are looking at each other! First, I went ahead and pulled a piece of cardstock from the Scrapbookcom’s Peppermint Paper pad and used it with Pine Branches embossing folder. I added white pigment ink with my fingers right on top of the raised edges so it gives a snowy look to the branches – funny enough, it almost looks like a dark green (to me)! I set up the snowmen and added little sentiments to them from the Scrapbookcom’s Wordfetti Fa La La stamp set, which is super versatile for so many holiday sentiments. I thought it would be funny to create a fun conversation between the two snowmen.
I hope you enjoyed seeing all the cards I created using the die set — Once you die cut everything out, you’ll have five snowmen ready to go and you can use it for a variety of cards! Remember to stop by Scrapbook.com to check out the newest items from Tim Hotlz.