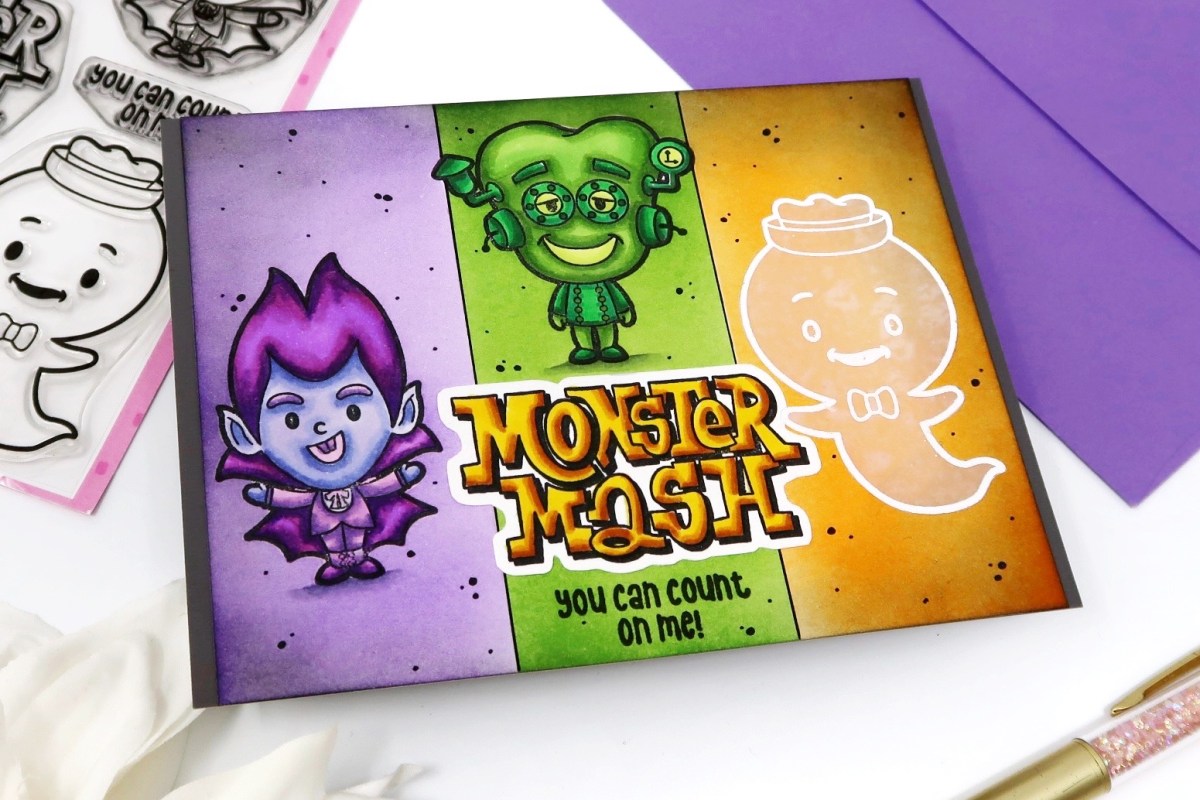
I stick with traditional Halloween colors and I’m ok with it. The traditional trio works so well for this card since there are three main Monster Mash characters. I even cheated a bit with my vellum ghost but I couldn’t resist pulling out this trick for this fun, spooky card.
All my supplies for creating this card will be listed down below (with multiple sources when available) for your curiosity and convenience. Affiliate links used when possible.
I love when I can mix and match stamp companies in a really organic way. These two sets worked so well together and I love how you can’t tell without me letting you know!
All my supplies for creating this card will be listed down below (with multiple sources when available) for your curiosity and convenience. Affiliate links used when possible.
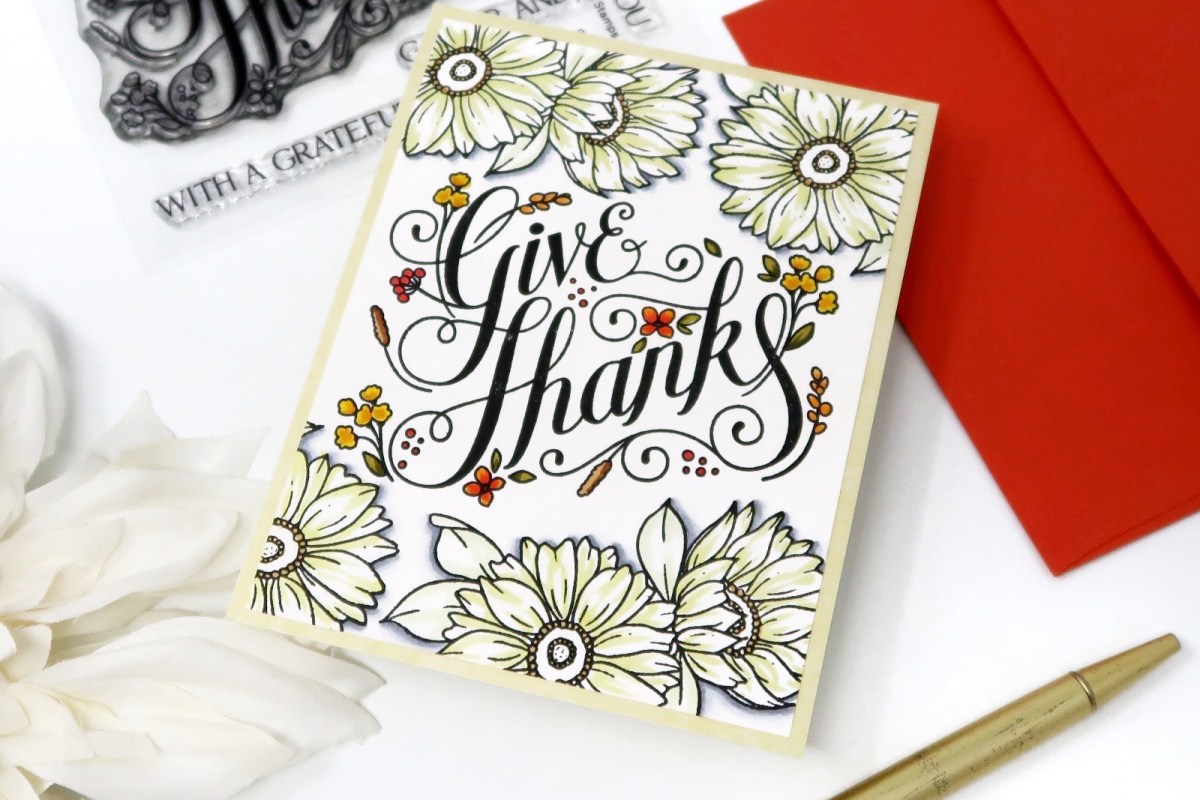
I personally have a ton of stamps, dies and stencils but I don’t always have exactly what I need or want at a moment’s notice. I used these two images from Pretty Pink Posh to accent the corners of my card, but I felt like there wasn’t anything to pull it together so I grabbed a pen to draw borders in. It really grounded the layout and I loved how it brings the focus onto the sentiment. Be creative, use what you have, and you just might end up with the perfect card.
All my supplies for creating this card will be listed down below (with multiple sources when available) for your curiosity and convenience. Affiliate links used when possible.
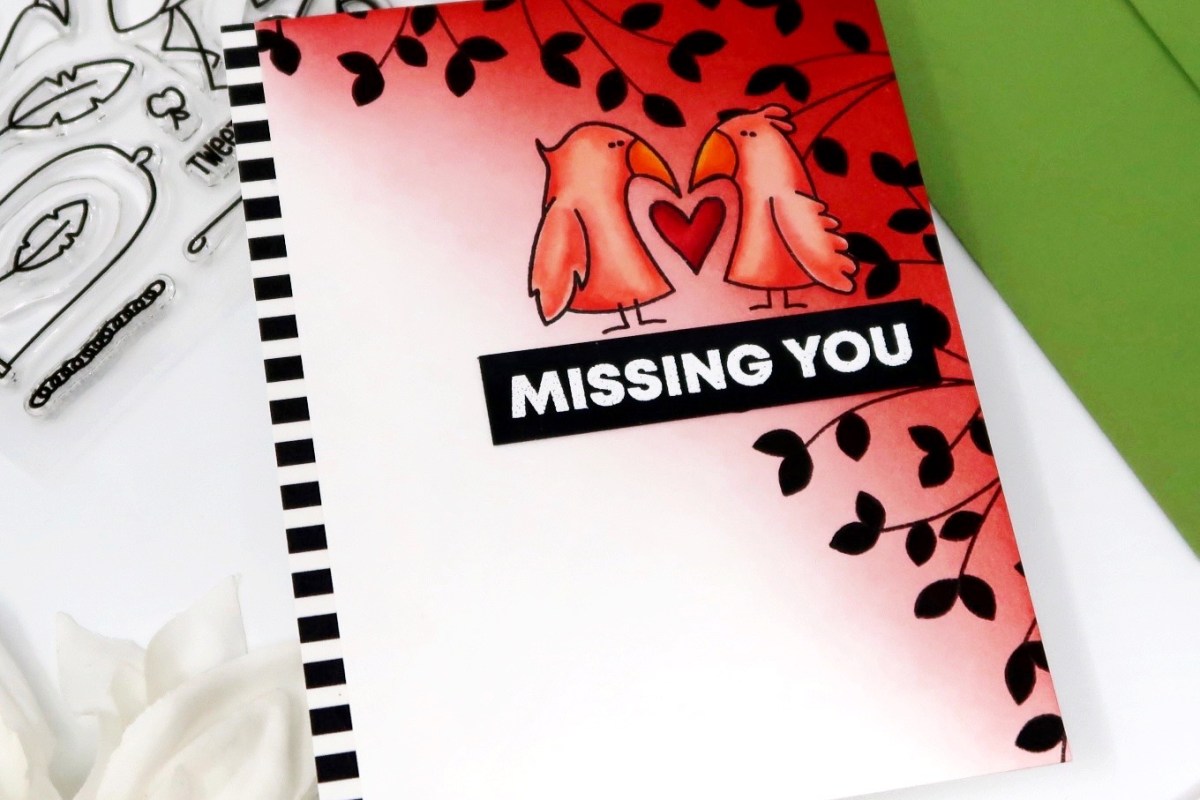
I love detailed images but sometimes it’s intimidating to color… so I have this trick with using light color copic markers to do quick coloring. I use a color that easily fades into white and a shade just a bit darker and it works so well! I went with a bold sentiment to create a background and I just love the contrast.
All my supplies for creating this card will be listed down below (with multiple sources when available) for your curiosity and convenience. Affiliate links used when possible.
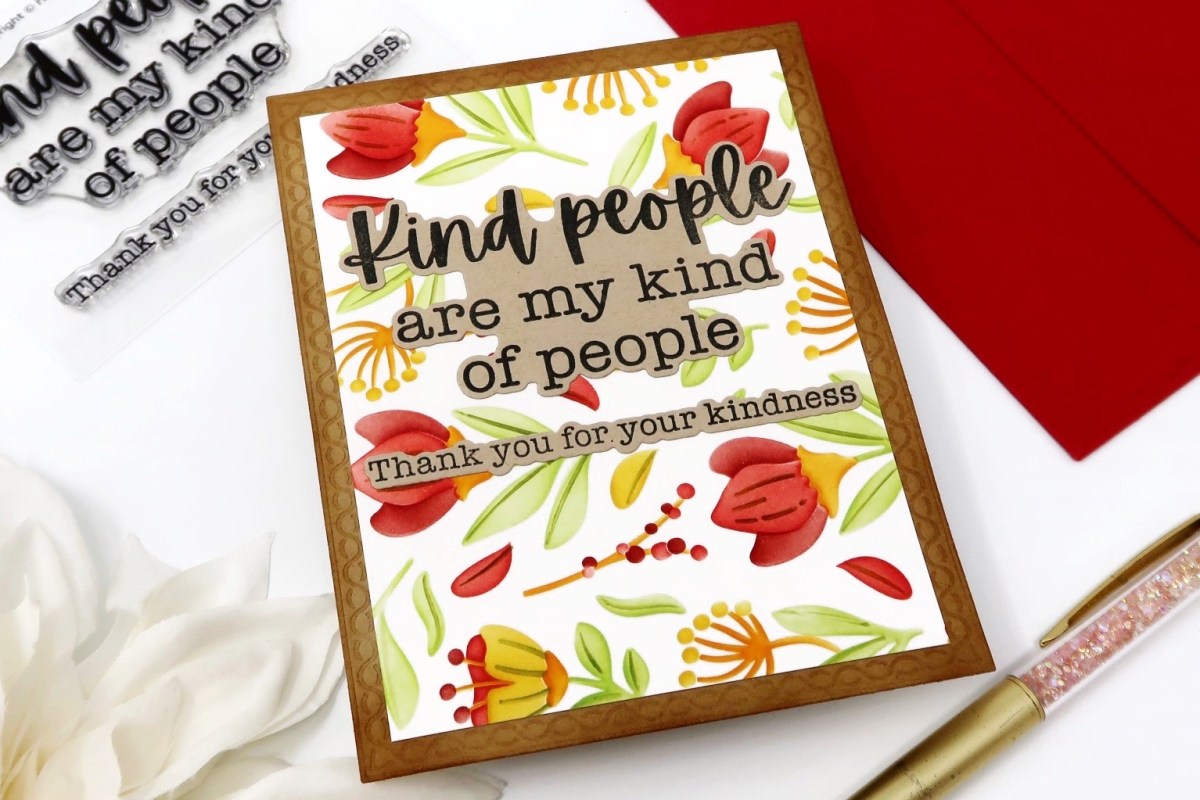
When you find a really good full stencil, it’s the best! You can easily create a bunch of cards pretty quickly and change up the colors to switch up the vibe of the card. I used this stencil to ink up a full background and then stamped out a sentiment. I’m only showing one card, but you can imagine that the possibilities are endless.
All my supplies for creating this card will be listed down below (with multiple sources when available) for your curiosity and convenience. Affiliate links used when possible.
I went on vacation in September and coming back was a bit tough. I just didn’t really want to make cards, I didn’t feel very creative.. but it’s been about three weeks and I’m back! I wanted to start off with something simple — a lot of stamping and just a bit of coloring. I don’t always embrace white space but for this card, I definitely did but it wouldn’t be me without SOME copic markers.
All my supplies for creating this card will be listed down below (with multiple sources when available) for your curiosity and convenience. Affiliate links used when possible.
Welcome to Pretty Pink Posh‘s October Release Blog Hop! We’re moving towards the holiday season and if you want a jumpstart on your holiday cards, be sure to check out the latest release from Pretty Pink Posh. Before we jump into my project for the hop, there’s a total of 4 $30 gift certificates up for grabs (one winner each day) for this 4 day blog hop! Winners will be picked randomly along the blog hop. Comments must be left by 11:59 PM PST on 9/19/2023. Winners will be announced on the Pretty Pink Posh blog.
Hi friends! There have been so many amazing projects already shared in the past three days of the blog hop and there’s so much inspiration today as well! Be sure to check it all out and today’s lineup! For today, I’m sharing this pretty holiday card that I put together using some of the new items from Pretty Pink Posh’s October release.
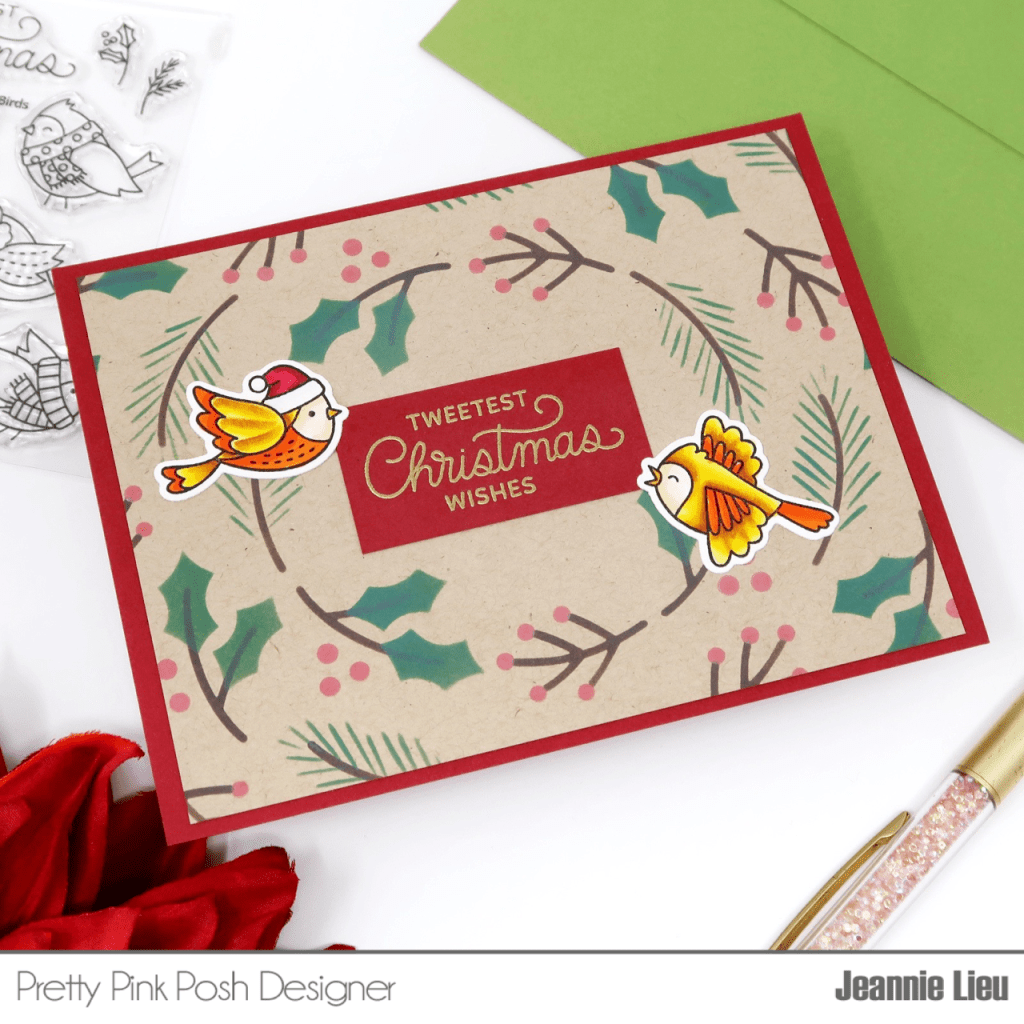
Something about the holidays just makes me pull out my kraft cardstock. The Layered Winter Wreath is just so pretty and works so well for a frame. I choice distress oxide inks for the stenciling because it has that chalky look which is extra pretty on kraft cardstock.
I am also using the Winter Birds stamps and dies for my accents to the wreath. I had a hard time choosing which birds I wanted to use, but I wanted them to look like they were holding onto the sign with the embossed sentiment.
Be sure to stop by the other stops for more inspiration and check back again tomorrow on the Pretty Pink Posh blog for a third day of inspiration!
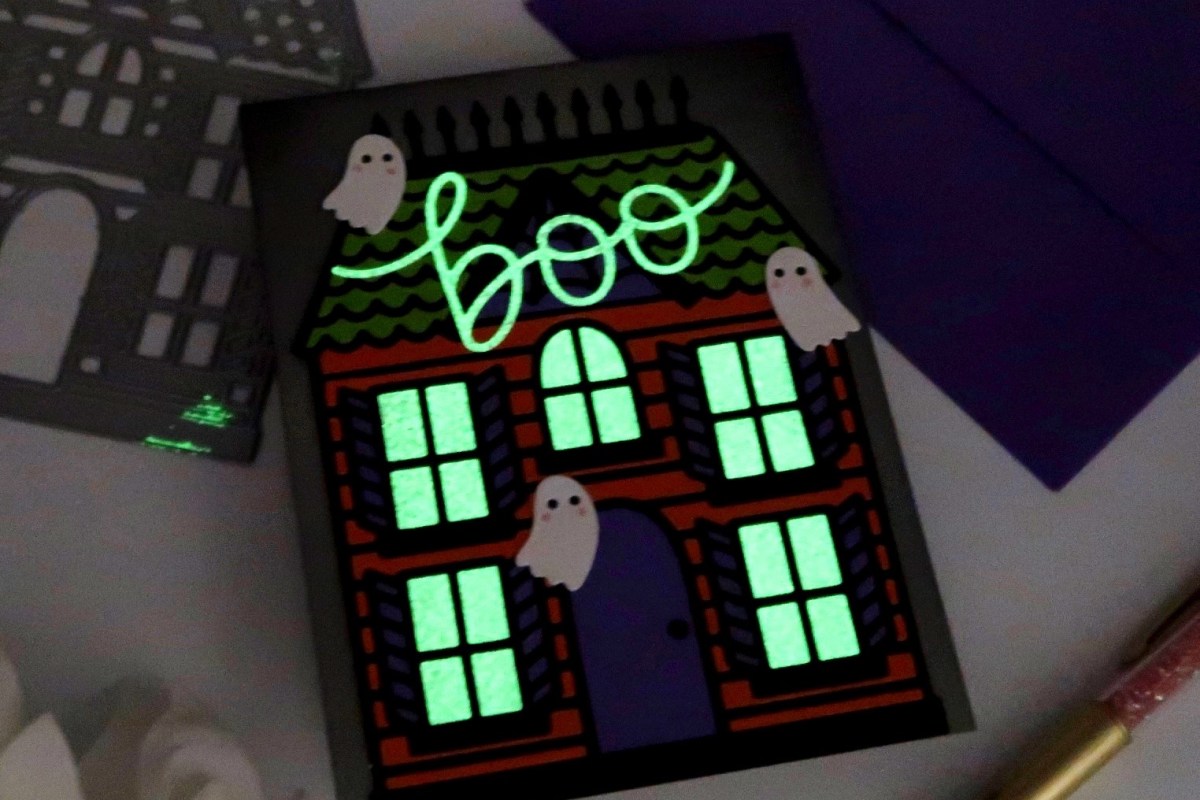
Halloween cards are those cards I rarely send out BUT they are the most fun cards to make. I look forward to them every year because it’s just fun! Added elements that you normally don’t put into you card just make sense with them — like glow in the dark. I loved using this Halloween House die as the focal point but when the lights turn off, the windows steal the show.
All my supplies for creating this card will be listed down below (with multiple sources when available) for your curiosity and convenience. Affiliate links used when possible.
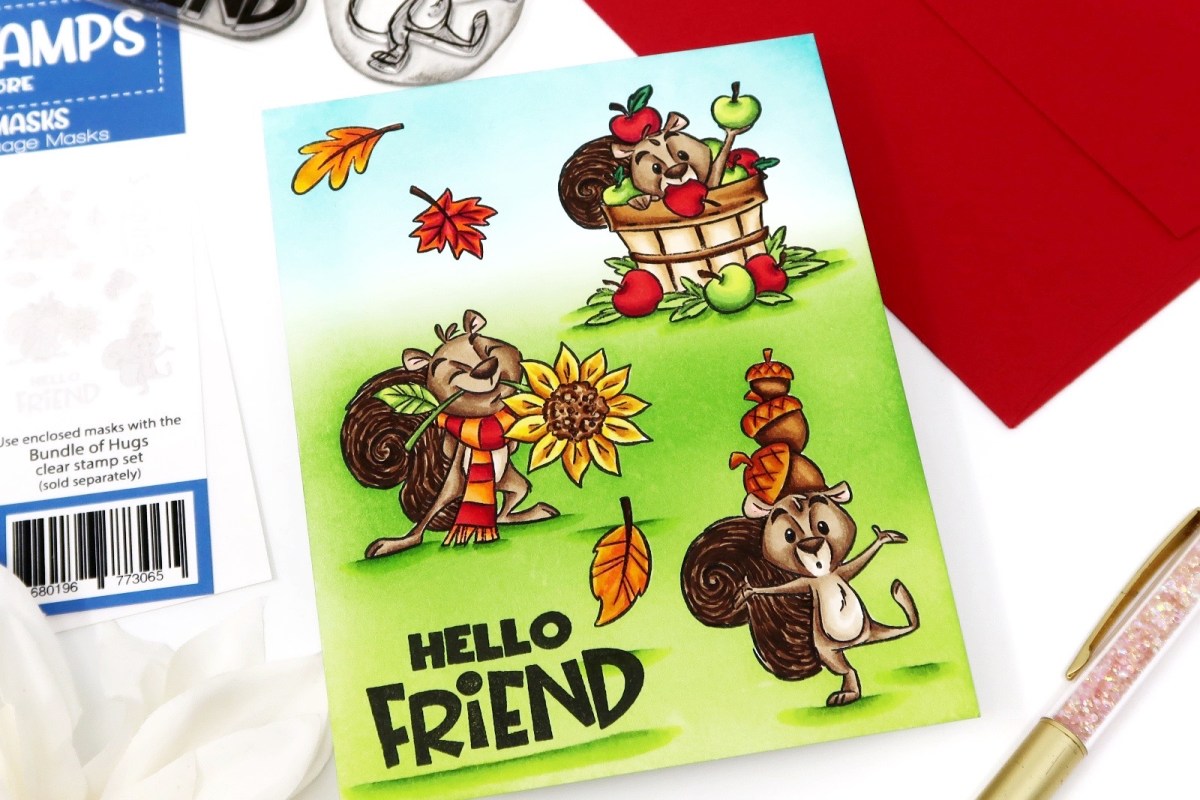
I’m pretty sure that if you follow me, you know I love one layer scene cards. They aren’t for everyone because fussy cutting is either something you love or hate. For me, I don’t mind it and I find it really relaxing to do. However, Whimsy Stamps now has coordinating no fuss instant masks that skip the step of fussy cutting completely! You can use them to easy create your on layer scene cards plus you still get the satisfaction of the reveal! Check out the scene I created using them for almost every single image in this stamp set.
All my supplies for creating this card will be listed down below (with multiple sources when available) for your curiosity and convenience. Affiliate links used when possible.
I went into this with a different color combo (maroon and peach) but when I picked out my inks and copic markers, it just didn’t turn out as I imagined but you know what? I think it worked out for the best here and I really love it!
All my supplies for creating this card will be listed down below (with multiple sources when available) for your curiosity and convenience. Affiliate links used when possible.
With the holiday season coming around the corner, there’s more fun items pulled into card making — like glitter and shine! But let’s not forget about vellum, which works well to set up a wintery scene. I use it in this card for the slopes these little critters are riding along. It’s a soft element that just give that added touch to a holiday card.
All my supplies for creating this card will be listed down below (with multiple sources when available) for your curiosity and convenience. Affiliate links used when possible.
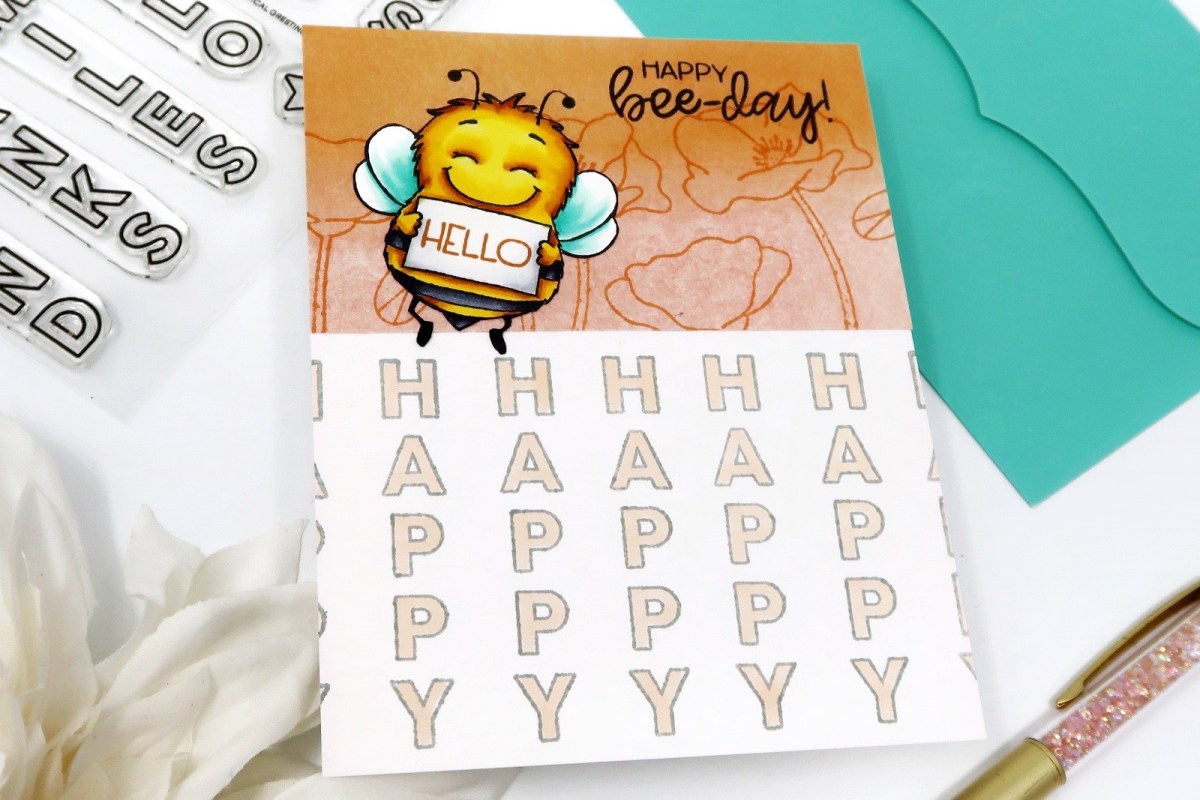
A new stamping platform? Why, yes please! I’m usually pretty stuck in my ways especially when I’m used to something but this Stamp Wheel is worth the try. I used it to stencil up my background panel and then used it to stamp out my bold sentiment for this card. I was skeptical that it would like up perfectly each time but it did! I haven’t even used it yet to create my own patterns…. I’m pretty excited about the endless possibilities.
All my supplies for creating this card will be listed down below (with multiple sources when available) for your curiosity and convenience. Affiliate links used when possible.
Also, there’s a giveaway over on instagram so be sure to stop by and leave a message for a chance to win your own Stamp Wheel! Leave a comment before the 27th!